
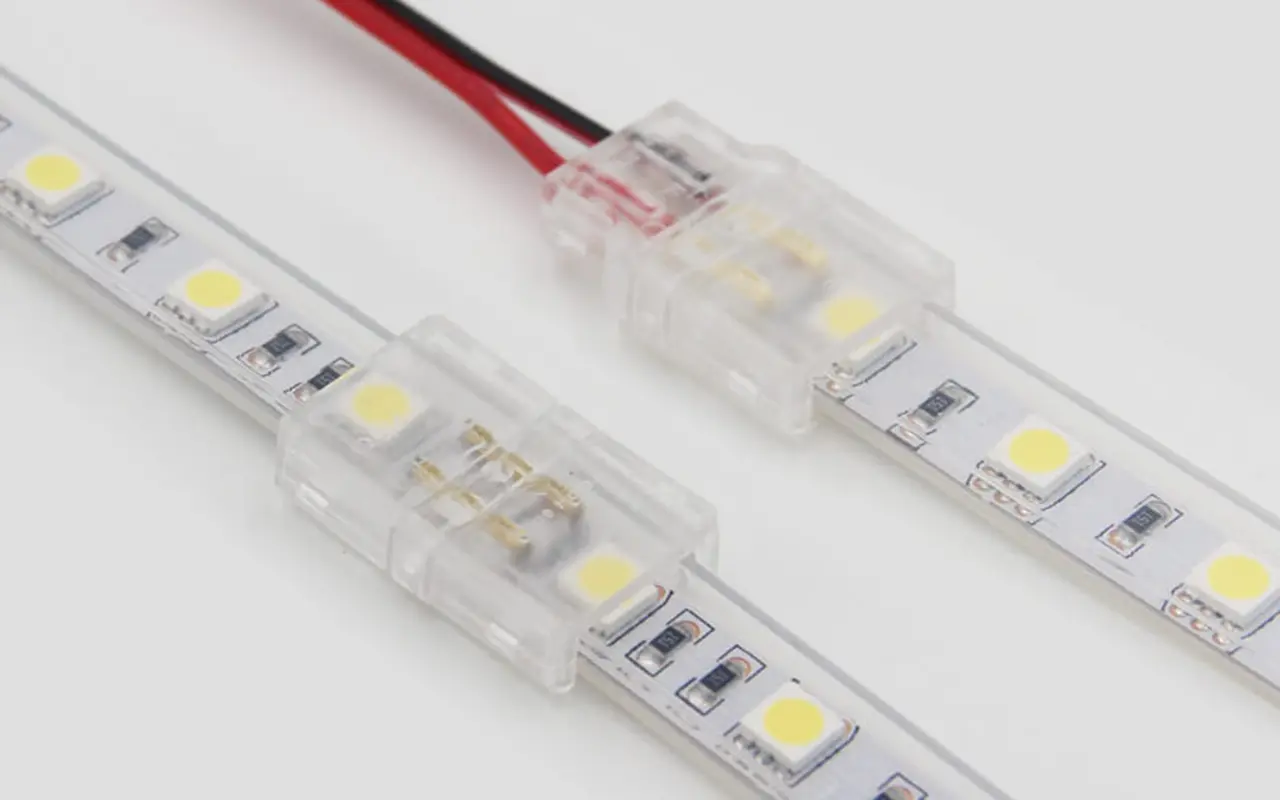
Have you ever installed LED light strips, only to find they stop working just days later? In most cases, the culprit is not the lights themselves but the LED light strip connector. With a reliable connection, even the best LED strips can provide consistent lighting, leaving you frustrated and unsure how to fix it.
Many assume fixing an LED light strip connector requires more technical or professional help. However, it’s a simple process that anyone can manage with the right guidance. Understanding how to troubleshoot and repair the connector can save you time, money, and hassle while ensuring your lights shine bright again.
This article will walk you through three easy steps to fix your LED light strip connector. Whether you’re dealing with flickering lights or parts of the strip not lighting up, we’ll cover everything from diagnosing the problem to securing the connection for long-lasting results. Keep reading to get your lights back in perfect working order!
Why LED Light Strip Connectors Fail
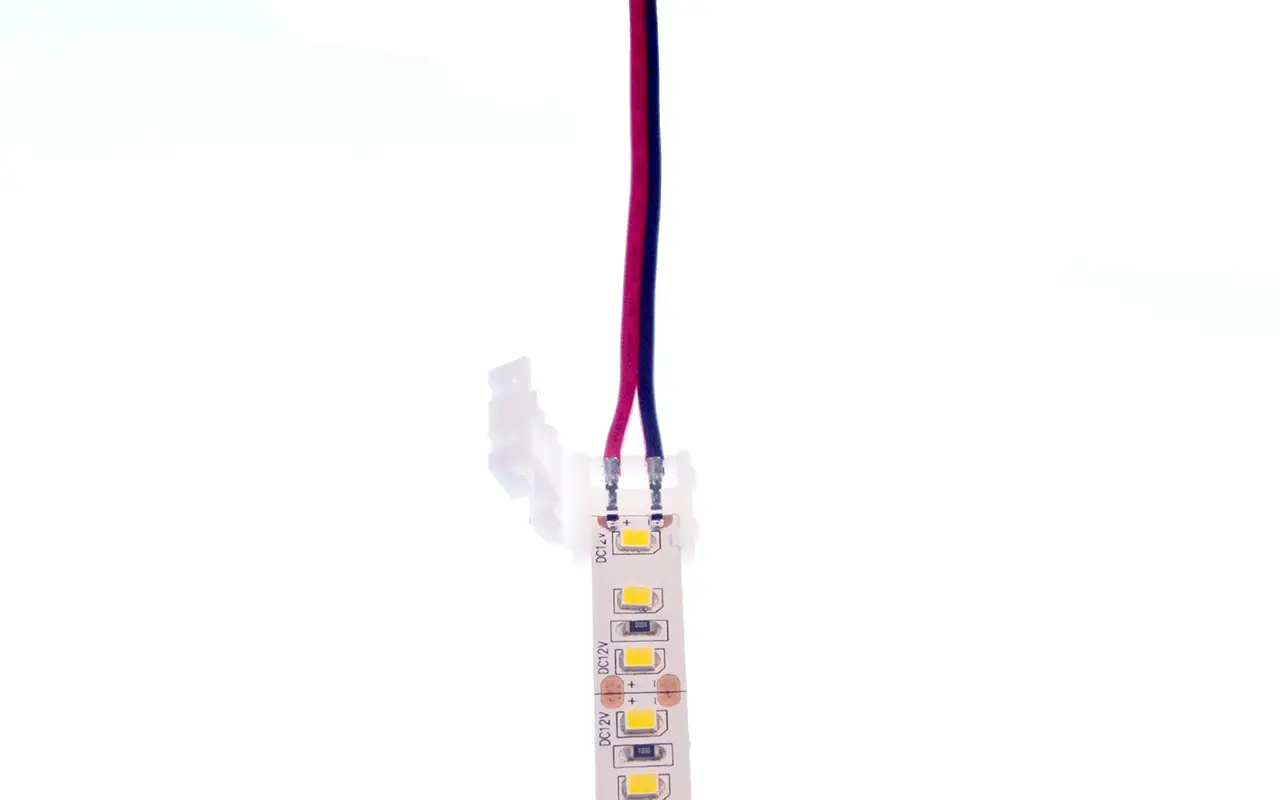
LED strip connectors are built to be durable, but several factors can lead to failure. Loose connections are common, often caused by improper handling or movement during installation, which results in flickering or failure. Frequent bending of the LED strips can also wear out the connectors over time, leading to poor contact.
Improper alignment of the solder pads with the connector’s pins is another issue, often causing partial or total lighting failure. Overheating can occur if the connector is not rated for the strip’s current, leading to component damage. Additionally, physical damage, like cracks or fractures in the connector, can result in looseness or disconnection, making the strip inoperable. Proper handling and installation are key to avoiding these problems.
Signs of a Faulty LED Light Strip Connector
Recognizing when your connector might be the root of your LED strip issues is essential. These problems can escalate if ignored, further damaging your strips or even your entire setup. Here are some critical signs to look out for:
Flickering or Intermittent Lighting
Flickering or intermittent lighting is one of the most common symptoms of a faulty LED connector. The electrical current can be inconsistent when the connection between the LED strip and connector is loose or compromised. This results in your LEDs turning on and off unexpectedly or flickering. Even if the strip is powered correctly, a bad connection at the joint can cause irregular lighting behavior, making the strip appear malfunctioning when the problem is really with the connector.
A flickering LED can also lead to long-term damage. The repeated fluctuations in current may shorten the lifespan of the strip’s LEDs, meaning prompt attention to flickering is essential for aesthetics and the longevity of your setup.
Portions of the Strip Not Lighting Up
Suppose only a section of your LED strip isn’t lighting up while the rest is functioning properly. In that case, it strongly indicates a fault with the connector. This is typically due to an incomplete or damaged connection between the strip and the connector pins. You may notice that the portion closest to the power source works, while the part after the connector remains dark.
This problem can arise from various causes, including misaligned pins, dirt or debris obstructing the connection, or wear and tear from repeated bending or movement of the strip. Addressing this issue quickly can help prevent the malfunction from spreading further down the strip.
Connector Feeling Hot to the Touch
An overheating connector is a clear red flag that should never be ignored. If your connector feels unusually hot, it’s a sign that it may be handling more current than it’s designed for, or there could be an underlying short circuit. Overheating can lead to larger problems, such as melting, component failure, or fire hazards.
Heat is generated when electrical resistance increases at the point of contact. This resistance could come from a loose or worn-out connection. Continuously running an overheated connector risks damaging your system’s strip and other electrical components. Always check the current rating of your connector and ensure it’s sufficient for your LED strip setup to avoid such problems.
Tools and Materials You’ll Need
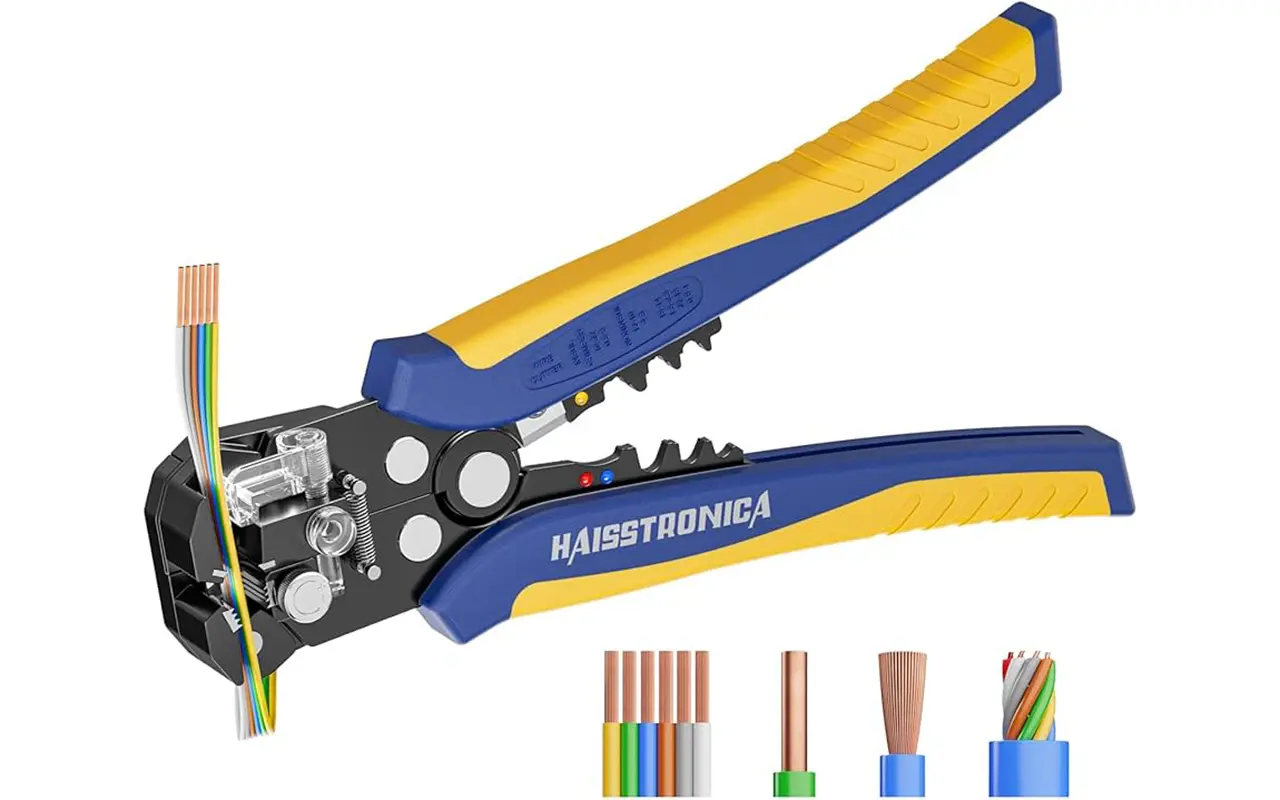
Before diving into any repair or troubleshooting process, being well-prepared is crucial. The right tools and materials can make the process smoother and help you avoid mistakes. Below is a list of essential and optional tools to make the job easier.
Essential Tools for Fixing LED Connectors
- Wire Strippers: These are vital for trimming and stripping any wires connected to your LED strip, particularly when dealing with exposed wires that need reconnecting to a new connector.
- Electrical Tape or Heat Shrink Tubing: Electrical tape insulates exposed wires and connectors to prevent short circuits. Heat shrink tubing is an even better alternative, providing a more secure, long-lasting insulation for your connections.
- Multimeter: A multimeter helps you check the voltage and continuity through the connector. This tool is indispensable for diagnosing electrical problems and ensuring that the current flows correctly through the LED strip and connector.
- Replacement Connectors: Always keep extra connectors on hand if a faulty one needs to be swapped. It’s important to ensure that these connectors are compatible with your specific LED strip type.
How to Choose the Right Replacement Connectors
Selecting the right connector for your LED strip ensures compatibility and prevents future issues. Here are some key factors to consider:
- Voltage Compatibility: Ensure that the connector matches the voltage rating of your LED strip. For instance, if you are using a 12V strip, the connector must be able to handle 12V to avoid overheating or failure.
- Connector Type: There are different types of connectors, such as snap-on, solderless, and soldered connectors. A solderless or snap-on connector is ideal for quick repairs, but for a more permanent solution, you should use a soldered connector.
- Pin Configuration: The number of pins in the connector must correspond to the LED strip type (single color, RGB, or RGBW). For example, RGB strips require 4-pin connectors, while single-color strips only need 2-pin connectors.
- Wire Gauge: The wire gauge of the connector should match that of the LED strip. Using a connector with a wire that’s too thin may lead to overheating while using one that’s too thick could cause installation difficulties.
By carefully choosing the right connector, you ensure a strong and reliable connection that will keep your LED strip functioning optimally for a long time.
Optional Tools for Enhanced Precision and Ease
While the essential tools will get the job done, using additional tools can make the process easier and more precise, especially for those who handle LED projects frequently:
- Tweezers: These are particularly useful for handling the tiny, delicate components of LED connectors without causing any damage. Tweezers help you align the pins perfectly, ensuring a secure connection between the strip and the connector.
- Soldering Iron: Consider using a soldering iron for a more permanent and reliable connection. Soldering the wires to the connector eliminates the risk of a loose connection over time, especially in installations exposed to frequent movement or vibration. While this requires more skill, it results in a sturdier and more durable setup.
With these optional tools, you can handle more intricate repairs and ensure your LED strip setup is as reliable and durable as possible.
Fix LED Light Strip Connector in 3 Simple Steps
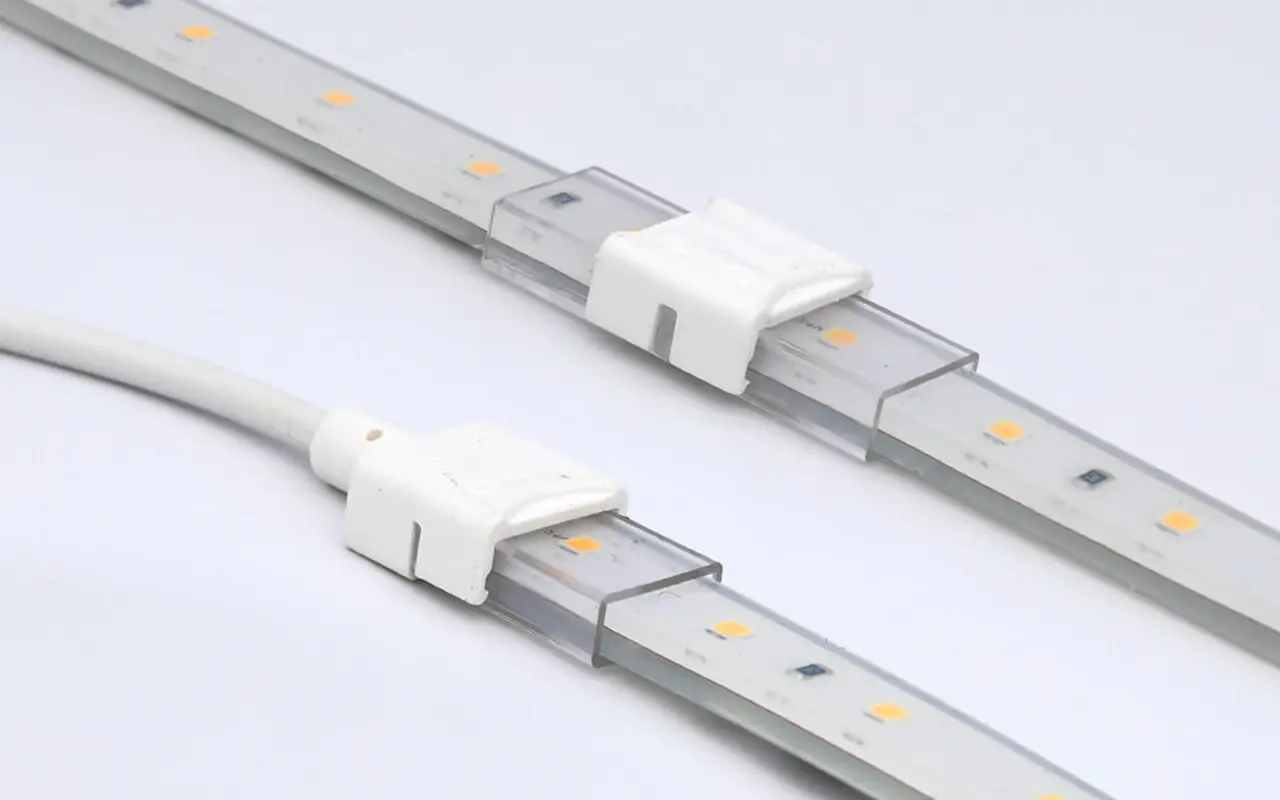
Step 1: Power Off and Inspect the Connector for Damage
Safety First: Disconnect the Power Supply
Before starting any repairs, always disconnect the power supply to avoid the risk of electric shock. Even though LED strips typically use low voltage, working with live wires can still pose a hazard. Ensure the power adapter is unplugged or the circuit breaker is turned off, depending on your installation setup. Waiting a few minutes after disconnecting the power is also recommended to let any residual current clear from the system.
How to Identify the Source of the Problem
Once the power is off, scrutinize the LED strip connector for any visible issues. Look closely at the connection points between the strip and the connector. Common problems include misaligned solder pads, broken or bent pins inside the connector, or cracked plastic housing. A multimeter can help check for a continuous flow of electricity through the connector, indicating whether the issue lies with the connector or elsewhere.
Spotting Visible Damage on the LED Light Strip Connector
Visible signs of damage are often the easiest way to diagnose problems. Burn marks or discolored areas around the connector indicate overheating or short circuits. Similarly, any looseness or cracks in the casing can cause poor contact between the connector pins and the LED strip’s copper pads. Ensure that no part of the connector is broken, and if it appears damaged, you may need to replace it entirely.
Step 2: Clean and Align the Connector
Best Practices for Cleaning LED Strip Connectors
A dirty or dust-covered connector can severely affect the performance of your LED strip. Small particles of dust, dirt, or debris can disrupt the electrical contact between the connector and the strip, leading to inconsistent lighting or failure. Cleaning the connector carefully is a crucial step in restoring its functionality.
To clean the connector:
- Use a soft brush or compressed air.
- Avoid using water or liquid cleaners, which could cause further damage or create short circuits.
- Gently brush or blow away dust particles from the connector and the LED strip’s solder pads.
- Be mindful not to bend or damage the delicate pins inside the connector during this process.
Importance of Proper Alignment for Secure Fit
A properly aligned connector is critical to ensuring the LED strip functions correctly. Suppose the connector and strip need to be perfectly aligned. In that case, the electrical current will not flow smoothly, causing flickering or uneven lighting issues. Each strip’s copper pad must match up perfectly with the corresponding pins inside the connector.
Realigning the LED strip involves carefully placing the strip’s copper solder pads directly in line with the metal pins in the connector. Ensure that the strip is fully seated in the connector, with no part of the strip’s edge hanging out or misaligned. This precise contact is necessary for maintaining a secure electrical connection, preventing flickering or intermittent lighting failures.
Step 3: Secure the Connection and Test
Reattaching the Connector Correctly
Once the strip is aligned correctly, close the connector securely. Most connectors have a locking mechanism that clicks into place when fully secured. Ensure that both sides of the connector are firmly closed to avoid any loosening over time. A loose connector can lead to inconsistent contact, intermittently causing the lights to fail.
While ensuring a tight connection is important, be careful not to apply excessive force. Over-tightening the connector can damage the LED strip or deform the connector’s plastic housing, making it difficult to maintain proper contact. Apply enough pressure to ensure a snug fit, but stop if you feel resistance beyond normal.
Testing the LED Strip for Consistent Lighting
After reattaching the connector, reconnect the power supply to test the LED strip. Turn on the power and observe the strip closely to ensure all sections light up evenly and brightly. Consistent illumination across the entire strip indicates the connection is secure and functioning properly.
During the testing phase, check for any flickering lights or sections of the strip that display incorrect colors. Flickering or color inconsistencies are common signs of a poor connection between the strip and the connector. If you notice these issues, turn off the power again and revisit the alignment of the connector and strip to ensure everything is correctly positioned.
When to Replace the Entire LED Light Strip vs. Just the Connector
If multiple sections of the strip are failing or the strip has sustained physical damage, it may be time to replace the entire strip.
Most LED strips are rated for 50,000 hours of use, but environmental factors and how they are used can shorten this lifespan. Regular checks will help you assess when it’s time for a replacement.
Install LED strips on proper surfaces, such as aluminum channels, to dissipate heat and prolong their lifespan. Avoid direct exposure to heat or moisture.
FAQs About Fixing LED Light Strip Connectors
Q: Why is my LED light strip flickering after installation?
A: Flickering in LED light strips is commonly caused by a poor connection between the connector and the strip’s copper pads. Ensure the connector is aligned correctly and securely attached. Loose connections or misalignment can disrupt the power flow, leading to flickering.
Q: Can I fix my LED strip connector if it overheats?
A: Yes, overheating is often caused by connectors that cannot handle the current load of the LED strip. First, check if the connector is rated for your strip’s voltage and current. Replace it with a higher-rated connector if necessary, and ensure the connector is tightly secured to prevent sparks or heat build-up.
Q: What tools do I need to fix an LED light strip connector?
A: Basic tools for fixing an LED strip connector include wire strippers, electrical tape, a multimeter for testing, and replacement connectors. You may also need a soldering iron for more permanent fixes, though solderless connectors are a quicker option.
Q: How can I tell if my LED strip connector is damaged?
A: Signs of a damaged connector include flickering lights, strip portions not lighting up, or the connector feeling hot to the touch. Inspect the connector for cracks, loose connections, or burn marks, which may indicate overheating or wear and tear.
Q: Why is only part of my LED strip lighting up?
A: This could indicate a faulty connection or a break in the circuit at the connector. Check the alignment of the solder pads with the connector’s metal pins. If the alignment looks fine, physical damage to the strip or connector may need repair.
Q: Can I reuse a connector after removing it from an LED strip?
A: Yes, as long as the connector is not physically damaged or worn out, you can reuse it. However, ensure that the new strip section aligns properly with the connector’s pins to maintain a solid connection.
Q: How do I avoid future LED light strip connector issues?
A: Avoid bending or twisting the strips excessively, and store them in a cool, dry place to prevent issues. Always ensure connectors are tightly secured and regularly check for wear and tear, especially in high-traffic areas where the strips may be exposed to movement.
Q: Can I use any connector for my LED strip?
A: No, using a connector specifically designed for your LED strip model and voltage (e.g., 12V or 24V) is important. Using the right connector can result in good performance, overheating, or even damage to your strip.
Q: How can I fix an LED strip if the connector is beyond repair?
A: If the connector is damaged beyond repair, replace it with a new compatible connector. In some cases, you may need to cut off the damaged section of the strip and reconnect the remaining functional part using solderless connectors or soldering.
Q: Is soldering necessary for repairing an LED strip connector?
A: Soldering is only sometimes necessary. Solderless connectors are convenient for quick repairs and require no special tools. However, soldering the wires directly to the strip can be a better long-term solution for a more permanent and reliable connection.
Conclusion
By following these steps, you can ensure that your LED strips remain functional and vibrant for years. Routine maintenance and careful installation are key to keeping your LED light strips in top condition. With proper care, your connectors will provide reliable service, ensuring your LED light strips continue to enhance your space without issue.
In summary, fixing your LED light strip connector can restore the full brilliance of your lighting setup, but selecting high-quality products is just as important for long-term performance. Unitop, as one of China’s leading manufacturers of LED strip lights and LED neon flex, is dedicated to providing top-tier solutions that meet the highest industry standards. If you have any questions or need tailored solutions for your project, contact us today. Our team of experts is here to support you with the best LED innovation and reliability.

Tom is now the Sales Manager of Unitop (China) Co., Limited. He has been in the LED Lighting industry ever since 2005. He is an expert in sales & marketing, and factory management. He likes bodybuilding, and he is also a crazy Apple Fan! He is a hard-working guy and loves to learn and try new things.
Email: tom@unitopledstrip.com WhatsApp: +86-18680307140




Leave a Reply
Want to join the discussion?Feel free to contribute!