Are you considering a custom fit for your LED strip lights? Rest assured, you’ve landed in the right place. Our guide demystifies the process of trimming LED strips, empowering you to tailor your lighting setup with confidence and precision.
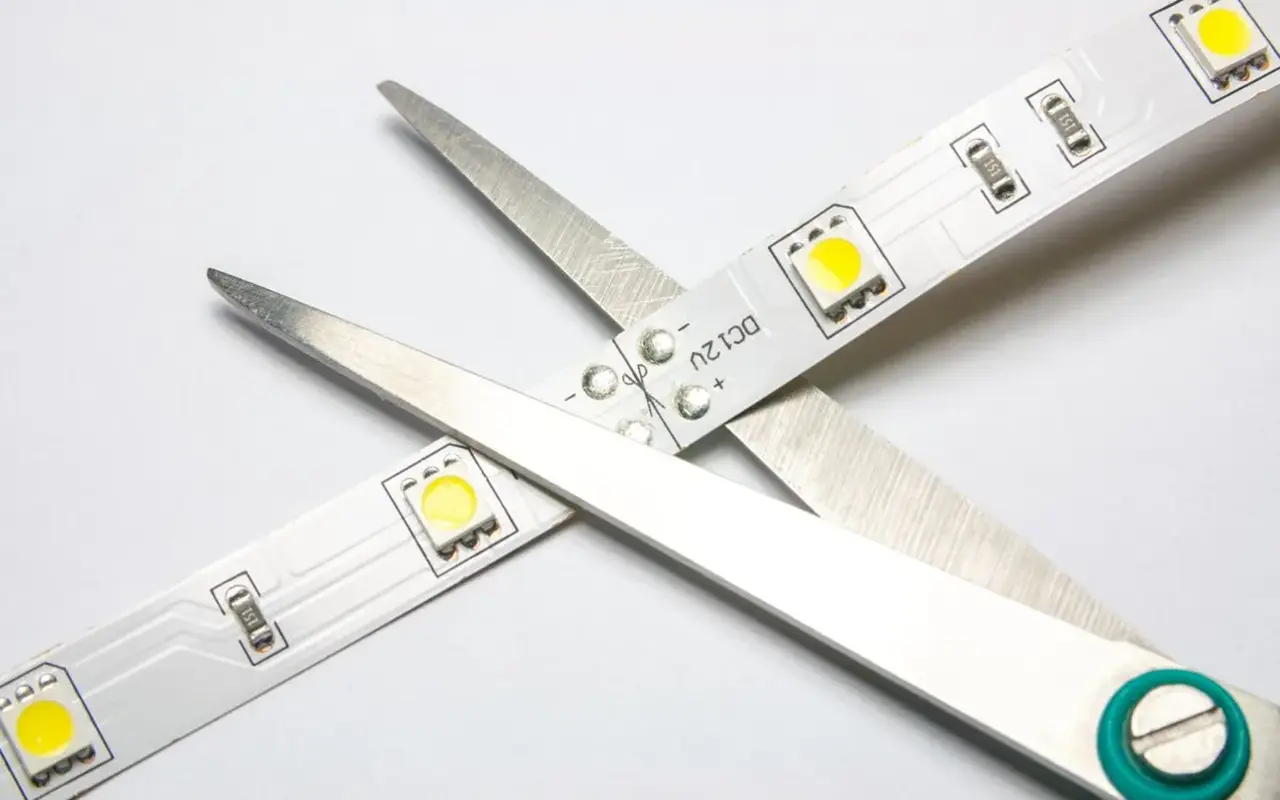
LED strip lights can be trimmed at designated cut lines to customize length without compromising functionality. Cutting elsewhere may lead to damage.
Dive deeper with us as we explore the precise art of trimming LED strip lights. Learn to identify cut lines, master the cutting process, and seamlessly reconnect segments, guaranteeing your lighting project shines brilliantly.
Identifying Cut Lines on LED Strips
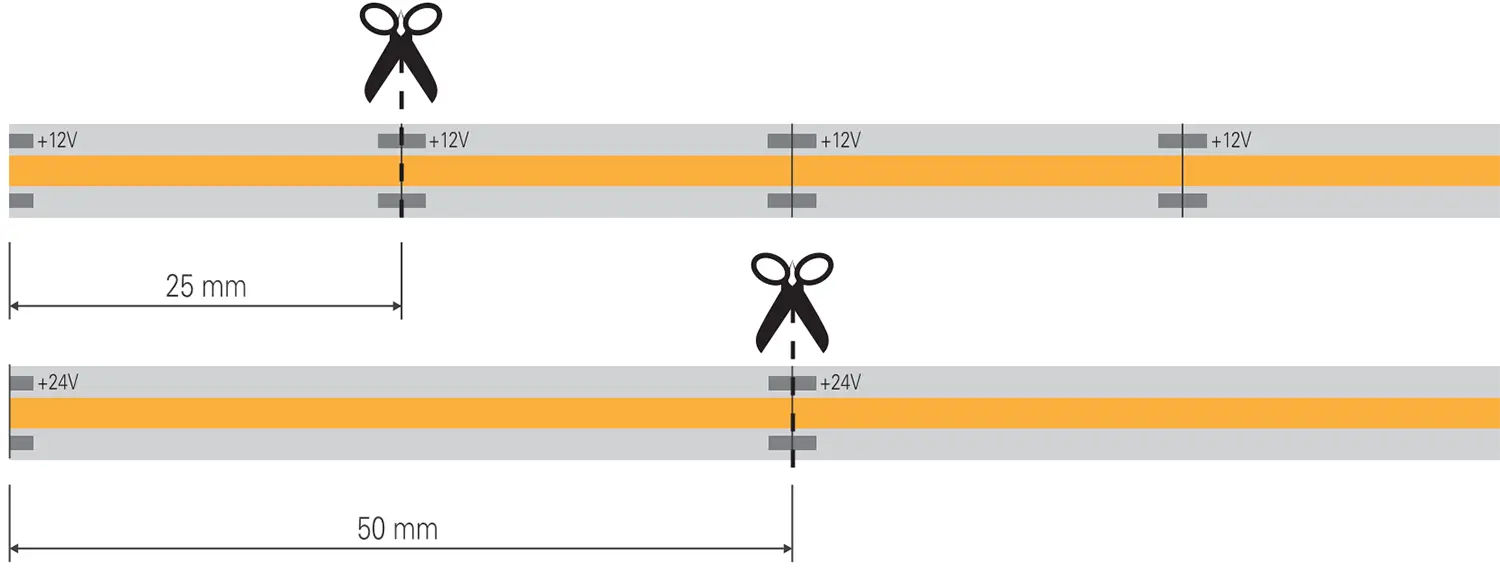
In the realm of LED strip lights, precision in cutting is critical. These versatile lighting solutions are equipped with clearly marked cut lines, serving as your guide to customizing length without hindering their functionality. Located strategically between LED chips, these lines are your green light for making adjustments, ensuring your design vision comes to life without a hitch.
Navigating the world of LED strip lights can be akin to artistry, especially when it comes to customization. At the heart of this process lies the ability to identify cut lines, ensuring your lighting project aligns perfectly with your vision without compromising the strip’s integrity. Each LED strip is meticulously designed, featuring a sequence of individual LED chips neatly arranged on a flexible circuit board. This design is not just for aesthetics; it’s a functional blueprint that segments the strip into manageable units.
These segments are more than just a collection of lights; they’re interconnected through a web of electrical circuits, each segment bounded by cut lines. These lines aren’t randomly placed. They’re carefully marked, usually with scissor icons or subtle dashed lines, serving as a visual cue for safe cutting. This marking is crucial, as it indicates the transition point between one electrical circuit and the next. It’s here, at these junctures, where you’re given the green light to tailor the strip to your desired length.
The beauty of these cut lines lies in their precision. They ensure that when you make a cut, you’re not severing an electrical circuit mid-way, which could render part of your LED strip inoperative. Instead, cutting along these lines maintains the continuity of the electrical flow, allowing each segment of the strip to function independently. This thoughtful design element ensures that you can customize the length of your LED strips without fear of damaging their functionality.
Essential Tools for Cutting LED Strips
When embarking on the journey of customizing LED strips, the arsenal of tools at your disposal can make or break the project. It’s not just about cutting; it’s about ensuring the cut is precise, clean, and, most importantly, safe for the strip’s functionality. The task might seem as simple as a snip here and there, but the reality is far more nuanced.
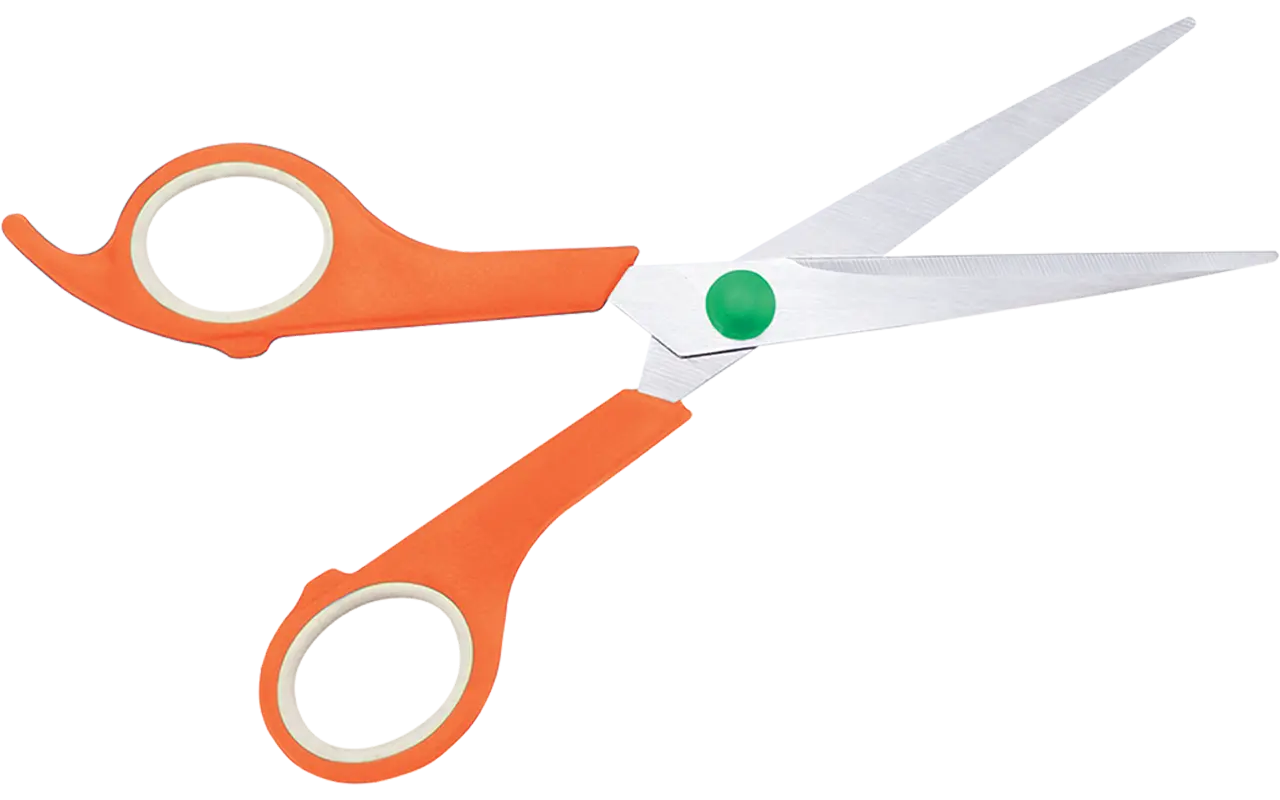
First and foremost, a pair of sharp scissors or a specialized cutter is non-negotiable. The emphasis on ‘sharp’ is paramount because a dull blade can fray the edges or crush the delicate circuitry within the strip, leading to potential malfunctions. The cleaner the cut, the easier it is to work with the strip post-trim.
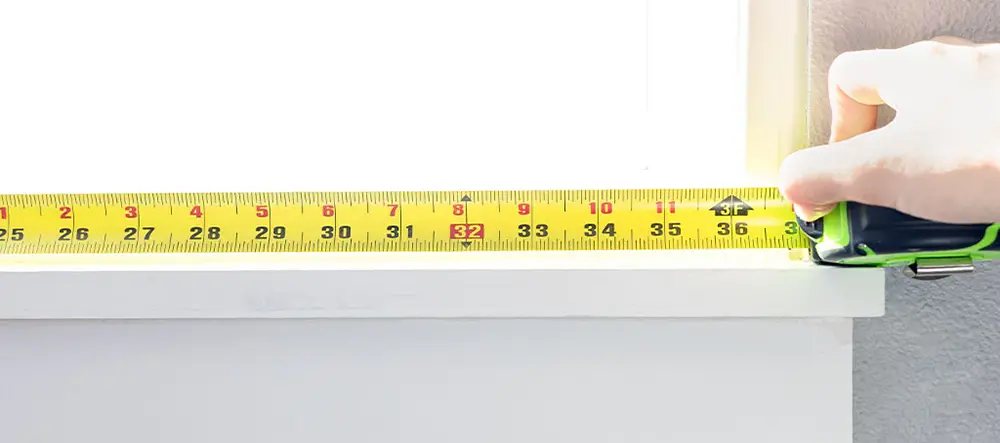
Equally crucial is a reliable measuring tape or a ruler. Precision in measurement ensures that your cuts align perfectly with your project’s requirements, eliminating guesswork and minimizing waste. It’s about striking the perfect balance between the strip’s existing cut lines and the dimensions of your designated space.
But it’s not just about having the right tools; it’s also about the method. Even pressure during cutting safeguards against jagged edges and preserves the integrity of the circuit paths. Think of it as a delicate dance between force and finesse, where each movement is calculated and deliberate.
Anecdotal wisdom suggests marking your cut point with a non-permanent marker or a piece of tape as a visual guide. This small step acts as a beacon, guiding your scissors or cutter along the path of least resistance and ensuring that your cuts are not just effective but also aesthetically pleasing.
In essence, the journey from a full-length LED strip to a customized lighting solution is a blend of art and science. With sharp scissors, a precise measuring tool, and a steady hand, you’re well-equipped to transform any space with the bespoke charm of LED lighting. Remember, the goal is not just to cut but to create—a vision brought to life with the right tools and a touch of creativity.
Step-by-Step Cutting Guide
Embarking on a project to customize your LED strip lights can be both exciting and a tad daunting. But worry not! With a systematic approach, you can ensure your LED strips are cut precisely, maintaining their functionality while achieving the desired effect for your space. Here’s a foolproof guide to cutting your LED strips, ensuring every step contributes to the success of your lighting project.
1. Measure Twice, Cut Once
The adage holds, especially when customizing LED strips. Begin by determining the exact length you need for your project. This might involve measuring the area where you intend to install the lights, be it under cabinets, along staircases, or around a mirror. Once you have the measurements, locate the nearest cut line on your LED strip. These lines are your safe zones, where cutting won’t interrupt the strip’s functionality.
2. Making the Cut
Armed with your sharp scissors or a cutter, align your tool with the designated cut line. It’s a moment that requires a steady hand and a focused eye. Apply even pressure as you cut, ensuring the blade follows the line precisely. A clean cut here not only preserves the aesthetics but also ensures the remaining strip remains fully operational.
3. The Litmus Test
Before you proceed to affix the strip to its final destination, there’s a crucial step you can’t skip – testing. Connect the freshly cut strip to a power source to ensure it lights up as expected. This step is akin to a dress rehearsal before the main event; it ensures that everything is in perfect working order. If the strip lights up without a hitch, you’ve successfully navigated the cutting process.
Reconnecting Cut LED Strip Segments
After successfully trimming your LED strip lights to the perfect length, you’re left with a valuable piece that seems ready for the discard pile. However, with a bit of know-how, these remnants can find new life in your project. Reconnecting these segments is not just doable; it’s a breeze with the right approach and tools.
Solderless Connectors: The Hassle-Free Method
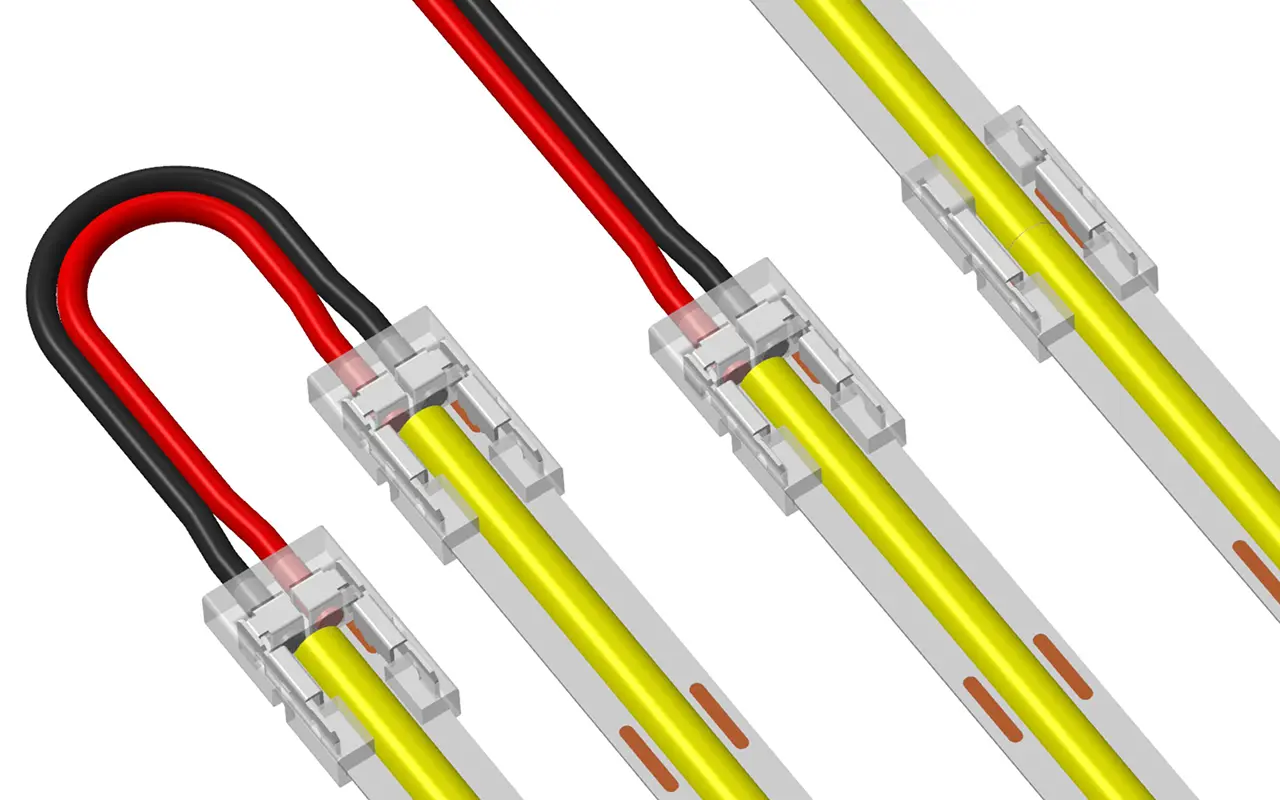
The world of LED lighting has been revolutionized with the introduction of solderless connectors. These nifty devices are designed to grip onto the exposed copper pads at the ends of your cut LED strips. The process is as simple as opening the connector, sliding in the strip, ensuring the copper pads align perfectly, and closing the connector to secure the strip. This method doesn’t just offer convenience; it provides a reliable electrical connection, breathing new life into your cut segments.
Soldering: For the Steadfast Connection
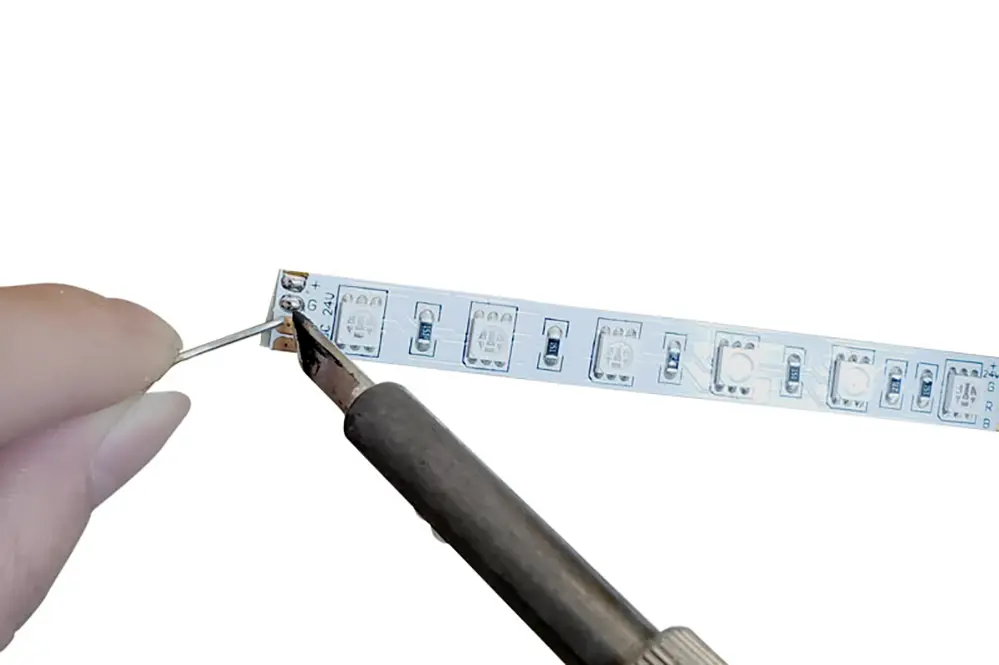
For those who are open to a bit of DIY, soldering offers a more permanent solution. This method involves directly attaching wires to the copper pads using a soldering iron. It might sound daunting, but with a steady hand and a bit of practice, soldering can ensure that your LED strips are connected securely, guaranteeing longevity and consistent performance.
Both methods have their merits, and the choice largely depends on your comfort level and the demands of your project. Solderless connectors offer a quick and easy solution, ideal for beginners or those looking for a temporary setup. On the other hand, soldering, while requiring a bit more skill, provides a robust and long-lasting connection, perfect for permanent installations.
Troubleshooting Post-Cut Issues
So, you’ve taken the plunge and customized your LED strip lights, but now you’re facing some hiccups. It’s not uncommon to encounter a few snags after cutting and reconnecting your LED strips. The good news? Most of these issues have straightforward fixes that don’t require a call to a professional.
Uneven Brightness
One common issue is variable brightness across the strip. This often stems from inconsistencies in the cutting process or disparities in the power supply across the reconnected segments. To combat this, ensure that each cut is made precisely at the designated cut lines. If the problem persists, inspect the power distribution to make sure each segment receives an equal amount of power. Sometimes, a simple adjustment or reconnection can restore uniform brightness.
Non-Functioning Segments
Another frequent challenge is segments that refuse to light up. This is usually a tell-tale sign of a loose or improper connection. Revisit the connectors to ensure they’re securely fastened and making good contact with the copper pads. It’s also worth examining the cut itself; a jagged or off-line cut can disrupt the circuit, leading to dead zones in your lighting.
Faulty Connectors
Connectors can sometimes be the culprits behind malfunctioning LED strips. If you’ve double-checked your cuts and connections but still face issues, consider swapping out the connectors. A faulty connector can interrupt the electrical flow, rendering parts of your strip inoperative. A fresh connector might be the solution you need.
FAQs on Cutting LED Strip Lights
Can I trim LED strip lights to fit any space in my home?
Absolutely! LED strip lights are designed with specific cut lines to customize their length safely. Cutting along these lines ensures the strip functions properly, allowing you to tailor lighting for any area of your home.
What happens if I accidentally cut my LED strip outside the designated lines?
Cutting outside the designated lines may disrupt the electrical circuit, potentially causing that section of the strip not to light up. It’s crucial to cut precisely along the marked lines to maintain functionality.
Are there any special tools needed to cut LED strip lights?
For a clean and precise cut, all you need are sharp scissors or a utility knife. Ensure the tool is strong enough to avoid damaging the strip, and always cut at the marked lines.
Can I reconnect segments of LED strip lights after cutting?
Yes, you can reconnect segments using solderless connectors or by soldering wires directly to the copper pads. These methods ensure a continuous power flow and allow you to extend or reconfigure your lighting setup.
Will cutting my LED strip lights void the warranty?
Cutting LED strip lights might void the warranty, depending on the manufacturer’s policy. It’s recommended to check the product details or contact customer service before making any modifications.
Can we cut and reuse the remainder of the LED strip after trimming?
Definitely! The remaining piece can be reused by attaching a new power connector or using a strip connector to join it with another strip, expanding your lighting project’s versatility.
How do I ensure a safe cut on my LED strip lights?
Disconnect the strip from the power source before cutting to avoid electrical hazards. Then, measure and mark the desired length near a designated cut line for a safe and precise trim.
Can all types of LED strip lights be cut, including RGB or waterproof versions?
Most LED strip lights, including RGB and waterproof models, have cut lines for customization. However, it’s essential to verify the specific product’s instructions, as some specialized strips may have different requirements.
What should I do if my LED strip doesn’t light up after cutting and reconnecting?
Double-check the connections and ensure the polarity matches. If issues persist, inspect the cut for precision and cleanliness. Sometimes, re-cutting at the nearest designated line can resolve the problem.
How can I avoid uneven brightness or color issues after cutting my LED strip lights?
Ensure cuts are made cleanly at the designated lines and that all connections are secure. Using quality connectors and maintaining consistent power supply levels across all segments can help prevent these issues.
결론
Customizing LED strip lights by cutting them to fit specific spaces can enhance any lighting project, adding a personalized touch to your decor. Armed with the knowledge from this comprehensive guide, you’re now ready to tackle your LED strip light projects with confidence, ensuring success in every cut and connection. Whether it’s creating ambient lighting or accentuating specific areas, your lighting setup is bound to shine.
Diving into the world of LED strip lights opens up a realm of creative possibilities, allowing you to bring a custom touch to any space. With the insights from this in-depth guide, you’re well-equipped to tailor your LED strip lights with confidence, ensuring each cut and connection enhances your project’s brilliance. For those looking to elevate their lighting game even further, 유니탑 stands as a beacon in the vast LED landscape. As one of China’s premier manufacturers of LED 스트립 조명 그리고 LED 네온 플렉스, Unitop offers unparalleled quality and innovation. If you find yourself with lingering questions or specific requirements, don’t hesitate to 연락하기. Embrace the opportunity to collaborate with Unitop, where your lighting visions can turn into luminous realities backed by professional expertise and a commitment to excellence in the LED industry.
관련 문서

Tom은 현재 다음의 영업 관리자입니다. 유니탑(중국) 유한공사. 그는 LED 조명 업계에서 2005년부터 근무하고 있습니다. 그는 영업 및 마케팅, 공장 관리 분야의 전문가입니다. 보디빌딩을 좋아하고 애플의 열렬한 팬이기도 합니다! 그는 열심히 일하는 사람이며 새로운 것을 배우고 시도하는 것을 좋아합니다.
이메일: tom@unitopledstrip.com WhatsApp: +86-18680307140



댓글을 남겨주세요
토론에 참여하고 싶으신가요?자유롭게 기여해 주세요!