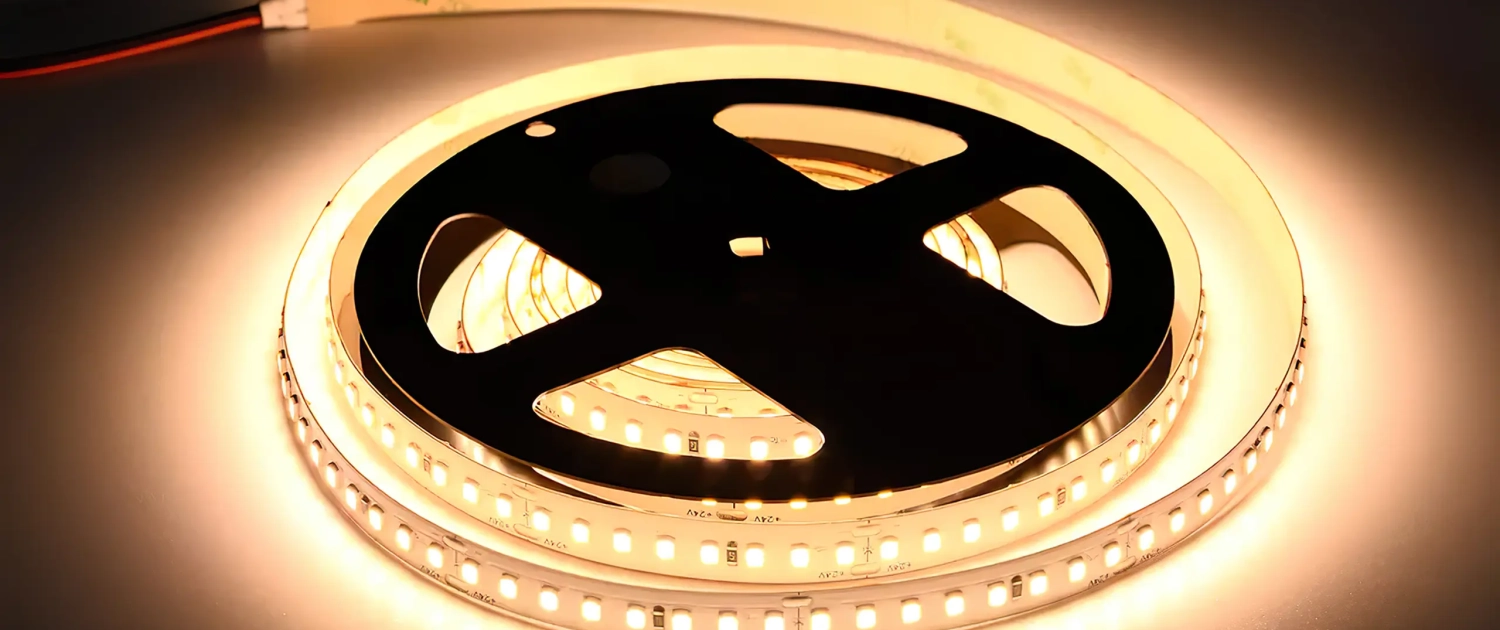
Want to give your space a dazzling makeover? Installing LED strip lights on the ceiling might be the perfect solution! These lights aren’t just eye-catching; they transform ordinary spaces into extraordinary ones. But how do you install them like a pro? That’s what we’re here to explore!
Installing LED strip lights correctly is more than just sticking them to the ceiling. You want your décor to blend well, save energy, and be safe. This guide is for you if you want to upgrade your home or create an appealing atmosphere for your business.
Allow me to introduce myself – I’m Tom. Having been in the LED lighting industry since 2005, I’ve seen and done it all. I have learned a lot about simple home installations and complex commercial projects. I am excited to share this knowledge. Let’s figure out how to install LED strip lights on your ceiling without any trouble.
Ready to light up your life? Whether you’re new to playing with LEDs or experienced, this guide is for everyone. Let’s dive right in, shall we? Everything you need, from the must-have tools to the common mistakes to avoid, is right here. Happy lighting!
Why Choose LED Strip Lights?
Efficienza energetica
LED strip lights consume less energy compared to conventional lighting solutions. They translate more energy into light rather than wasting it as heat. This not only lowers your energy bills but also helps in reducing your carbon footprint. It’s an elegant step towards a greener future.
Versatility in Design
The magic of LED strip lights lies in their versatility. You can customize them by trimming and selecting colors that match your décor. From living rooms to kitchens, they bring creativity into any space.
Considerazioni sulla sicurezza
LEDs are cool to the touch and run on low voltage, reducing the risk of electric shocks or burns. They come with the peace of mind that safety doesn’t have to be compromised for style.
Tools, Materials, and Pre-Requisites
Essential Tools
Installing LED strip lights is a thrilling DIY project but demands the right tools. Here’s an expanded list of tools you’ll need:
A pair of scissors: Cut the LED strips to the desired length.
Soldering iron (if required): You may need a soldering iron to securely connect different strips together.
Spelafili: Wire strippers are necessary to remove insulation from wire ends, making connections easier.
Measuring tape: To accurately measure the area where the strip lights will be installed, ensuring a perfect fit.
Ladder: To safely reach elevated areas during installation.
Toolbox: The toolbox contains useful tools such as screwdrivers, pliers, a utility knife, and possibly a drill for brackets.
Choosing the Right LED Strip Lights
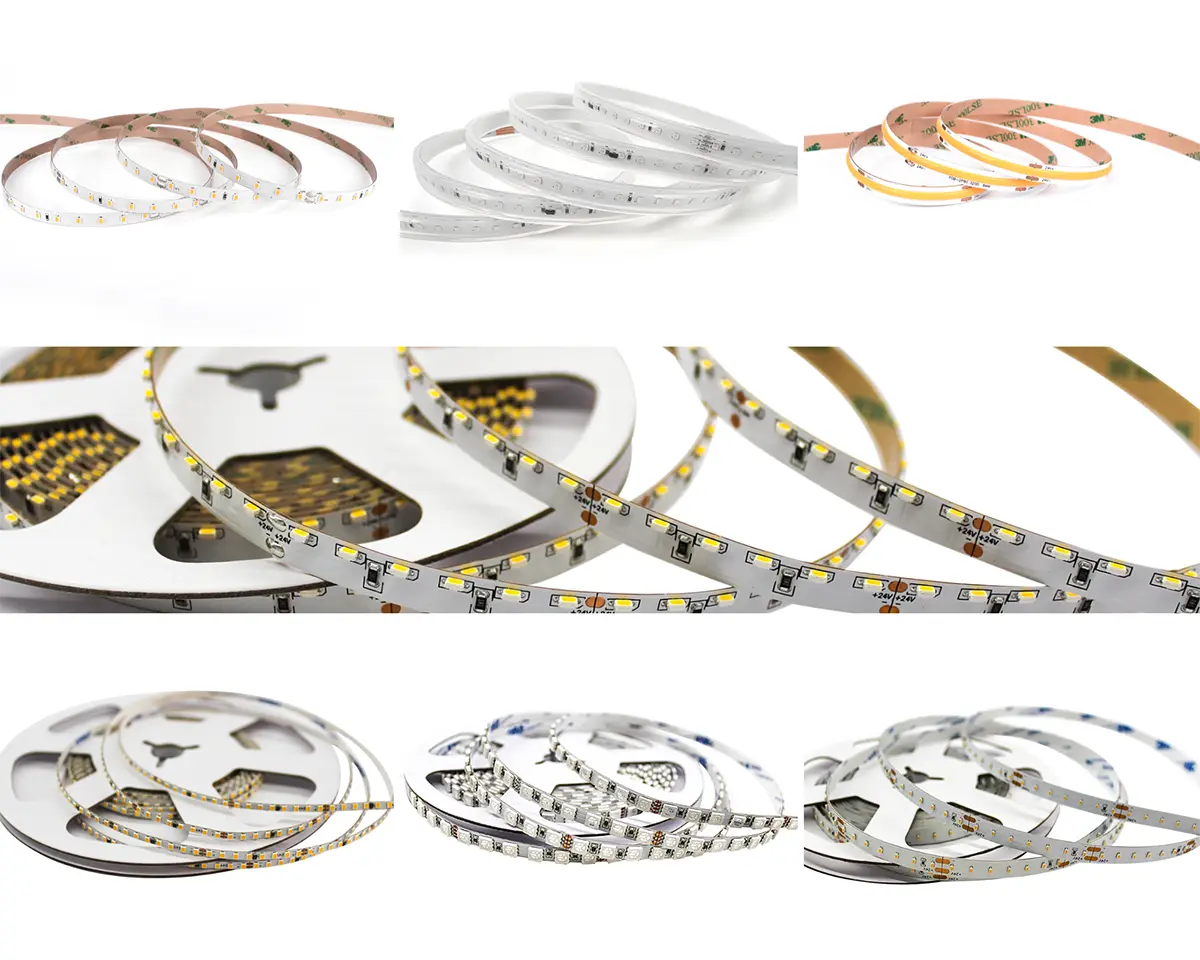
Choosing the right LED strip light is important to get the effect you want. Consider these key aspects:
Brightness Level: Consider the room’s requirements. A living room might need gentle lighting, while a workspace may need brighter lights.
Color Spectrum: Decide between single-color or multi-color strips. Multi-color options can create dynamic effects, adding character to your space.
Water Resistance: Check the IP rating if installed in a bathroom or other humid environment. An IP67 rating ensures water resistance for areas exposed to moisture.
Length: The LED strip must be long enough to cover the desired area but can usually be cut to size.
Voltage and Power: Confirm that the power adapter matches the LED strip’s voltage to prevent overheating and other electrical issues.
Required Skills & Some Points to Ponder
You don’t need to know a lot about electricity to install LED strip lights, but knowing some basics can help. Here’s what to keep in mind:
Basic Electrical Knowledge: Understanding positive and negative connections, soldering, and how to handle simple wiring is essential.
Steady Hand and Patience: This isn’t a race. Take your time to measure, cut, and place the strips accurately.
Reading the Manual: LED strips might have unique features or installation requirements. Always refer to the product manual for specific instructions.
Trial Connection: Before finalizing the installation, test the connections and lighting to ensure everything works as intended.
Consider Professional Help if Needed: Don’t hesitate to seek professional assistance if the task seems too complex. Safety and proper installation should be paramount.
Planning and Preparing the Ceiling for Installation
Proper planning and preparation set the stage for successfully installing LED strip lights. Clean and measure carefully to ensure everything is in the right place. Also, remember to follow safety rules.
Where Should LED Strips Be Placed on a Ceiling?
Placement is a central factor in achieving the desired lighting effect. Where you place your LED strips can greatly affect how your space looks and works. Consider these essential points:
Illuminazione d'accento: Highlighting specific artworks, architectural features, or focal points with strategically placed LED strips can enhance the visual appeal of a room.
Task Lighting: Installing LED strips in work areas, such as over a kitchen counter or a workspace, provides essential illumination for various tasks.
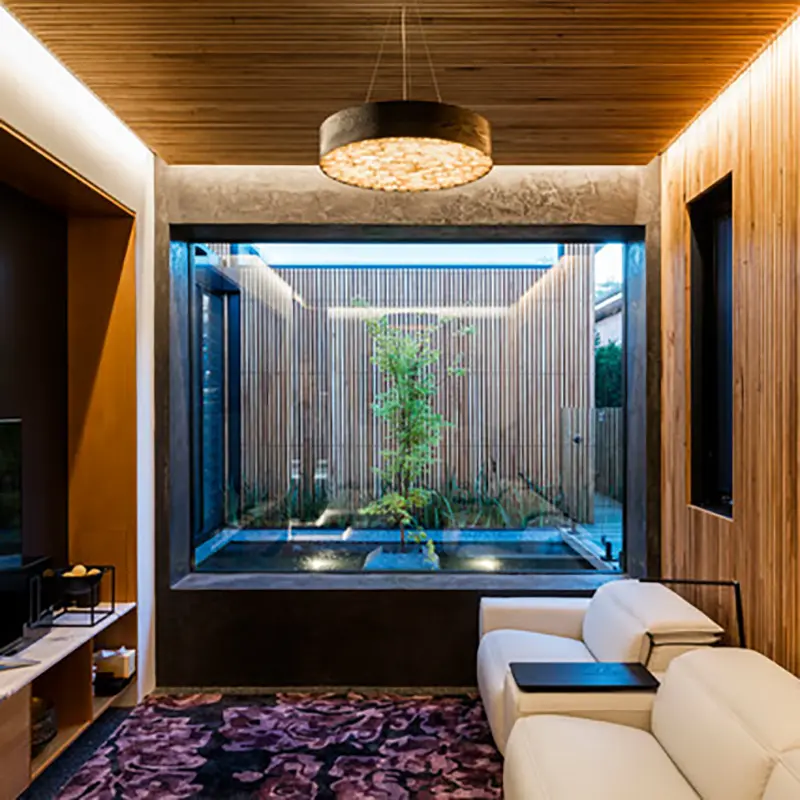
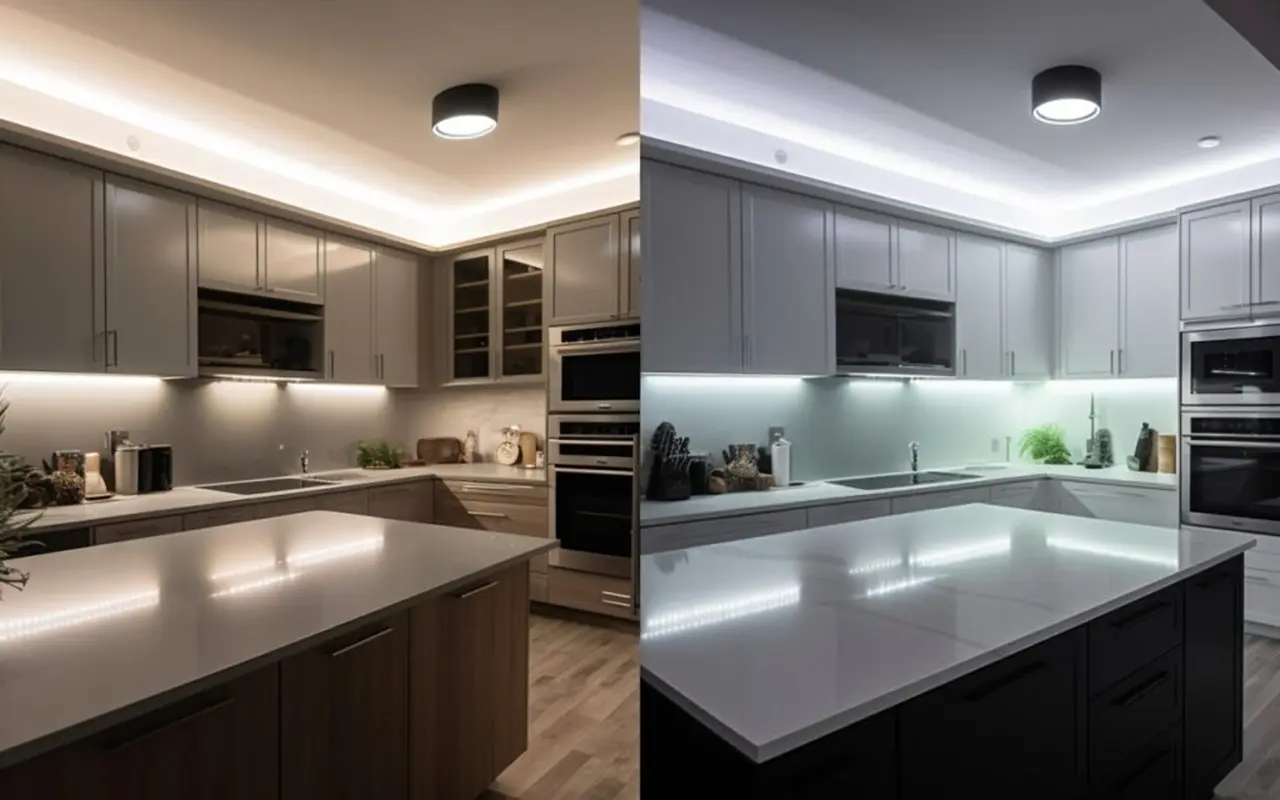
Ambient Lighting: Soft lighting around the perimeter of a room or behind fixtures creates a cozy, welcoming atmosphere that’s perfect for relaxation.
Special Features Lighting: If you have alcoves, coves, or other unique architectural features, LED strips can accentuate these details.
Cleaning and Measuring
An impeccable installation requires a clean and accurately measured area. Here’s how to proceed:
Cleaning: Ensure that the surface is clean, dust-free, and dry. This guarantees better adhesion of the adhesive backing on the LED strips. Usually, a mild cleaning solution and wiping with a dry cloth is enough.
Measuring:
1. Using a measuring tape, measure the area where the LED strips will be placed.
2. Measure the strip carefully, including corners and curves, to find the exact length you need.
3. Double-check to avoid errors that could lead to unnecessary cuts or extensions.
Precauzioni di sicurezza
Safety should always be your priority. While the installation process is generally straightforward, observing these safety precautions is crucial:
Turn Off Power While Working: Ensure that the power is turned off in the area where you are working. This minimizes the risk of accidental shocks or shorts.
Use a Stable Ladder: Use a stable and suitable ladder or step stool to reach high places. Ensure it’s placed on an even surface, and maintain proper balance.
Follow the instructions from the manufacturer: Read and follow the guidelines for installing and handling the product.
When in Doubt, Consult a Professional: If you encounter any complexities or feel uncertain about any aspect of the installation, it’s wise to consult a professional electrician. Safety and quality should never be compromised.
Step-by-Step Guide to Installing LED Strip Lights
You might think it’s hard to install LED strip lights, but it can be fun if you follow a step-by-step method. This guide will show you how to achieve a flawless finish for regular or specialized false ceiling installations.
Wiring and Mounting the Lights
Proper wiring and mounting are pivotal in the installation process. Let’s explore the various steps in detail:
Find the power source
Start by identifying a power outlet close to where the LED strip will begin. This location should provide easy access and minimize the visible wiring. If there is no outlet in the perfect place, you can ask an electrician to install a new one. This will keep the space looking nice.
Cut the strip light to size
Measure the length required and use scissors to cut the strip light at the marked areas. Always follow the designated cutting lines specifically designed to preserve the circuitry. Cutting at unmarked areas can damage the strips.
Remove the adhesive backing
Peeling off the adhesive backing requires care. Do it slowly to ensure the adhesive doesn’t come off with the backing. Proper removal ensures maximum stickiness for secure attachment.
Stick the lights to the ceiling
Press the lights firmly onto the cleaned surface, following your planned path. Applying gentle yet firm pressure helps with bonding. Regular checks prevent issues like peeling or sagging.
Connect the power supply
Finally, plug the power adaptor into the outlet and connect it to the LED strip. To look professional, use clips or conduits to keep the wiring neat and organized.
Installing LED Strip Lights in False Ceiling
Adding LED strips to a false ceiling makes it look fancy, but you have to be careful and precise.
Cut a Channel in the Ceiling: Determine the best path and cut a channel in the ceiling to lay the LED strip. This might require specialized tools and a steady hand.
Lay the LED Strip Within the Channel: Place the LED strip inside the channel, ensuring it sits flush.
Hide the Wires Behind the Ceiling: Conceal the connecting wires carefully behind the ceiling for a sleek and seamless look.
Putting Your Lights in Place
L'allineamento è fondamentale nel processo di installazione. Usate gli occhi, uno strumento di livella e un metro per assicurarvi che la striscia sia dritta. Potrebbero essere necessari piccoli aggiustamenti per mantenere un aspetto uniforme.
Come installare le strisce LED sugli angoli del soffitto?
La navigazione in curva può essere complicata, ma è abbastanza gestibile con il giusto approccio:
Taglio: Tagliare le strisce LED nei punti d'angolo contrassegnati. Questi punti sono progettati per una piegatura precisa senza danneggiare le luci.
Utilizzare i connettori: Sono disponibili connettori speciali per mantenere il flusso intorno agli angoli. Le luci possono girare agevolmente intorno agli angoli senza spazi vuoti o interruzioni.
Suggerimenti e trucchi per una finitura professionale
Le strisce LED offrono una soluzione di illuminazione versatile ed elegante. L'installazione è facile, ma può diventare un'opera d'arte se le si dedica attenzione e creatività. Ecco come ottenere una finitura professionale, rendendo il vostro spazio funzionale ed elegante.
Controllo delle luci
Il controllo dell'illuminazione può trasformare l'atmosfera di qualsiasi stanza. Ecco come massimizzare questo controllo:
Utilizzare un interruttore dimmer
Un interruttore dimmer consente di regolare l'intensità delle luci senza sforzo. L'interruttore dimmer può regolare l'atmosfera, sia che si desideri un'atmosfera romantica o una migliore illuminazione per il lavoro.
Utilizzare più colori
Le strisce luminose a LED sono disponibili in una varietà di colori. Si possono mescolare e abbinare per creare temi o cambiare l'ambiente in base all'umore o alla stagione.
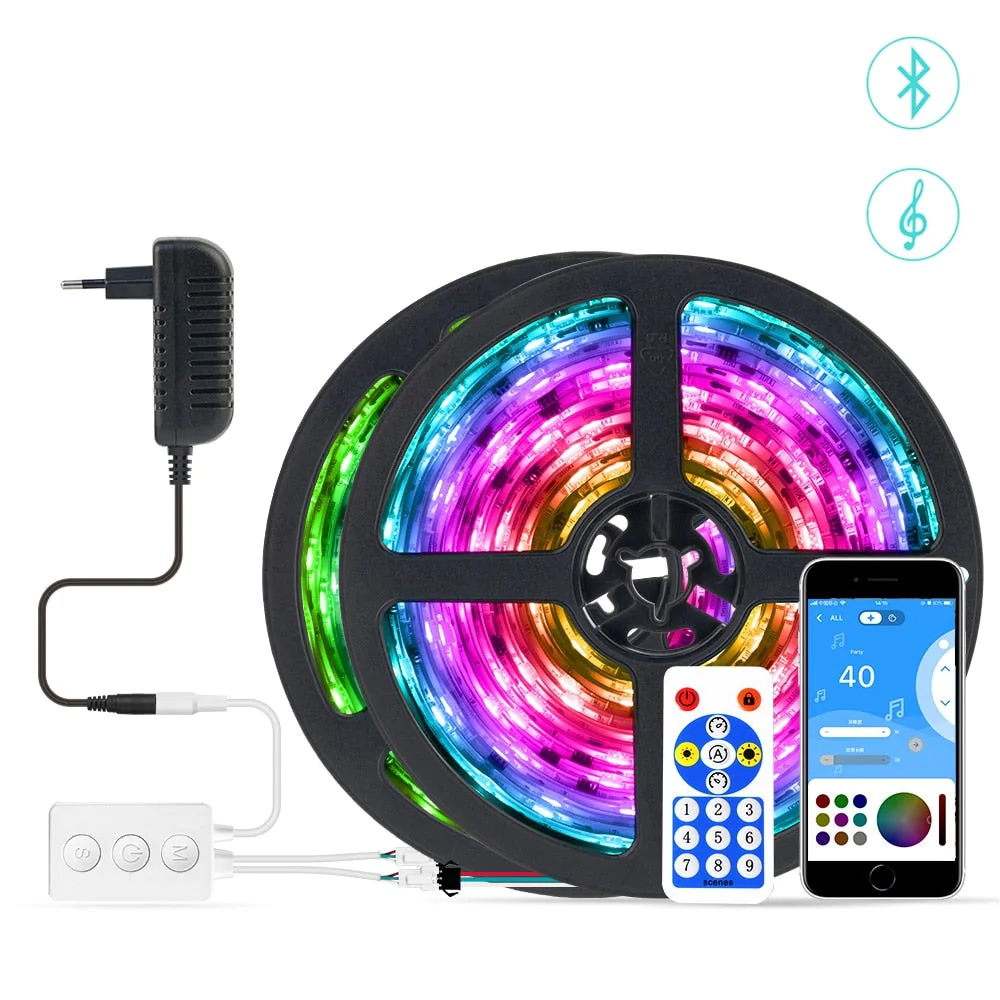
Installare luci telecomandate
Le luci LED telecomandate offrono una comodità a portata di mano. È possibile utilizzare un telecomando per spegnere le luci o cambiarne il colore mentre si è a letto.
Installare luci con sensore di movimento
I sensori di movimento sono ideali per i corridoi e i bagni. Accendono le luci quando servono e le spengono quando non sono utilizzate. Questa aggiunta intelligente aumenta la sicurezza e fa risparmiare energia.
Aggiungere un timer
L'aggiunta di un timer alle vostre strisce LED può contribuire all'efficienza energetica. Programmate l'accensione e lo spegnimento in base alle vostre abitudini, assicurandovi che vengano utilizzate solo quando necessario.
Nascondere i fili
I fili scoperti possono sminuire l'aspetto elegante della vostra installazione LED. Ecco una soluzione:
Come nascondere il cavo di alimentazione e i connettori delle luci LED?
Investite in copricavi che si abbinino al colore delle pareti o del soffitto. Far passare i cavi attraverso le pareti è un altro tocco professionale. Per nascondere i cavi e ottenere un aspetto elegante e raffinato, utilizzate queste tecniche.
Regolazione della luminosità
Spazi diversi richiedono livelli di luminosità diversi. Sentitevi liberi di sperimentare per trovare quello che si adatta meglio al vostro spazio. Il giusto livello di luminosità può rendere tranquillo qualsiasi ambiente, come una cucina ben illuminata o una camera da letto accogliente.
Coordinamento dei colori
La scelta del colore perfetto richiede un tocco artistico. Scegliete colori che si abbinino bene all'arredamento, alle pareti o agli accessori attuali. Sentitevi liberi di esprimere voi stessi con colori contrastanti o complementari. Le luci LED possono diventare parte integrante dell'arredamento, non solo un'aggiunta funzionale.
Errori comuni e come evitarli
L'installazione di strisce luminose a LED può essere un compito entusiasmante ma complesso. Anche gli esperti del fai-da-te possono aver bisogno di aiuto per capire le insidie più comuni. Il segreto per un'installazione senza intoppi è sapere quali sono gli errori a cui prestare attenzione e come evitarli.
Problemi di surriscaldamento
I LED possono essere più efficienti dal punto di vista energetico rispetto alle lampadine tradizionali, ma possono comunque generare calore. Se non si fa attenzione, si possono verificare problemi di surriscaldamento:
Evitare i materiali isolanti: Non coprire i LED con oggetti che possano intrappolare il calore, come schiuma o tessuti pesanti. Ciò potrebbe causare un surriscaldamento e ridurre la durata delle luci.
Garantire una ventilazione adeguata: Posizionare i LED in un'area ben ventilata o prevedere uno spazio per la dissipazione del calore. In questo modo, le luci funzionano in modo efficiente per lungo tempo.
Illuminazione incoerente
Una luminosità o un colore incoerenti possono rovinare l'impatto visivo delle strisce LED:
Utilizzare strisce LED di qualità: Scegliere marchi affidabili noti per la loro qualità. Assicura che tutti i LED di una striscia siano coerenti in termini di luminosità e colore.
Verificare la compatibilità: Assicurarsi che tutti i componenti, compresi gli alimentatori e i controller, siano compatibili per evitare incongruenze nella luminosità.
Errori di sicurezza
La sicurezza non deve mai essere trascurata quando si lavora con gli impianti elettrici:
Leggere attentamente le istruzioni: Leggere e seguire sempre le linee guida fornite dal produttore.
Consultare i professionisti in caso di dubbio: È consigliabile consultare un professionista se qualcosa non quadra. Un semplice consulto potrebbe prevenire problemi significativi.
Manutenzione e cura
Il viaggio continua una volta installate le strisce LED. Per far sì che il vostro sistema LED duri più a lungo e rimanga luminoso, prendetevene cura regolarmente.
Cleaning Tips
LEDs require gentle handling:
Wipe Gently: Use a dry or slightly damp cloth to wipe the surface of your LED strip lights. Heavy or wet cleaning can damage the lights.
Avoid Harsh Chemicals: Avoid cleaning agents that might corrode or damage the LED surface.
Replacing Sections
LEDs are robust, but sometimes sections can go wrong:
Easy Replacement: Cut out the wrong section and replace it with a new one. Make sure to properly cut along the designated lines and connect the new piece.
Garanzia e assistenza
Your LED strip lights likely come with a warranty and support package:
Keep Documents Handy: Always have your warranty and support documents accessible. In case something goes wrong, these documents can save you a lot of time and money.
Understand Your Coverage: Knowing what’s covered under the warranty helps you take the proper steps in the event of a malfunction.
Domande frequenti
Quanto durano le strisce LED?
LED strip lights typically last 25,000 to 50,000 hours, depending on their quality and usage. To make them last longer, install and maintain them correctly as instructed by the manufacturer.
Can LED strip lights be repaired?
Yes, LED strip lights can often be repaired. If a section is damaged, it can usually be cut out and replaced with a new segment using connectors. However, it’s essential to ensure compatibility and follow the correct procedures.
How to install LED strip lights on the ceiling without damaging the wall?
Carefully plan and use proper mounting methods to install LED strip lights without damaging the wall. To protect your walls and ceiling, use adhesive backings, mounting clips, or brackets during installation.
How do you stick LED strips to a room?
Sticking LED strips in a room usually involves using the adhesive backing of most LED strips. First, make sure to clean the surface well. Then, peel off the protective layer. Finally, press the strips firmly onto the surface.
How do you connect LED strip lights to a power supply?
To connect LED strip lights to a power supply, follow these steps:
1. Cut the strip to the desired length.
2. Attach connectors, if necessary.
3. Connect the strip to the correct power adapter. To install safely and effectively, make sure the voltage and wattage match each other.
Where should I place LED strips on the ceiling?
Placement of LED strips on the ceiling depends on the design and lighting effect you desire. Common places for lighting include edges, coving, and specific patterns.
How to install LED strip lights in the false ceiling?
To install LED strip lights in a false ceiling, you need to create spaces in the ceiling for the lights. To achieve a seamless look, measure carefully, plan well, and maybe consult with a professional.
How can I hide LED strips on the ceiling?
You can hide LED strips on the ceiling in different ways. One way is to embed them in coving. Another way is to place them behind architectural features. You can also use specially designed channels. The goal is to create a clean and discreet lighting effect.
Are LED strips easy to install?
Generally, LED strips are considered user-friendly and suitable for DIY installation. Even beginners can easily follow a guide, use the right tools, and take their time.
Can I use double-sided tape to hang LED lights?
You can use double-sided tape to hang LED lights, but it might not be as durable as the adhesive made for LED strips. Using it as a temporary fix is okay, but it’s not advisable for permanent use.
Conclusione
LED strip lights are more than just a trend. They’re a statement of style, efficiency, and creativity. You don’t have to be a professional to install them. With this comprehensive guide, you’re well on your way to transforming your space like a pro. So go ahead, experiment, and let your lights shine bright.
Looking to take your LED lighting project to the next level? Turn to Unitop, one of China’s top Luci a striscia LED e LED al neon flessibile manufacturers. We pride ourselves on quality, innovation, and customer service that’s second to none. If you’ve got more questions or need a hand with your lighting project, raggiungere. We’re here to help and can’t wait to light up your space. Unitop has your back every step of the way.
Articolo correlato

Tom è ora il Direttore Vendite di Unitop (Cina) Co., Limited. È stato nella Illuminazione a LED industria dal 2005. È un esperto di vendite e marketing e di gestione della fabbrica. Gli piace il bodybuilding ed è anche un fan sfegatato di Apple! È un lavoratore instancabile e ama imparare e provare cose nuove.
Email: tom@unitopledstrip.com WhatsApp: +86-18680307140



Lascia un Commento
Vuoi partecipare alla discussione?Sentitevi liberi di contribuire!