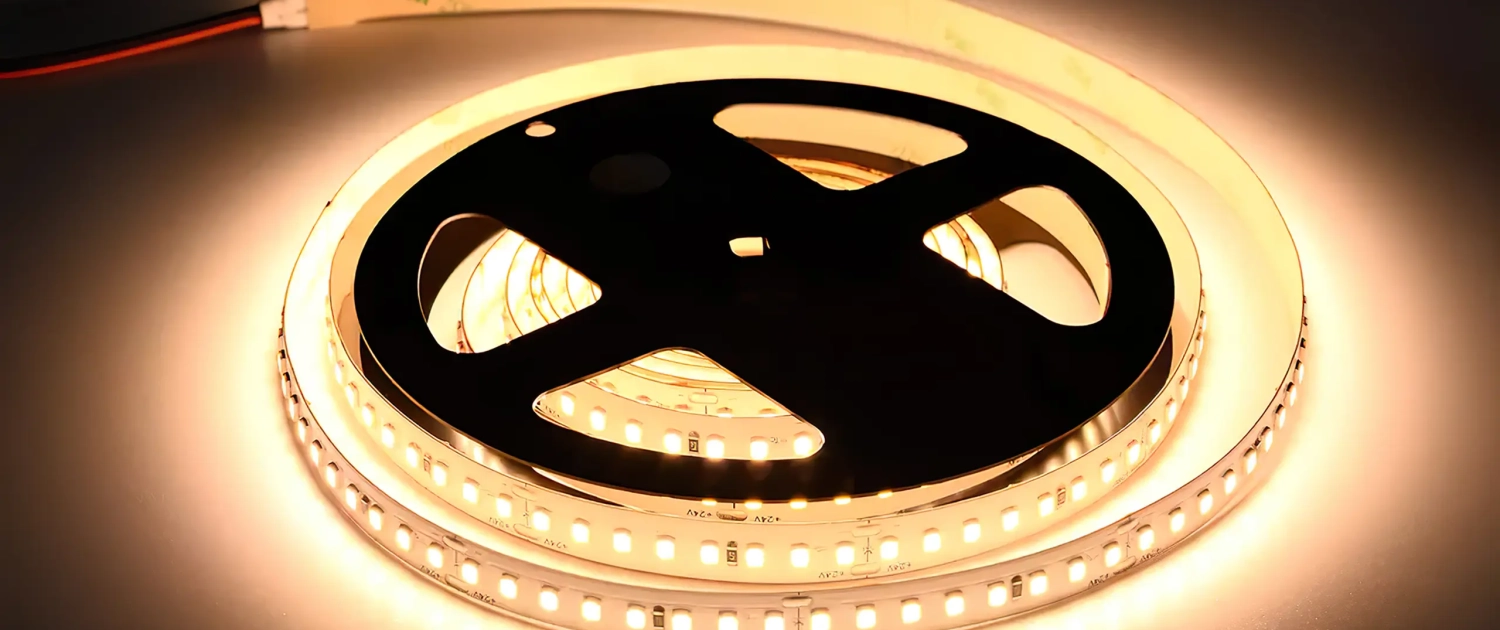
Want to give your space a dazzling makeover? Installing LED strip lights on the ceiling might be the perfect solution! These lights aren’t just eye-catching; they transform ordinary spaces into extraordinary ones. But how do you install them like a pro? That’s what we’re here to explore!
Installing LED strip lights correctly is more than just sticking them to the ceiling. You want your décor to blend well, save energy, and be safe. This guide is for you if you want to upgrade your home or create an appealing atmosphere for your business.
Allow me to introduce myself – I’m Tom. Having been in the LED lighting industry since 2005, I’ve seen and done it all. I have learned a lot about simple home installations and complex commercial projects. I am excited to share this knowledge. Let’s figure out how to install LED strip lights on your ceiling without any trouble.
Ready to light up your life? Whether you’re new to playing with LEDs or experienced, this guide is for everyone. Let’s dive right in, shall we? Everything you need, from the must-have tools to the common mistakes to avoid, is right here. Happy lighting!
Why Choose LED Strip Lights?
Energieffektivitet
LED strip lights consume less energy compared to conventional lighting solutions. They translate more energy into light rather than wasting it as heat. This not only lowers your energy bills but also helps in reducing your carbon footprint. It’s an elegant step towards a greener future.
Versatility in Design
The magic of LED strip lights lies in their versatility. You can customize them by trimming and selecting colors that match your décor. From living rooms to kitchens, they bring creativity into any space.
Safety Considerations
LEDs are cool to the touch and run on low voltage, reducing the risk of electric shocks or burns. They come with the peace of mind that safety doesn’t have to be compromised for style.
Tools, Materials, and Pre-Requisites
Vigtige værktøjer
Installing LED strip lights is a thrilling DIY project but demands the right tools. Here’s an expanded list of tools you’ll need:
A pair of scissors: Cut the LED strips to the desired length.
Soldering iron (if required): You may need a soldering iron to securely connect different strips together.
Afisoleringstang: Wire strippers are necessary to remove insulation from wire ends, making connections easier.
Measuring tape: To accurately measure the area where the strip lights will be installed, ensuring a perfect fit.
Ladder: To safely reach elevated areas during installation.
Toolbox: The toolbox contains useful tools such as screwdrivers, pliers, a utility knife, and possibly a drill for brackets.
Choosing the Right LED Strip Lights
Choosing the right LED strip light is important to get the effect you want. Consider these key aspects:
Brightness Level: Consider the room’s requirements. A living room might need gentle lighting, while a workspace may need brighter lights.
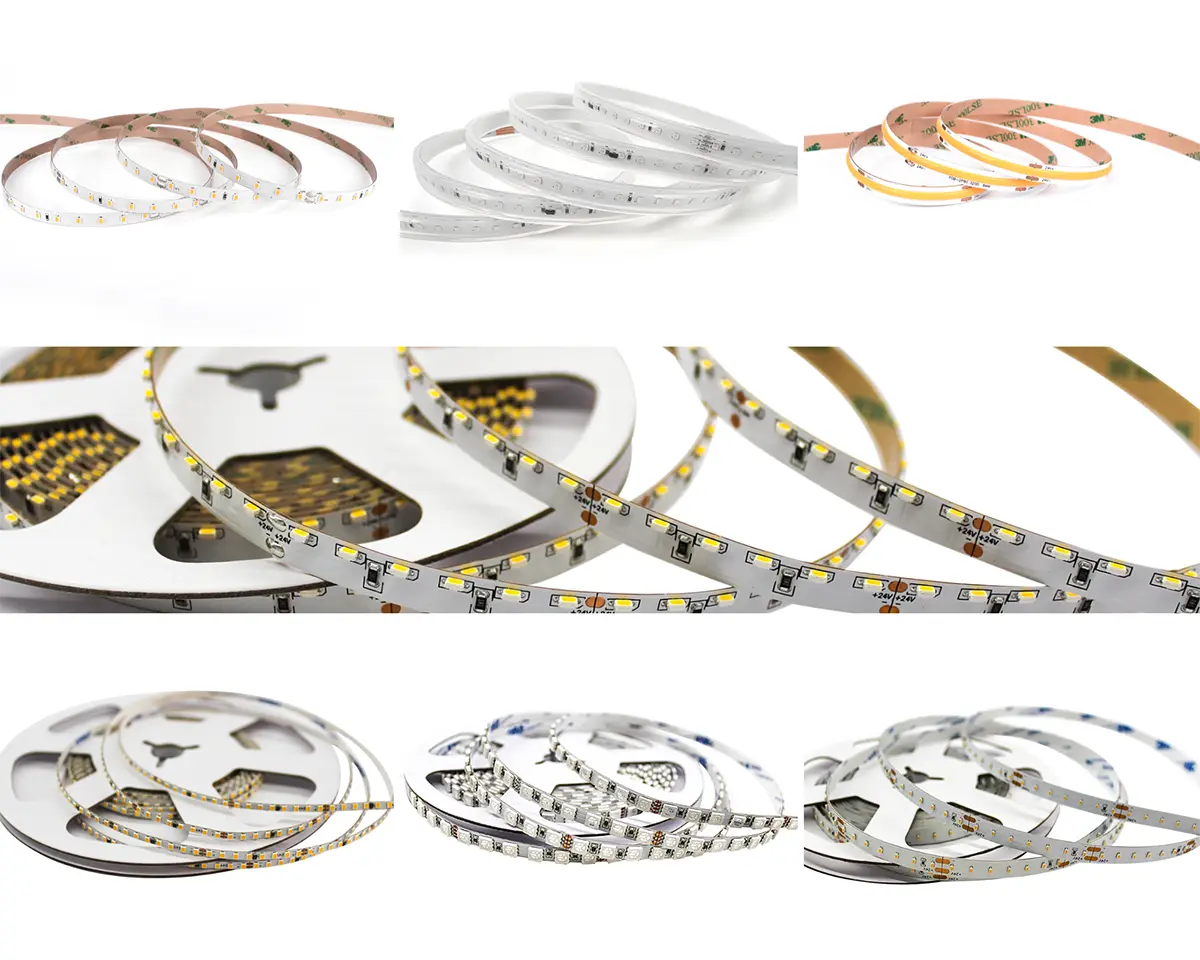
Color Spectrum: Decide between single-color or multi-color strips. Multi-color options can create dynamic effects, adding character to your space.
Water Resistance: Check the IP rating if installed in a bathroom or other humid environment. An IP67 rating ensures water resistance for areas exposed to moisture.
Length: The LED strip must be long enough to cover the desired area but can usually be cut to size.
Voltage and Power: Confirm that the power adapter matches the LED strip’s voltage to prevent overheating and other electrical issues.
Required Skills & Some Points to Ponder
You don’t need to know a lot about electricity to install LED strip lights, but knowing some basics can help. Here’s what to keep in mind:
Basic Electrical Knowledge: Understanding positive and negative connections, soldering, and how to handle simple wiring is essential.
Steady Hand and Patience: This isn’t a race. Take your time to measure, cut, and place the strips accurately.
Reading the Manual: LED strips might have unique features or installation requirements. Always refer to the product manual for specific instructions.
Trial Connection: Before finalizing the installation, test the connections and lighting to ensure everything works as intended.
Consider Professional Help if Needed: Don’t hesitate to seek professional assistance if the task seems too complex. Safety and proper installation should be paramount.
Planning and Preparing the Ceiling for Installation
Proper planning and preparation set the stage for successfully installing LED strip lights. Clean and measure carefully to ensure everything is in the right place. Also, remember to follow safety rules.
Where Should LED Strips Be Placed on a Ceiling?
Placement is a central factor in achieving the desired lighting effect. Where you place your LED strips can greatly affect how your space looks and works. Consider these essential points:
Accentuerende belysning: Highlighting specific artworks, architectural features, or focal points with strategically placed LED strips can enhance the visual appeal of a room.
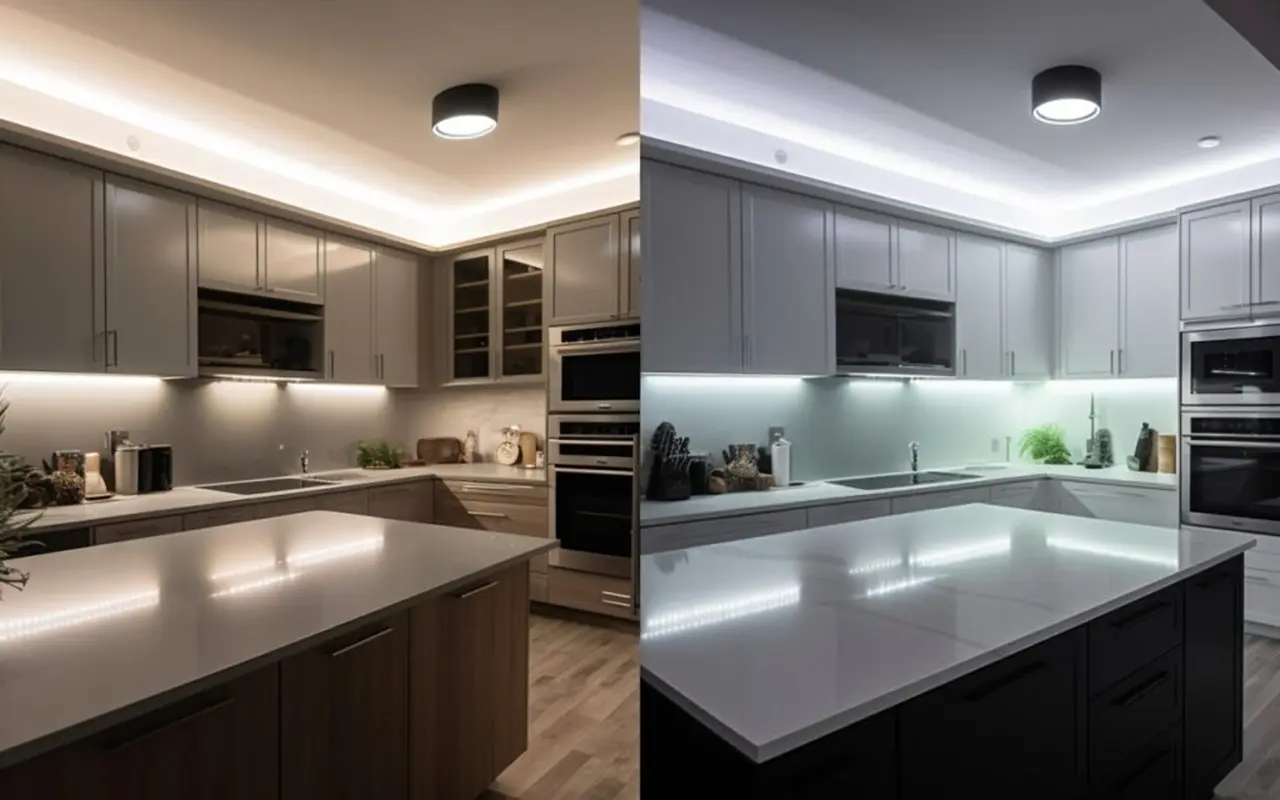
Arbejdsbelysning: Installing LED strips in work areas, such as over a kitchen counter or a workspace, provides essential illumination for various tasks.
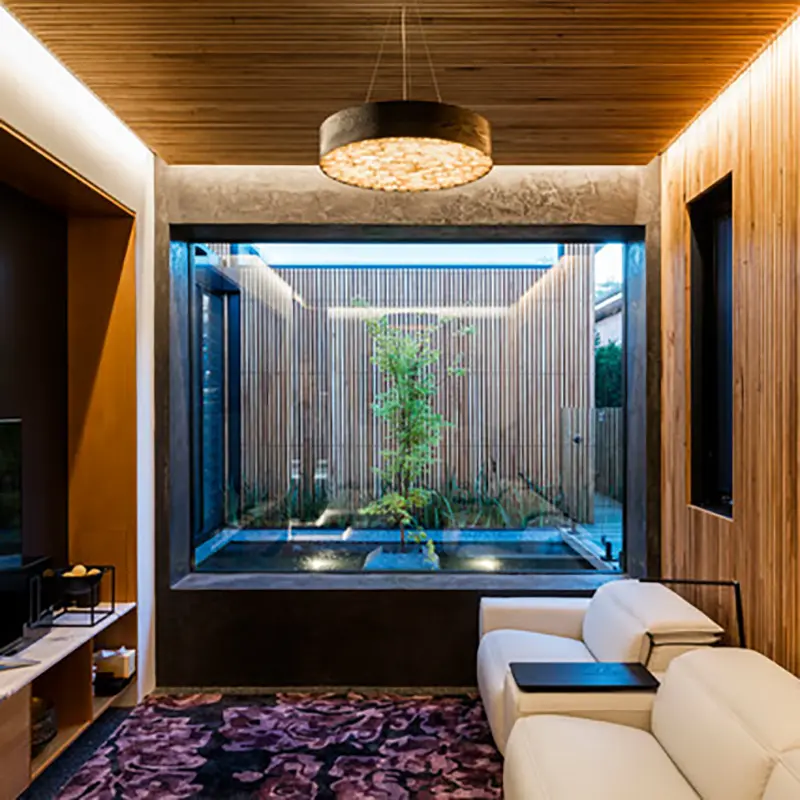
Omgivende belysning: Soft lighting around the perimeter of a room or behind fixtures creates a cozy, welcoming atmosphere that’s perfect for relaxation.
Special Features Lighting: If you have alcoves, coves, or other unique architectural features, LED strips can accentuate these details.
Cleaning and Measuring
An impeccable installation requires a clean and accurately measured area. Here’s how to proceed:
Cleaning: Ensure that the surface is clean, dust-free, and dry. This guarantees better adhesion of the adhesive backing on the LED strips. Usually, a mild cleaning solution and wiping with a dry cloth is enough.
Measuring:
1. Using a measuring tape, measure the area where the LED strips will be placed.
2. Measure the strip carefully, including corners and curves, to find the exact length you need.
3. Double-check to avoid errors that could lead to unnecessary cuts or extensions.
Forholdsregler for sikkerhed
Safety should always be your priority. While the installation process is generally straightforward, observing these safety precautions is crucial:
Turn Off Power While Working: Ensure that the power is turned off in the area where you are working. This minimizes the risk of accidental shocks or shorts.
Use a Stable Ladder: Use a stable and suitable ladder or step stool to reach high places. Ensure it’s placed on an even surface, and maintain proper balance.
Follow the instructions from the manufacturer: Read and follow the guidelines for installing and handling the product.
When in Doubt, Consult a Professional: If you encounter any complexities or feel uncertain about any aspect of the installation, it’s wise to consult a professional electrician. Safety and quality should never be compromised.
Step-by-Step Guide to Installing LED Strip Lights
You might think it’s hard to install LED strip lights, but it can be fun if you follow a step-by-step method. This guide will show you how to achieve a flawless finish for regular or specialized false ceiling installations.
Wiring and Mounting the Lights
Proper wiring and mounting are pivotal in the installation process. Let’s explore the various steps in detail:
Find the power source
Start by identifying a power outlet close to where the LED strip will begin. This location should provide easy access and minimize the visible wiring. If there is no outlet in the perfect place, you can ask an electrician to install a new one. This will keep the space looking nice.
Cut the strip light to size
Measure the length required and use scissors to cut the strip light at the marked areas. Always follow the designated cutting lines specifically designed to preserve the circuitry. Cutting at unmarked areas can damage the strips.
Remove the adhesive backing
Peeling off the adhesive backing requires care. Do it slowly to ensure the adhesive doesn’t come off with the backing. Proper removal ensures maximum stickiness for secure attachment.
Stick the lights to the ceiling
Press the lights firmly onto the cleaned surface, following your planned path. Applying gentle yet firm pressure helps with bonding. Regular checks prevent issues like peeling or sagging.
Connect the power supply
Finally, plug the power adaptor into the outlet and connect it to the LED strip. To look professional, use clips or conduits to keep the wiring neat and organized.
Installing LED Strip Lights in False Ceiling
Adding LED strips to a false ceiling makes it look fancy, but you have to be careful and precise.
Cut a Channel in the Ceiling: Determine the best path and cut a channel in the ceiling to lay the LED strip. This might require specialized tools and a steady hand.
Lay the LED Strip Within the Channel: Place the LED strip inside the channel, ensuring it sits flush.
Hide the Wires Behind the Ceiling: Conceal the connecting wires carefully behind the ceiling for a sleek and seamless look.
Putting Your Lights in Place
Alignment is crucial in the installation process. Use your eyes, a level tool, and a measuring tape to ensure the strip is straight. Minor adjustments might be needed to maintain a uniform appearance.
How to Put Up LED Strip Lights on Ceiling Corners?
Navigating corners can be tricky but is quite manageable with the right approach:
Cutting: Cut the LED strips at the marked corner points. These points are designed for precise bending without damaging the lights.
Use Connectors: Special connectors are available to maintain the flow around corners. The lights can smoothly go around corners without any gaps or interruptions.
Tips and Tricks for a Professional Finish
LED strip lights offer a versatile and elegant lighting solution. The installation is easy, but can be like art if you give it attention and creativity. Here’s how to achieve a professional finish, making your space functional and stylish.
Controlling Your Lights
Having control over your lighting can transform the ambiance of any room. Here’s how to maximize that control:
Use a dimmer switch
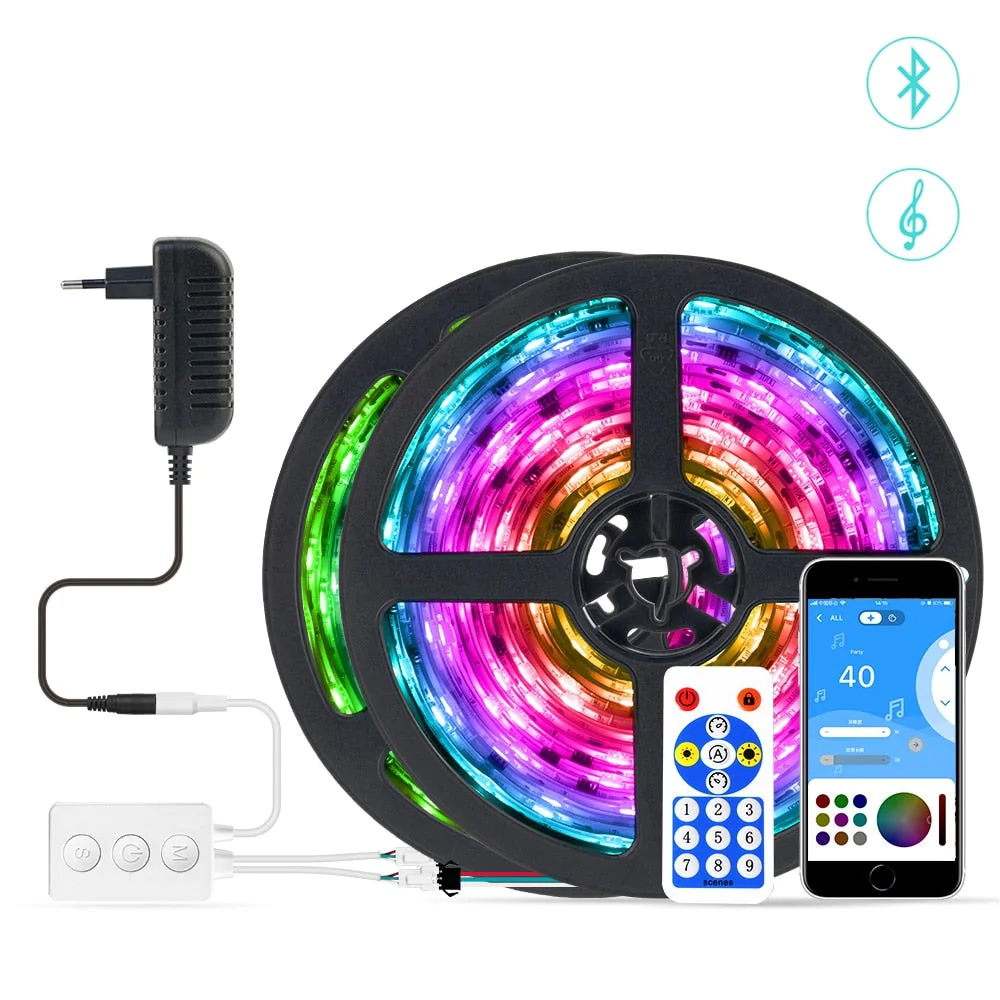
A dimmer switch allows you to adjust the intensity of your lights effortlessly. The dimmer switch can set the mood, whether you want romance or better lighting for work.
Use multiple colors
LED strip lights come in a variety of colors. You can mix and match to create themes or change the environment based on your mood or the season.
Install remote-controlled lights
Remote-controlled LED lights provide convenience at your fingertips. You can use a remote to turn off the lights or change their color while in bed.
Install motion-sensor lights
Motion sensors are great for hallways and bathrooms. They turn on the lights when needed and off when not in use. This smart addition enhances safety and saves energy.
Add a timer
Adding a timer to your LED strip lights can contribute to energy efficiency. Schedule them to turn on and off according to your routine, ensuring they are only in use when necessary.
Hiding Wires
Exposed wires can diminish the sleek appearance of your LED installation. Here’s a solution:
How to Hide LED Light Power Cord and Connectors?
Invest in cable covers that match your wall or ceiling color. Running the cables through the walls is another professional touch. To hide the wires and achieve a sleek, polished look, use these techniques.
Adjusting Brightness
Different spaces call for different brightness levels. Feel free to experiment to find what suits your space best. The right brightness level can make any room feel peaceful, like a well-lit kitchen or cozy bedroom.
Color Coordination
Selecting the perfect color requires an artistic touch. Select colors that go well with the current furniture, wall color, or accessories. Feel free to express yourself with contrasting or complementary colors. LED lights can become an integral part of your décor, not just a functional addition.
Common Mistakes and How to Avoid Them
The installation of LED strip lights can be an exciting yet complex task. Even seasoned DIYers may need help understanding common pitfalls. The secret to a smooth installation is knowing what mistakes to watch out for and how to avoid them.
Overheating Issues
LEDs may be more energy-efficient than traditional bulbs but can still generate heat. Overheating issues can arise if you’re not careful:
Avoid Insulating Materials: Don’t cover LEDs with anything that could trap heat, such as foam or heavy fabric. This might cause overheating and reduce the lifespan of your lights.
Ensure Proper Ventilation: Place LEDs in a well-ventilated area or provide space for dissipating heat. This ensures your lights perform efficiently for a long time.
Inconsistent Lighting
Inconsistent brightness or color can ruin the visual impact of your LED strip lights:
Use Quality LED Strips: Opt for trusted brands known for their quality. It ensures that all the LEDs in a strip are consistent in brightness and color.
Check Compatibility: Ensure all components, including power supplies and controllers, are compatible to avoid brightness inconsistency.
Safety Mistakes
Safety should never be an afterthought when working with electrical systems:
Read Instructions Carefully: Always read and follow the guidelines provided by the manufacturer.
Consult Professionals When in Doubt: It’s wise to consult a professional if something doesn’t seem right. A simple consultation could prevent significant issues down the line.
Vedligeholdelse og pleje
The journey continues once you have installed your LED strip lights. To make your LED system last longer and stay bright, take care of it regularly.
Cleaning Tips
LEDs require gentle handling:
Wipe Gently: Use a dry or slightly damp cloth to wipe the surface of your LED strip lights. Heavy or wet cleaning can damage the lights.
Avoid Harsh Chemicals: Avoid cleaning agents that might corrode or damage the LED surface.
Replacing Sections
LEDs are robust, but sometimes sections can go wrong:
Easy Replacement: Cut out the wrong section and replace it with a new one. Make sure to properly cut along the designated lines and connect the new piece.
Warranty and Support
Your LED strip lights likely come with a warranty and support package:
Keep Documents Handy: Always have your warranty and support documents accessible. In case something goes wrong, these documents can save you a lot of time and money.
Understand Your Coverage: Knowing what’s covered under the warranty helps you take the proper steps in the event of a malfunction.
Ofte stillede spørgsmål
How long do LED strip lights last?
LED strip lights typically last 25,000 to 50,000 hours, depending on their quality and usage. To make them last longer, install and maintain them correctly as instructed by the manufacturer.
Can LED strip lights be repaired?
Yes, LED strip lights can often be repaired. If a section is damaged, it can usually be cut out and replaced with a new segment using connectors. However, it’s essential to ensure compatibility and follow the correct procedures.
How to install LED strip lights on the ceiling without damaging the wall?
Carefully plan and use proper mounting methods to install LED strip lights without damaging the wall. To protect your walls and ceiling, use adhesive backings, mounting clips, or brackets during installation.
How do you stick LED strips to a room?
Sticking LED strips in a room usually involves using the adhesive backing of most LED strips. First, make sure to clean the surface well. Then, peel off the protective layer. Finally, press the strips firmly onto the surface.
How do you connect LED strip lights to a power supply?
To connect LED strip lights to a power supply, follow these steps:
1. Cut the strip to the desired length.
2. Attach connectors, if necessary.
3. Connect the strip to the correct power adapter. To install safely and effectively, make sure the voltage and wattage match each other.
Where should I place LED strips on the ceiling?
Placement of LED strips on the ceiling depends on the design and lighting effect you desire. Common places for lighting include edges, coving, and specific patterns.
How to install LED strip lights in the false ceiling?
To install LED strip lights in a false ceiling, you need to create spaces in the ceiling for the lights. To achieve a seamless look, measure carefully, plan well, and maybe consult with a professional.
How can I hide LED strips on the ceiling?
You can hide LED strips on the ceiling in different ways. One way is to embed them in coving. Another way is to place them behind architectural features. You can also use specially designed channels. The goal is to create a clean and discreet lighting effect.
Are LED strips easy to install?
Generally, LED strips are considered user-friendly and suitable for DIY installation. Even beginners can easily follow a guide, use the right tools, and take their time.
Can I use double-sided tape to hang LED lights?
You can use double-sided tape to hang LED lights, but it might not be as durable as the adhesive made for LED strips. Using it as a temporary fix is okay, but it’s not advisable for permanent use.
Konklusion
LED strip lights are more than just a trend. They’re a statement of style, efficiency, and creativity. You don’t have to be a professional to install them. With this comprehensive guide, you’re well on your way to transforming your space like a pro. So go ahead, experiment, and let your lights shine bright.
Looking to take your LED lighting project to the next level? Turn to Unitop, one of China’s top LED lysbånd og LED neon flex manufacturers. We pride ourselves on quality, innovation, and customer service that’s second to none. If you’ve got more questions or need a hand with your lighting project, række ud. We’re here to help and can’t wait to light up your space. Unitop has your back every step of the way.
Relateret artikel

Tom er nu salgschef for Unitop (Kina) Co, Limited. Han har været i LED-belysning industrien lige siden 2005. Han er ekspert i salg og marketing samt fabriksledelse. Han kan lide bodybuilding, og han er også en vild Apple-fan! Han er en hårdtarbejdende fyr og elsker at lære og prøve nye ting.
E-mail: tom@unitopledstrip.com WhatsApp: +86-18680307140



Skriv en kommentar
Vil du deltage i diskussionen?Du er velkommen til at bidrage!