Have you ever marveled at the stunning light displays created by programmable LED strips and wondered, “Could I do that?” Well, the answer is an emphatic “Yes!” With a little guidance on how to program LED light strips and the right tools, you too can bring vibrant color to your space.
The voice behind this guide is Tom, an expert in the LED industry since 2005. He’s spent countless hours programming LEDs, including programming LED lights and LED strip lights, to create all sorts of captivating visual experiences. His extensive knowledge and hands-on experience put him in the perfect position to break down this complex topic into digestible bits.
Tout au long de ce guide complet, vous partirez des bases, en comprenant les composants dont vous avez besoin, pour arriver à des concepts avancés qui feront danser vos bandes lumineuses LED avec des couleurs. Attendez-vous à plonger dans les outils de programmation, les exemples de code, les solutions de dépannage courantes et bien plus encore, pour que la courbe d'apprentissage ressemble davantage à un toboggan exaltant !
Désormais, le monde des lampes LED programmables vous attend. Vous êtes impatient de libérer votre créativité et de peindre vos espaces avec de la lumière ? Plongez dans l'aventure !
Introduction : La magie des bandes LED
Bienvenue dans le monde dynamique de Bandes lumineuses LED - Un univers où la créativité et la technologie convergent pour créer un spectre dynamique de couleurs et de lumière. Aujourd'hui, nous allons découvrir comment exploiter tout le potentiel de ces gadgets polyvalents en nous plongeant dans le processus fascinant de la programmation des bandes LED. À la fin de ce guide complet, vous serez en mesure de transformer vos espaces grâce à des éclairages personnalisés et envoûtants. Mais avant de nous plonger dans les aspects techniques, saisissons l'essence des bandes LED et pourquoi leur programmation peut s'avérer une entreprise fascinante.
Découvrez la puissance de la programmation des bandes LED
Pourquoi programmer les bandes LED ?
Alors, pourquoi programmer des bandes LED ? Les bandes LED sont incroyablement personnalisables et offrent un potentiel illimité de solutions d'éclairage personnalisées. La programmation vous permet de contrôler entièrement leur comportement, qu'il s'agisse de motifs de couleur, de transitions, de luminosité ou de pulsations. Que vous souhaitiez créer un éclairage d'ambiance pour votre salon ou organiser un spectacle lumineux éblouissant pour un événement, les bandes LED programmées sont votre toile, avec le pouvoir d'évoquer des émotions, d'attirer l'attention ou de créer une ambiance distinctive.
Applications des diodes RVB : Débloquer la liberté de création
Au-delà de leurs applications évidentes en matière d'aménagement intérieur et de décoration, les bandes LED programmées ont trouvé leur place dans divers secteurs. Elles sont utilisées dans les installations artistiques pour créer des effets visuels étonnants, dans la photographie pour le light painting, dans les vêtements comme les costumes ou les accessoires pour améliorer l'esthétique, et même dans la publicité, où elles peuvent être programmées pour afficher des logos ou des messages promotionnels. Avec la possibilité de contrôler les diodes RVB (rouge, vert, bleu), votre liberté de création est vraiment illimitée.
Qu'obtiendrez-vous à la fin de ce guide ?
Dans ce guide, nous vous emmènerons de la compréhension des bases des composants des bandes LED à la maîtrise de l'art de les programmer à l'aide de l'Arduino Uno et de la bibliothèque FastLED. Que vous soyez un novice qui débute ou un amateur qui cherche à affiner ses compétences, ce guide vous apportera le savoir-faire nécessaire pour animer vos bandes LED d'une manière qui complète votre espace et votre vision.
Pour commencer : Outils et composants dont vous avez besoin
Avant de nous lancer dans la programmation, nous devons nous assurer que nous disposons de tous les éléments nécessaires :
Identifier les différents types de bandes LED programmables
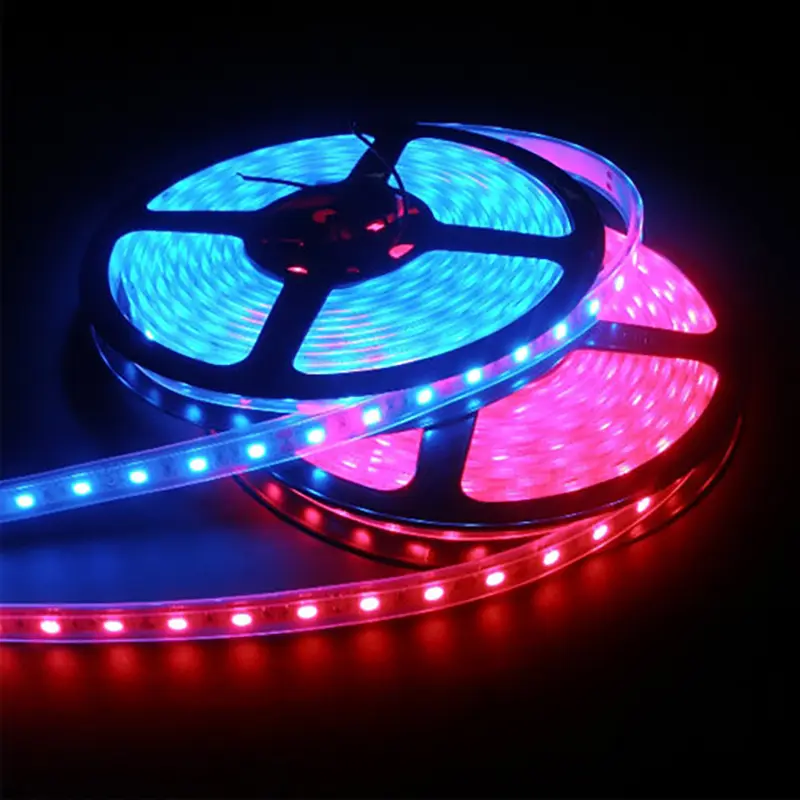
Il existe plusieurs types de bandes LED, les plus courantes étant les bandes RVB. Ces bandes contiennent des LED rouges, vertes et bleues séparées, ce qui permet de créer une large gamme de couleurs grâce au mélange des couleurs. Une étape supplémentaire est franchie avec les bandes RGBW, qui ajoutent une LED blanche dédiée pour de meilleurs tons blancs et une luminosité accrue.
Composants essentiels pour la programmation des bandes LED
La bande LED
Pour commencer, vous aurez besoin d'une bande de LED. Pour les débutants, une bande d'un mètre avec 30 à 60 LED est idéale.
Alimentation électrique et jack de baril
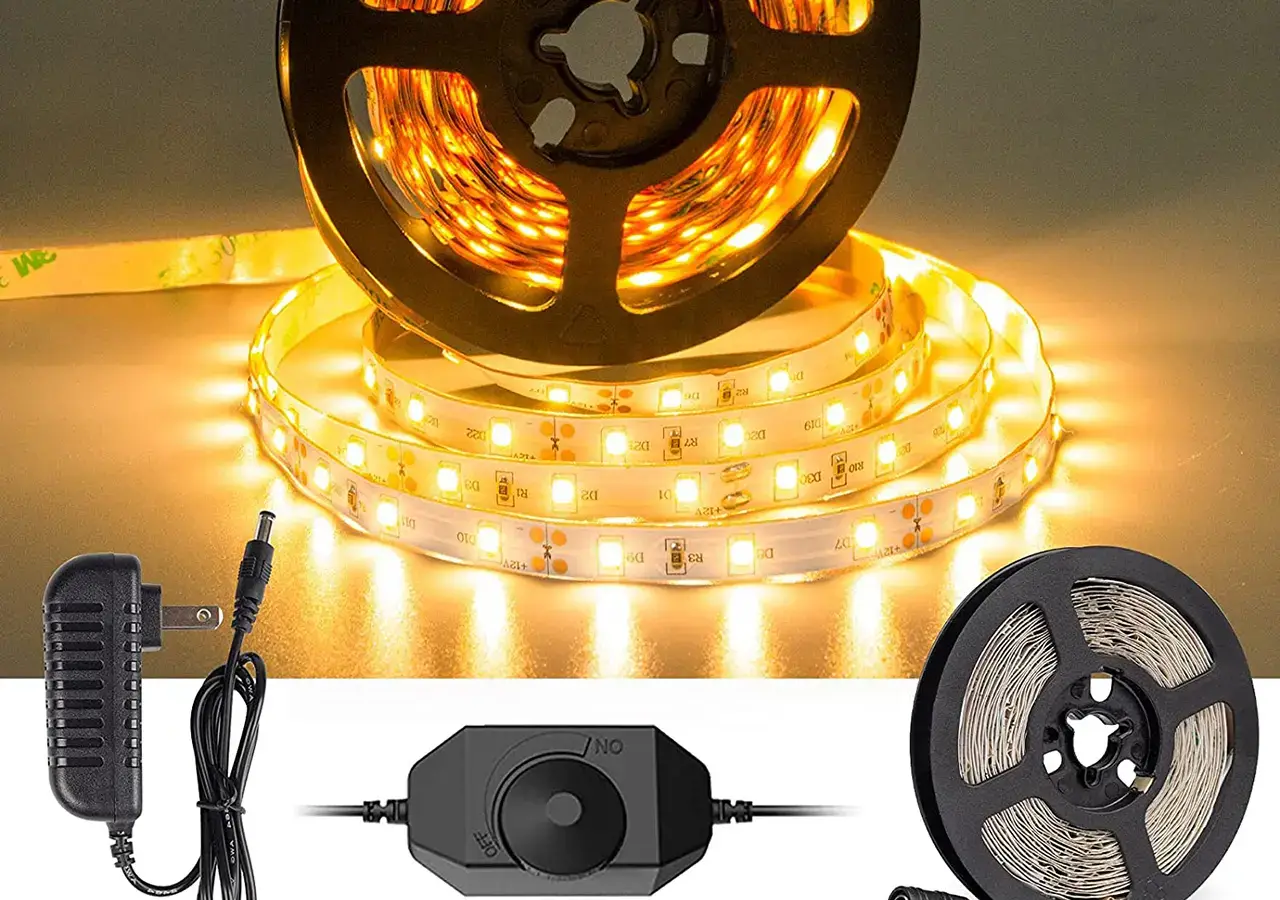
Les bandes de LED ont besoin d'une alimentation électrique appropriée pour fonctionner. La puissance requise peut être calculée en fonction de la longueur de la bande et de la consommation des LED. Une alimentation de 5V est généralement utilisée, et un jack à barillet est nécessaire pour faciliter la connexion.
Carte Arduino Uno
Cette carte de microcontrôleur sera le cerveau de notre opération. C'est elle que nous programmerons pour contrôler la bande de LED.
Fils de connexion
Les fils de connexion sont utilisés pour établir une connexion entre l'Arduino et la bande LED.
Banque d'alimentation portable (en option)
Une banque d'alimentation portable est pratique pour rendre votre installation LED mobile.
Quelle bande et quel contrôleur choisir ? RGB ou RGBW ?
Le choix entre Bandes RVB et RVBW se résume aux besoins de votre projet. Si une véritable lumière blanche ou une luminosité accrue est importante pour votre installation, une bande RGBW sera le meilleur choix. Cependant, la bande RGB est une solution plus simple et plus abordable pour la plupart des autres applications.
Préparer le terrain : Assembler les composants
Maintenant que tous nos composants sont prêts, préparons le terrain pour la programmation
Préparation de la bande LED
La préparation de la bande de DEL consiste à la couper à la longueur souhaitée, en veillant à ce que la coupe soit effectuée aux points désignés sur la bande. Une fois la bande coupée, soudez les têtes de broches sur les points de connexion de la bande pour faciliter la fixation aux fils.
Raccordement de l'alimentation électrique
Connectez l'alimentation à la bande LED via le jack du barillet. Le fil rouge du jack doit être connecté au 5V de la barrette, tandis que le fil noir est connecté à GND.
Configuration de la carte Arduino
La carte Arduino sera alimentée par la connexion USB de votre ordinateur. Avant de la connecter à la bande LED, assurez-vous que le logiciel Arduino IDE approprié (logiciel de programmation de la lumière LED) est installé sur votre ordinateur.
Câblage des composants
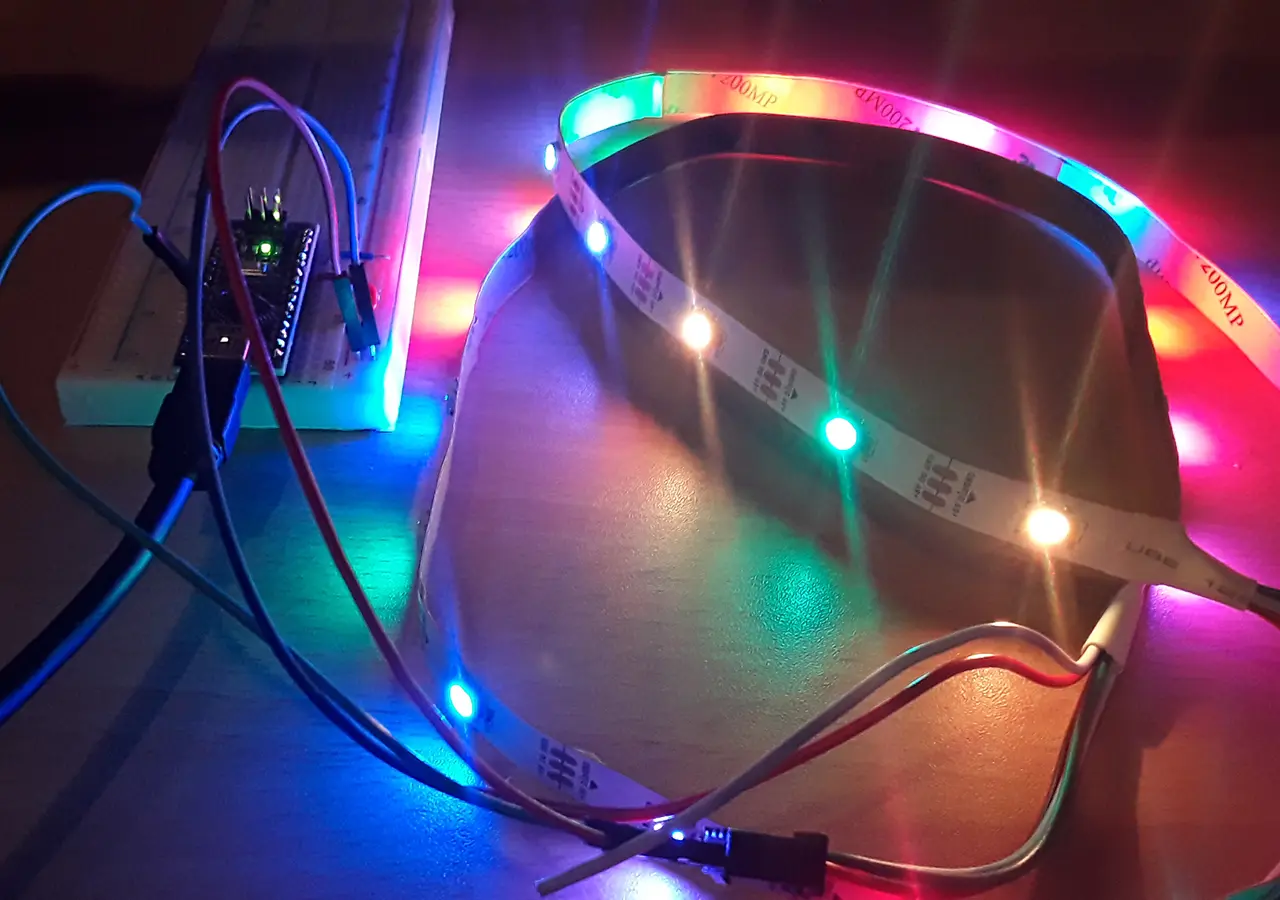
Pour connecter l'Arduino à la bande LED, reliez la broche d'entrée de données de la bande à l'une des broches numériques de l'Arduino. Pour l'alimentation, connectez le 5V et le GND de l'Arduino aux points correspondants de la bande LED.
Prenez le contrôle : Programmez les lumières LED
Maintenant que le décor est planté, il est temps de passer à la programmation.
Les outils de programmation et leur installation
Logiciel Arduino
L'environnement de développement intégré (IDE) d'Arduino est la plateforme sur laquelle vous écrirez et téléchargerez votre code. Vous pouvez le télécharger gratuitement sur le site web d'Arduino.
Bibliothèque FastLED
FastLED est une bibliothèque Arduino spécialement conçue pour la programmation de bandes LED. Elle simplifie le processus de codage et est compatible avec une large gamme de puces LED. Vous pouvez l'installer directement à partir de l'IDE Arduino.
Prise en charge des jeux de puces et des plates-formes
Avant de coder, assurez-vous que la bibliothèque FastLED supporte le chipset de votre bande LED.
Comprendre les bases de la programmation des bandes LED
Aperçu du code C++ pour la programmation de bandes lumineuses LED
Une fois le logiciel Arduino et la bibliothèque FastLED installés, vous écrirez votre code en C++, un langage de programmation très répandu. Comment programmer des lumières LED avec Arduino ? Voici un programme simple qui configure une bande de LED avec 60 LED sur la broche 6 et remplit la bande de couleur rouge :
#define NUM_LEDS 60
#define DATA_PIN 6
Leds CRGB [NUM_LEDS] ;
void setup() {
FastLED.addLeds(leds, NUM_LEDS) ;
}
void loop() {
fill_solid(leds, NUM_LEDS, CRGB::Red) ;
FastLED.show() ;
}
Plonger en profondeur : explorer le code ligne par ligne
Ce programme commence par inclure la bibliothèque FastLED, ce qui donne accès à ses puissantes fonctions. Ensuite, deux constantes sont définies : NUM_LEDS et DATA_PINreprésentant respectivement le nombre de DEL et le numéro de la broche où la bande de DEL est connectée.
Ensuite, un tableau leds de type CRGB est créée pour stocker les données de couleur de chaque DEL. Dans le configuration la fonction FastLED.addLeds est appelée pour initialiser la barrette de LED. Les paramètres spécifient le type de bande LED (NEOPIXEL dans ce cas), le numéro de la broche de données et le tableau de DELs.
Le site boucle qui s'exécute en continu, remplit d'abord le tableau d'une couleur unie (rouge, dans ce cas) à l'aide de la fonction fill_solid fonction. Enfin, la fonction FastLED.show met à jour la bande de LED pour qu'elle corresponde aux données du tableau.
Votre premier programme de bande LED : Faire clignoter une LED
Maintenant que nous avons parcouru un programme de base de bande LED, créons un programme plus interactif : faire clignoter une LED.
Élaboration du code
Voici un programme simple qui fait clignoter en rouge la première LED de la bande :
#define NUM_LEDS 60
#define DATA_PIN 6
Leds CRGB [NUM_LEDS] ;
void setup() {
FastLED.addLeds(leds, NUM_LEDS) ;
}
void loop() {
leds[0] = CRGB::Red ; // allume la LED
FastLED.show() ;
delay(500) ; // attendez une demi-seconde
leds[0] = CRGB::Black ; // éteint la LED
FastLED.show() ;
delay(500) ; // attendez une demi-seconde
}
Téléchargement du code sur la carte Arduino
Une fois le code écrit, il est temps de le télécharger sur l'Arduino. Connectez votre carte à votre ordinateur via USB, puis cliquez sur le bouton de téléchargement (la flèche orientée vers la droite) dans l'IDE Arduino. Une fois le code téléchargé, votre première LED devrait commencer à clignoter en rouge !
Célébrez votre premier succès : Observer le clignotement de votre DEL
Et voilà, votre premier programme de bande LED interactive ! Prenez le temps de célébrer cette réussite. Vous avez maintenant programmé une bande de LED pour qu'elle clignote - une étape simple mais significative vers des conceptions d'éclairage plus complexes.
Dépasser les bases : Concepts de programmation avancés
Maintenant que nous avons assimilé les principes de base, nous allons nous pencher sur des concepts de programmation plus avancés.
Comprendre les valeurs RVB et la modulation de la largeur d'impulsion de la luminosité
Chaque LED d'une bande LED RVB combine trois LED plus petites - une rouge, une verte et une bleue. Il est possible de créer pratiquement n'importe quelle couleur en faisant varier la luminosité de ces trois couleurs.
La luminosité est contrôlée à l'aide d'une technique appelée modulation de largeur d'impulsion (PWM), qui consiste à allumer et à éteindre la DEL très rapidement, le pourcentage de temps passé à l'allumage et à l'extinction déterminant la luminosité. Par exemple, si une DEL est allumée 50% et éteinte 50%, elle sera deux fois moins lumineuse qu'une DEL allumée 100%.
Faire clignoter plusieurs LED
Pour faire clignoter plusieurs LED, il faut régler la couleur des LED souhaitées sur CRGB::Noir et CRGB::Rouge dans un cycle. Par exemple, si vous voulez faire clignoter les dix premières DEL, vous devez procéder comme suit :
leds[i] = CRGB::Red ; // allume les DELs
}
FastLED.show() ;
delay(500) ; // attendez une demi-seconde
for(int i = 0 ; i < 10 ; i++) {
leds[i] = CRGB::Black ; // éteint les diodes électroluminescentes
}
FastLED.show() ;
delay(500) ; // attendez une demi-seconde
Création de motifs et d'effets LED complexes
Avec la bibliothèque FastLED, la création de motifs et d'effets LED complexes est relativement simple. Nous vous proposons ici des exemples de trois effets différents : un cycle arc-en-ciel, un effet de poursuite et un effet de flocon de neige.
Cycle de l'arc-en-ciel
Un cycle arc-en-ciel est un effet dans lequel les couleurs de l'arc-en-ciel défilent à travers les diodes électroluminescentes. Voici comment vous pourriez procéder :
statique uint8_t hue = 0 ;
for(int i = 0 ; i < NUM_LEDS ; i++) {
leds[i] = CHSV(hue++, 255, 255) ;
}
FastLED.show() ;
délai(20) ;
}
Effet de chasse
Un effet de poursuite est un effet dans lequel une seule LED allumée semble "courir" le long de la bande. Voici comment vous pouvez procéder :
static int lead_dot = 0 ;
leds[lead_dot++] = CRGB::Black ; // éteint la LED précédente
leds[lead_dot] = CRGB::Red ; // allume la LED suivante
FastLED.show() ;
délai(100) ;
if(lead_dot >= NUM_LEDS) lead_dot = 0 ;
}
Effet flocon de neige
L'effet flocon de neige consiste à allumer et à éteindre des diodes électroluminescentes au hasard pour imiter la neige qui tombe. Voici comment procéder :
for(int i = 0 ; i 5) {
leds[i] = CRGB::White ;
} else {
leds[i] = CRGB::Black ;
}
}
FastLED.show() ;
délai(100) ;
}
Concepts avancés de programmation des bandes LED
Au fur et à mesure que vous vous enfoncez dans le monde de la programmation des barrettes de LED, quelques concepts plus sophistiqués entrent en jeu. Il s'agit notamment des variables, des tableaux et des fonctions, qui vous permettent de mieux contrôler vos barrettes de LED. Les variables vous permettent de stocker et de manipuler des données telles que la luminosité ou la couleur d'une LED. Les tableaux, quant à eux, vous permettent de gérer plusieurs LED à la fois, ce qui ouvre la voie à des motifs lumineux complexes. Enfin, les fonctions fournissent des extraits de code réutilisables qui exécutent des tâches spécifiques, telles que la rotation des couleurs ou la création d'effets d'animation.
Dépannage de votre voyage : Les problèmes courants et leurs solutions
Comme tout voyage, la programmation des bandes LED s'accompagne de son lot de difficultés. Heureusement, la plupart de ces obstacles sont courants et peuvent être rapidement résolus.
Les erreurs courantes et leurs solutions
L'un des problèmes les plus courants est la luminosité irrégulière des LED, souvent due à une alimentation électrique inadéquate. Pour résoudre ce problème, assurez-vous que votre source d'alimentation peut supporter le courant total absorbé par vos LED. Un autre problème courant est celui des bandes de LED qui ne s'allument pas, généralement en raison d'un câblage incorrect ou d'une LED endommagée. Dans ce cas, vérifiez à nouveau vos connexions et remplacez les LED qui ne fonctionnent pas.
Bonnes pratiques pour éviter les erreurs
Pour limiter les erreurs, il est essentiel de vérifier votre câblage avant la mise sous tension et de vérifier régulièrement que votre code ne contient pas d'erreurs. De plus, débranchez toujours votre installation du secteur lorsque vous effectuez des modifications et utilisez des résistances pour éviter que les DEL ne s'éteignent.
Libérer le plein potentiel : Prochaines étapes de la programmation des bandes LED
Au fur et à mesure que vous vous familiarisez avec les bases de la programmation des bandes LED, il est temps d'explorer des possibilités plus avancées et de libérer tout le potentiel de votre installation.
Consommation d'énergie des LED et limitation du courant USB : équilibre entre performance et sécurité
Il est essentiel de trouver un équilibre entre les performances et la sécurité. Vous devez toujours tenir compte de la consommation d'énergie de votre bande LED et de la limite de courant USB de votre carte Arduino. Si la consommation de la LED dépasse la limite de la carte, celle-ci risque de surchauffer ou même de tomber en panne.
Correction gamma : Ajustez votre expérience de l'éclairage
La correction gamma permet d'affiner votre expérience de l'éclairage en rendant les couleurs plus homogènes pour l'œil humain. Elle corrige la relation non linéaire entre l'intensité lumineuse et la tension électrique qui alimente les LED.
Explorer le plein potentiel des bandes LED
Qu'il s'agisse de créer des spectacles lumineux envoûtants synchronisés avec de la musique ou d'intégrer vos bandes LED dans un système domestique intelligent pour un contrôle automatisé, les possibilités sont infinies lorsque vous explorez pleinement la programmation des bandes LED.
Questions fréquemment posées
Pouvez-vous programmer une bande LED ?
Tout à fait ! Vous pouvez programmer une bande LED à l'aide d'un contrôleur comme la carte Arduino Uno. À l'aide d'outils de codage tels que le logiciel Arduino (IDE) et de bibliothèques telles que FastLED, vous pouvez faire clignoter les LED, changer les couleurs et créer une variété d'affichages lumineux étonnants.
Comment programmer des bandes LED avec une télécommande ?
La programmation des bandes LED à l'aide d'une télécommande nécessite une télécommande compatible. Le contrôleur communique avec un récepteur IR connecté à la bande LED, qui exécute alors les instructions préprogrammées. Cependant, ce guide se concentre principalement sur la programmation de bandes LED à l'aide d'une carte Arduino et ne couvre pas la programmation à distance.
Comment programmer une LED RVB ?
La programmation d'une LED RVB consiste à contrôler la luminosité des diodes rouges, vertes et bleues individuellement afin de créer la couleur souhaitée. Pour ce faire, on utilise généralement la technique de modulation de largeur d'impulsion, en conjonction avec un Arduino ou un microcontrôleur similaire et des bibliothèques logicielles adaptées, telles que FastLED.
Comment fabriquer une DEL programmable ?
La fabrication d'une DEL programmable implique l'utilisation d'un microcontrôleur tel qu'Arduino, d'une alimentation électrique appropriée, de fils de connexion et, bien sûr, des DEL elles-mêmes. Une fois ces composants assemblés et connectés, vous pouvez utiliser des outils logiciels tels que l'Arduino IDE pour écrire le code qui contrôle le comportement de la LED.
Quels sont les types de bandes LED programmables ?
Il existe plusieurs types de bandes LED programmables. Les plus courantes sont les bandes RGB et RGBW. Les bandes RGB contiennent des LED rouges, vertes et bleues, tandis que les bandes RGBW comprennent une LED blanche supplémentaire pour des effets d'éclairage plus nuancés.
Qu'est-ce que la bibliothèque FastLED ?
FastLED est une puissante bibliothèque open-source pour les LED programmables, particulièrement appréciée pour sa prise en charge d'une large gamme de puces LED et sa facilité d'utilisation. Elle fournit des méthodes pour la manipulation des couleurs, le contrôle de la luminosité et d'autres effets d'éclairage par LED.
Que puis-je faire avec les bandes LED programmables ?
Les possibilités offertes par les bandes LED programmables sont quasiment infinies. Vous pouvez créer des jeux de lumière éblouissants, des motifs de couleurs complexes, des effets d'éclairage dynamiques, et bien plus encore. Elles peuvent être utilisées pour l'éclairage d'ambiance, à des fins décoratives ou même à des fins plus pratiques telles que la visibilité et la sécurité.
Puis-je contrôler plusieurs LED en même temps ?
Oui, vous pouvez contrôler plusieurs LED simultanément. En utilisant des boucles dans votre code, vous pouvez facilement changer la couleur ou la luminosité de plusieurs LED en même temps, ce qui permet de créer des modèles d'éclairage complexes.
Quels sont les problèmes les plus courants lors de la programmation des bandes LED ?
Parmi les problèmes les plus courants lors de la programmation de bandes de LED, citons un câblage incorrect, une alimentation électrique insuffisante et des erreurs de codage. Toutefois, la plupart de ces problèmes peuvent être facilement résolus grâce à un dépannage minutieux et au respect des meilleures pratiques.
Que faire après avoir appris les bases de la programmation des bandes LED ?
Une fois les bases maîtrisées, il y a encore beaucoup à apprendre ! Vous pouvez approfondir des concepts de programmation plus complexes, créer des effets d'éclairage plus complexes et même intégrer vos LED à d'autres technologies pour créer des affichages lumineux interactifs. Les LED programmables n'ont pas de limites !
Conclusion : Éclairer votre monde avec la programmation de bandes LED
Au terme de notre voyage, il est clair que la programmation des bandes LED offre un champ de créativité infini, transformant des espaces ordinaires en environnements vibrants et dynamiques.
Réflexion sur votre parcours de programmation
En réfléchissant à votre parcours, vous avez appris les bases des bandes LED, maîtrisé les outils de programmation et commencé à créer des effets d'éclairage étonnants. Vous avez rencontré des difficultés, mais à chaque obstacle, vous avez développé votre résilience et élargi votre éventail de compétences.
Regarder vers l'avenir : Quelles sont les prochaines étapes ?
J'ai vraiment hâte que vous puissiez explorer le monde de la programmation des bandes LED. Au fur et à mesure que vous apprendrez et expérimenterez, chaque étape ouvrira de nouvelles possibilités, illuminant votre monde d'une manière que vous n'auriez jamais imaginée. Qu'il s'agisse d'intégrer votre installation à la technologie de la maison intelligente ou de créer une LED chef-d'œuvre, l'avenir est radieux. Alors, continuez à éclairer, à explorer et à créer.
S'il vous plaît nous contacter immédiatement si vous avez besoin d'aide.
Trackbacks (rétroliens) & Pingbacks
Laisser un commentaire
Rejoindre la discussion?N’hésitez pas à contribuer !
Laisser un commentaire

Tom est maintenant le directeur des ventes de Unitop (China) Co., Limited. Il a été dans le Éclairage LED l'industrie depuis 2005. Il est expert en ventes et marketing, et en gestion d'usine. Il aime le bodybuilding, et il est aussi un fan fou d'Apple ! C'est un travailleur acharné qui aime apprendre et essayer de nouvelles choses.
Email : tom@unitopledstrip.com WhatsApp : +86-18680307140


Hi, I would like to create a small LED light that shows three different colors. The colors will rotate for four seconds, seven seconds, and eight seconds. This rotation will happen four times from when the button is pressed.
Is this something you would be able to create?
Thank you,
Shea Kaltmann
We have contacted you by Email. Let’s further discuss then.