Overvejer du at give dit hjem et moderne, stilfuldt præg med LED-lamper, men er du usikker på, om de kan holde til træoverflader? Du er kommet til det rette sted for at få omfattende vejledning.
LED-strips kan med held klæbes på træoverflader med den rette fremgangsmåde. Det handler om at vælge passende lim, forberede overfladen ordentligt og forstå egenskaberne ved både LED-lysene og det pågældende træ.
Dyk dybere ned i vores vejledning for at få detaljerede trin til at forberede træoverflader, vælge de ideelle LED-strips og sikre en varig, æstetisk tiltalende installation. Lad os oplyse dit rum med selvtillid og kreativitet.
Vigtige trin til at forberede træ til LED-strips
Vigtigheden af en ren overflade: Rengør træet grundigt for at fjerne støv og olie og sikre optimal vedhæftning.
Slibeteknikker til glattere overflader: Slib træet let for at skabe et glat underlag, så LED-stripsene får bedre greb.
De bedste klæbemidler til træ og LED-strips: Brug lim, der binder godt til træ og LED-strips, f.eks. dobbeltklæbende tape eller silikonelim.
Yderligere metoder til at øge vedhæftningen: Overvej at bruge klæbepromotorer eller fugemasse for at forbedre klæbestyrken.
Valg af de rigtige LED-strips til træoverflader
Oversigt over forskellige typer LED-strips: Vælg mellem forskellige LED-strips i forhold til lysstyrke, farvetemperatur og yderligere funktioner som dæmpbarhed.
Matchende LED-strips med træets overfladekarakteristika: Vælg LED-strips, der supplerer træets farve og struktur.
Indsigt i klæbende bagsidevarianter: Sørg for, at LED-stripens klæbende bagside passer til din træoverflade.
Kreative og praktiske anvendelser af LED-strips på træ
Innovative ideer til boligindretning: Brug LED-strips til at fremhæve træmøbler og arkitektoniske detaljer og tilføj et moderne touch.
Løsninger til underskabs- og accentbelysning: Anvend LED-strips til arbejdsbelysning i køkkener eller som stemningsbelysning i opholdsrum.
Forbedring af udendørsarealer med kombinationer af træ og LED: Indarbejd LED-strips i udendørs træmiljøer for at skabe stemning, og sørg for, at de er egnede til udendørs forhold.
Håndtering og løsning af udfordringer med vedhæftning
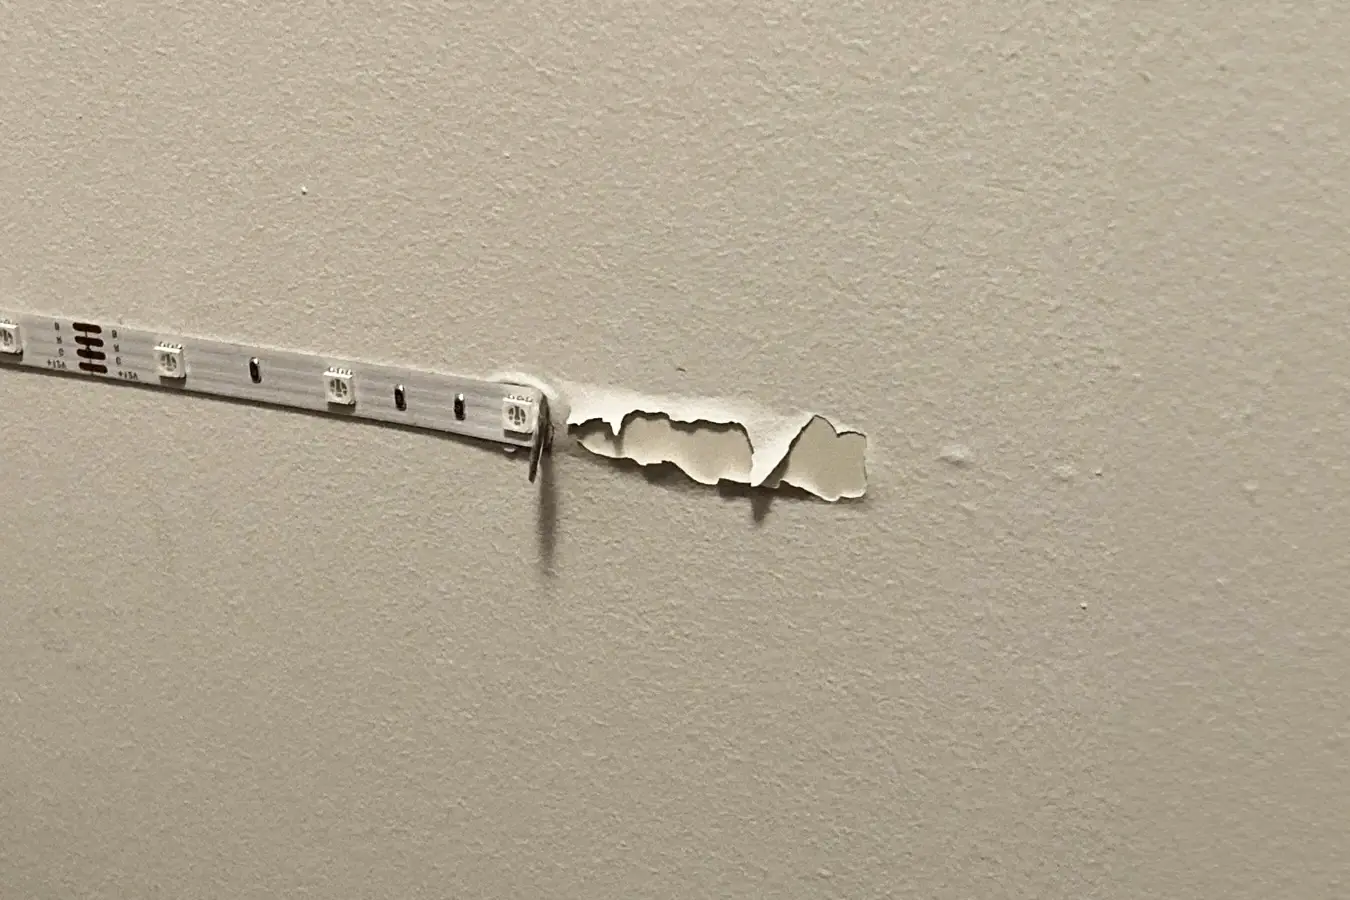
Almindelige problemer med LED-strips på træ: De hyppigste problemer omfatter afskalning eller løse strips, ofte forårsaget af forkert overfladebehandling, utilstrækkelige klæbemidler eller miljøfaktorer som fugtighed og temperatursvingninger.
Effektive løsninger til afskalning og svag vedhæftning: For at løse disse problemer skal du sikre dig, at træoverfladen er ordentligt forberedt og ren. Hvis vedhæftningen svækkes, skal du overveje at forstærke listerne med ekstra klæbemiddel eller monteringsclips. I områder, der udsættes for fugt eller temperaturændringer, skal du bruge klæbemidler, der er beregnet til disse forhold.
Forebyggende foranstaltninger til langtidsholdbar installation: Kontrollér jævnligt, at LED-stripsene sidder fast, og sørg for et stabilt miljø. Brug lim af høj kvalitet, og overvej at forsegle stripsene med en beskyttende belægning for at beskytte mod fugt og støv.
Vedligeholdelse og pleje af LED-strips på træ
Tips til forlænget holdbarhed og pleje: Regelmæssig vedligeholdelse er afgørende. Støv forsigtigt LED-strimlerne af, og tjek, om der er løse dele. Undgå at bruge skrappe kemikalier på eller i nærheden af stripsene for at undgå skader.
Sikre teknikker til fjernelse og udskiftning: Når du fjerner LED-strips, skal du forsigtigt opvarme klæbemidlet med en hårtørrer for at lette fjernelsen. Udskift det gamle klæbemiddel med et nyt lag til genmontering. Vær forsigtig med ikke at ridse eller beskadige træet under processen.
Faktorer at overveje før installation
Analyse af trætype og overfladetykkelse: Forskellige træsorter har forskellige strukturer og tætheder, som kan påvirke vedhæftningen. Tykkere træoverflader kan kræve stærkere klæbemidler eller ekstra støtte, som f.eks. monteringsclips.
Monteringsclips' rolle i sikker installation: Monteringsclips giver ekstra sikkerhed for LED-strips, især i områder med meget trafik eller på strukturerede overflader. De sikrer, at stripsene bliver på plads, og er især nyttige i udendørs eller fugtige miljøer.
Strategisk placering af LED-strips for optimal effekt: Overvej rummets indretning og belysningens formål. Placer strips på steder, hvor de supplerer rummet og giver den ønskede lyseffekt, f.eks. under skabe til arbejdsbelysning eller langs arkitektoniske træk til accentbelysning.
Trin-for-trin-guide til installation af LED-strips på træ
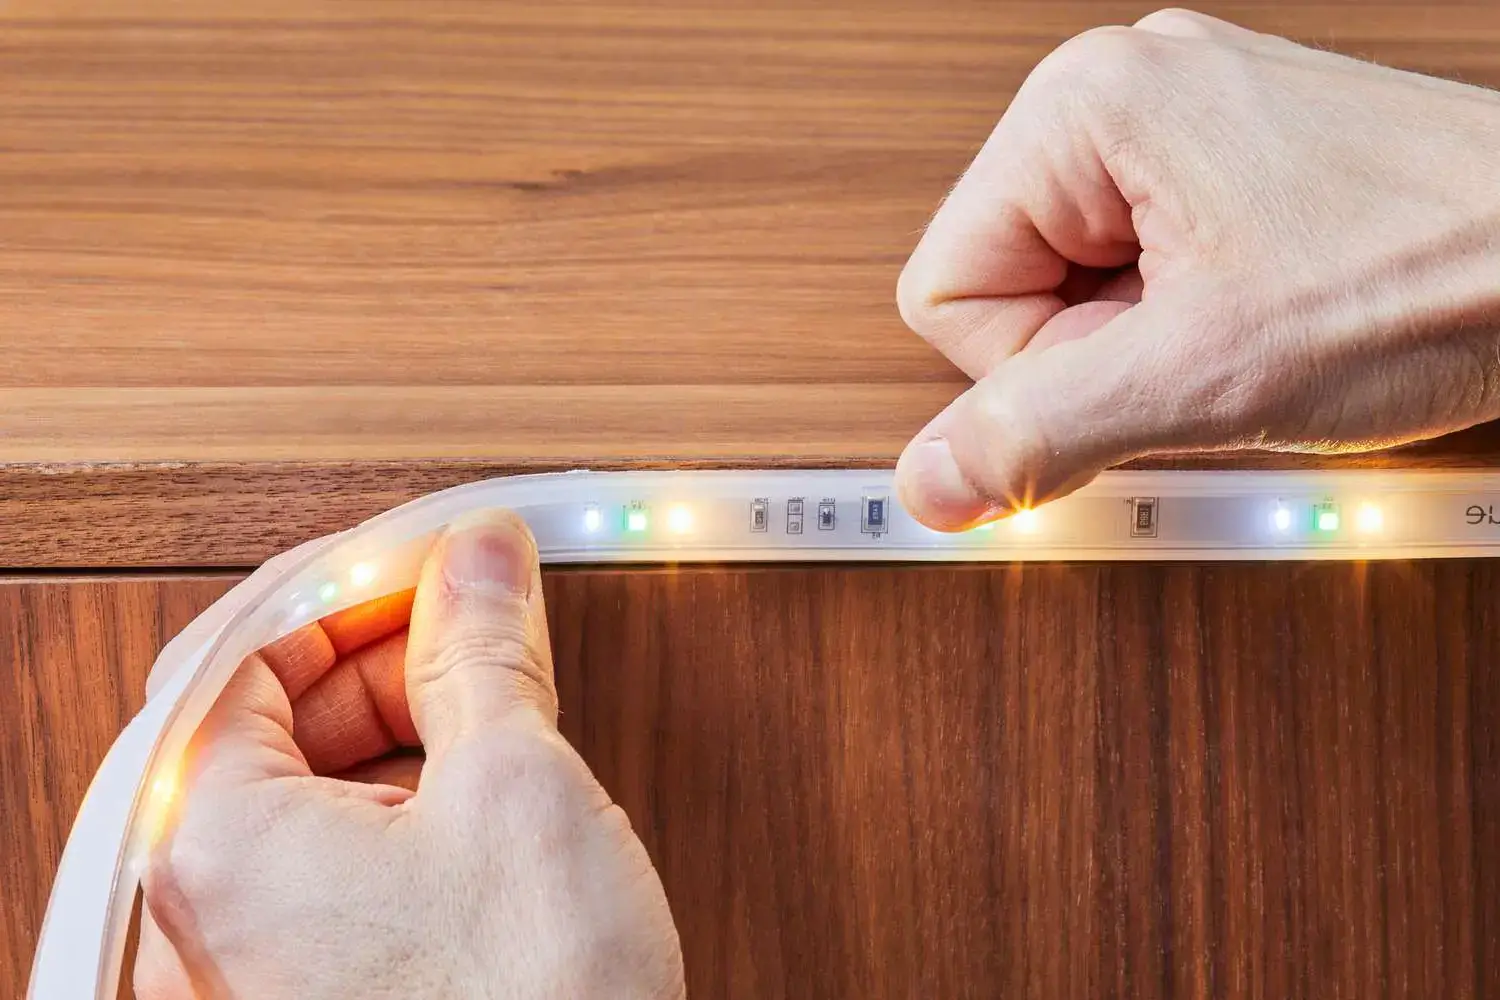
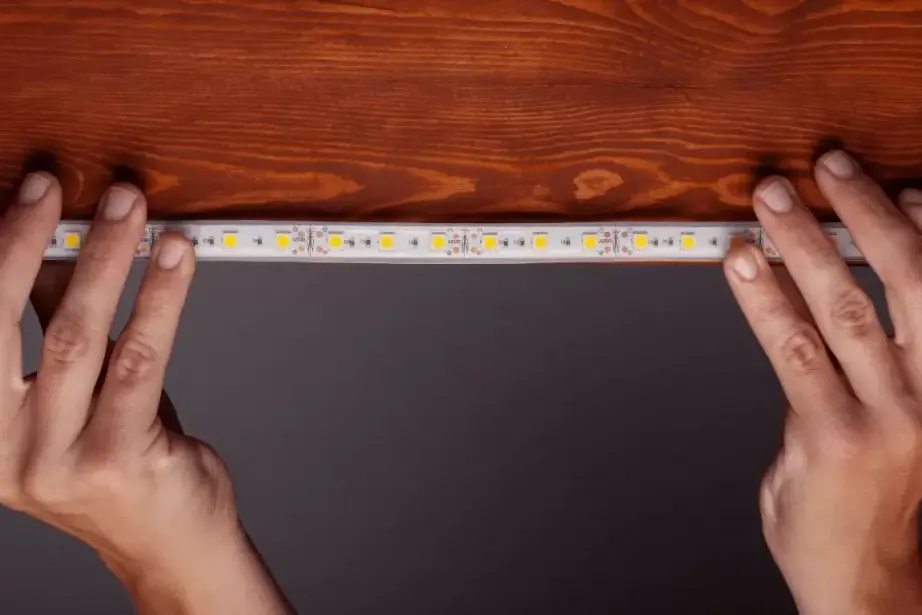
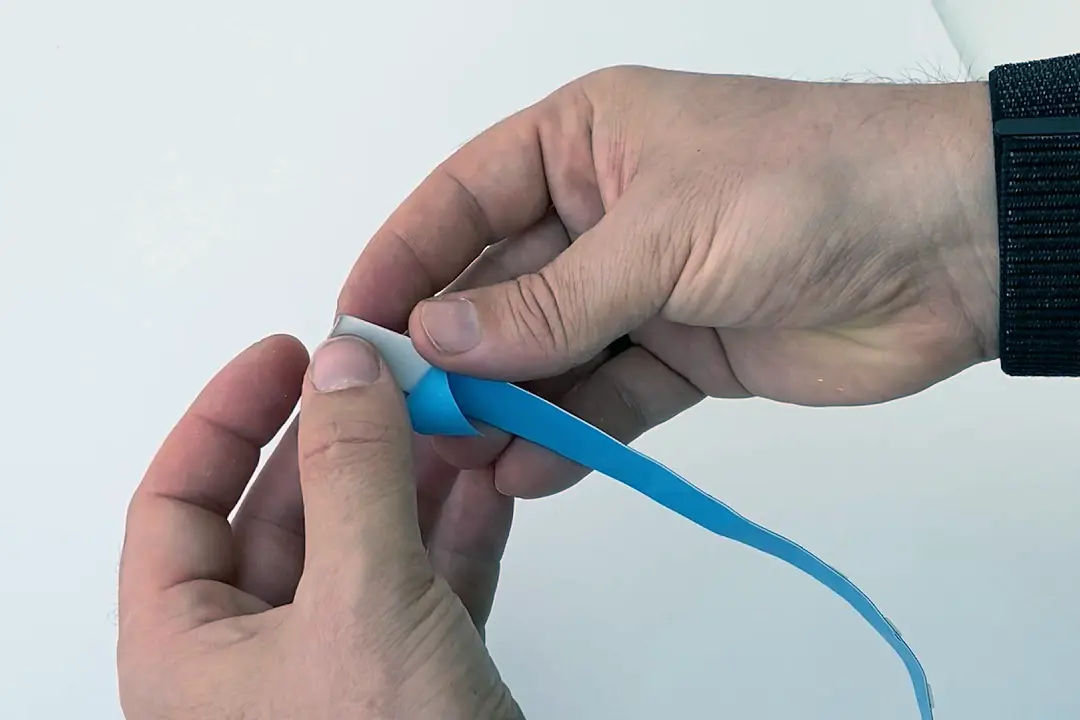
Detaljeret installationsproces: Start med at rengøre og forberede træoverfladen. Mål og klip LED-strimlerne til den ønskede længde. Påfør klæbemidlet eller monteringsclipsene, og placer derefter forsigtigt stripsene på træet. Sørg for, at de er lige og sidder godt fast.
Bedste praksis for sikker og æstetisk opsætning: Skjul ledninger og stik for at få et rent look. Test lysene før den endelige installation for at sikre, at de fungerer korrekt. Overvej lysets retning og intensitet for at opnå den bedste visuelle effekt.
Ofte stillede spørgsmål
Q: Kan LED-strips beskadige træoverflader?
Svar: Korrekt installerede LED-strips bør ikke beskadige træoverflader. Det er vigtigt at bruge klæbemidler, der er sikre for træ, og at følge korrekt installationspraksis. Hvis du er bekymret for potentielle skader, kan du overveje at bruge monteringsclips som et alternativ.
Q: Hvor længe holder LED-strips på træ?
Svar: Levetiden for LED-strips på træ varierer afhængigt af brug og miljømæssige faktorer. Generelt kan de holde i flere år med korrekt installation og vedligeholdelse.
Q: Er LED-strips på træ sikre til udendørs brug?
Svar: Ja, men sørg for, at LED-stripsene er beregnet til udendørs brug, og at klæbemidlet eller monteringsmetoden er vejrbestandig. Det er også vigtigt at beskytte dem mod direkte udsættelse for vand.
Q: Kan jeg male over LED-strips, der er installeret på træ?
Svar: Det anbefales ikke at male over LED-strips, da det kan påvirke deres ydeevne og varmeafledning. Hvis du har brug for at ændre farven, kan du overveje at bruge farvede LED-strips eller installere dem på en måde, så de kan dækkes med en overflade, der kan males.
Q: Hvad er den bedste måde at rengøre LED-strips på træ?
A: Tør forsigtigt LED-stripsene af med en blød, tør klud. Undgå at bruge vand eller skrappe rengøringsmidler, da de kan beskadige lysene og klæbestoffet.
Q: Kan jeg skære LED-strips til, så de passer til en bestemt længde træ?
Svar: Ja, LED-strips kan skæres over på bestemte steder, som normalt er markeret langs strippen. Sørg for at følge producentens anvisninger for at undgå at beskadige lysene.
Q: Hvorfor flimrer mine nye LED-strips?
A: Flimren kan skyldes inkompatible dele, dårlige forbindelser eller en forkert strømforsyning. Sørg for, at alle komponenter er kompatible og korrekt tilsluttet.
Q: Kan flimrende LED-strips forårsage skade?
Svar: Kontinuerlig flimren kan forkorte LED'ernes levetid og kan være tegn på underliggende elektriske problemer, men det er generelt ikke skadeligt. Det er bedst at løse problemer med flimren med det samme.
Q: Skal jeg bruge en professionel til at installere LED-strips på træ?
Svar: Selv om mange har succes med at installere LED-strips selv, anbefales det at konsultere en professionel til komplekse installationer, eller hvis du er usikker på de elektriske forbindelser.
Q: Hvordan sikrer jeg, at mine LED-strips sidder fast på strukturerede træoverflader?
A: Til struktureret træ skal du bruge et stærkere klæbemiddel eller monteringsclips for at få en sikker installation. Sørg for, at overfladen er så glat og ren som muligt, før du sætter listerne på.
Konklusion
Sammenfattende kan man sige, at en vellykket installation af LED-strips på træ kombinerer grundig forberedelse, de rigtige limvalg og kreativ anvendelse. Husk, at en ren, glat træoverflade sikrer optimal vedhæftning. Vælg klæbemidler, der er kompatible med både LED-strips og træ, og overvej yderligere metoder som fugemasse for ekstra holdbarhed.
LED-strips giver fleksibilitet til at forbedre boligindretning og udendørsarealer og forener funktionalitet med æstetik. Håndter almindelige vedhæftningsproblemer med effektive løsninger og forebyggende pleje. Regelmæssig vedligeholdelse sikrer lang levetid, og omhyggelig fjernelse og udskiftning beskytter dine træoverflader.
Endelig kan de rigtige LED-strips, der er installeret med omtanke, forvandle enhver træoverflade til et smukt oplyst, indbydende rum. Omfavn denne blanding af lys og træ for at skabe dit eget unikke, stemningsfulde miljø.
For dem, der søger ekspertise inden for LED-belysning, skal de ikke lede længere end til Unitopen førende producent i Kina, der er kendt for sine førsteklasses LED lysbånd og LED neon flex. Hvis du har spørgsmål eller specifikke behov, er Unitop klar til at hjælpe. Omfavn deres professionelle ekspertise inden for LED-industrien, og lad Unitop oplyse dit rum med kvalitet og innovation. Kontakt os i dag for at lyse op i din verden.
Relaterede indlæg

Tom er nu salgschef for Unitop (Kina) Co, Limited. Han har været i LED-belysning industrien lige siden 2005. Han er ekspert i salg og marketing samt fabriksledelse. Han kan lide bodybuilding, og han er også en vild Apple-fan! Han er en hårdtarbejdende fyr og elsker at lære og prøve nye ting.
E-mail: tom@unitopledstrip.com WhatsApp: +86-18680307140


Skriv en kommentar
Vil du deltage i diskussionen?Du er velkommen til at bidrage!