Navigating the dilemma of beautifying your home with LED strip lights without risking paint damage can be tricky. Fear not, for we’ve got the expert insights and solutions you need. Rest assured, our comprehensive guide will illuminate the path to using LED lights safely and stylishly, protecting your walls every step of the way.
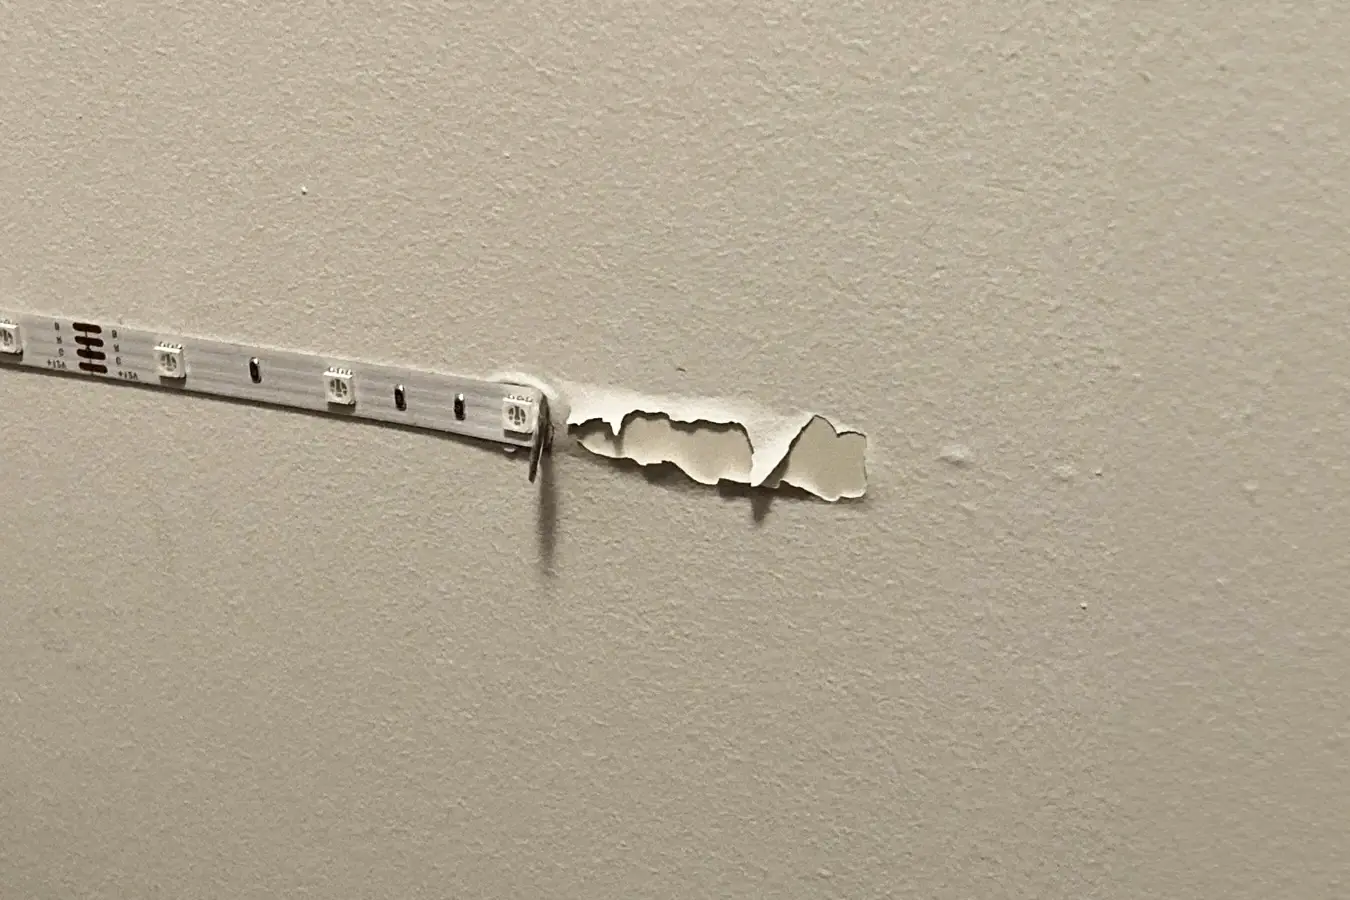
Typically, proper installation of LED strip lights won’t harm wall paint. Factors like adhesive choice, paint quality, and attachment duration play crucial roles in ensuring your walls remain pristine.
Dive deeper with us to uncover the nuances of LED strip light adhesives, assess various paint qualities, and examine attachment techniques. Our comprehensive guide will equip you with essential insights for a damage-free installation alongside creative alternatives to preserve your walls’integrity.
Factors Influencing Paint Damage by LED Strip Lights
The use of LED strip lights can transform a room, adding a touch of modernity and ambiance. However, the concern of whether these lights could damage wall paint is a valid one. Various factors contribute to the potential for paint damage, and understanding them is critical to ensuring your walls remain unscathed.
Types of Adhesives Used in LED Strip Lights
Adhesive choice is a crucial factor. Manufacturers of LED strip lights typically offer a range of adhesive types, each with its strengths and weaknesses. Industrial-strength adhesives are known for their robust grip, ensuring the lights stay in place even in high-traffic areas or in spaces exposed to elements like moisture or heat. However, their strength can be a double-edged sword. When removed, these adhesives may pull off not just the strip but also a layer of paint, especially if the paint is of lower quality or has been on the wall for a long time. On the other end of the spectrum, gentler adhesives prioritize wall safety, reducing the risk of paint damage but potentially compromising grip strength. This delicate balancing act between durability and paint safety is an essential consideration when choosing LED strip lights.
Anecdotes from users who have experienced paint damage often point to the use of industrial-strength adhesives on delicate wall surfaces as the culprit. It’s a reminder that understanding the nature of the adhesive and matching it to the wall surface and paint quality is essential in preserving the aesthetic integrity of your space.
Assessing the Quality of Wall Paint
The type of paint on your wall plays a significant role in its susceptibility to damage from LED strip lights. High-quality paints with durable finishes are designed to withstand various stresses, including the adhesive used on LED strips. These paints are more likely to remain intact when the strips are removed. Conversely, walls with lower-quality or older paint might not fare as well against the adhesive. In such cases, the paint may peel or chip upon removal of the strips. Therefore, assessing the quality of the paint on your walls is crucial before installing LED strip lights.
Impact of Duration and Method of LED Strip Light Attachment
How long the LED strips remain on the wall and the method of installation also significantly affect the potential for paint damage. Strips that are attached for extended periods may bond more robustly with the paint, making their removal challenging and increasing the likelihood of damage. This is akin to leaving a bandage on the skin for an extended period – the longer it stays, the more it adheres, and the more challenging it is to remove without causing damage.
The installation method is just as crucial. Proper installation following the manufacturer’s guidelines ensures that the LED strips are applied evenly and securely, minimizing the risk of paint damage. Conversely, incorrect installation methods or inadequate surface preparation can lead to uneven pressure on the paint, potentially causing damage when the lights are removed.
Step-by-Step Guide for Safely Installing LED Strip Lights
When it comes to installing LED strip lights, the key to preserving your wall paint lies in careful preparation and application. Let’s walk through a step-by-step guide to ensure a safe and effective installation.
Preparing the Surface for Installation
Before you start, it’s essential to prepare the installation surface. This step is critical in avoiding potential paint damage later on.
- Clean the Surface: Begin by cleaning the wall where you’ll install the LED strips. Use a mild detergent or a specialized wall cleaner to remove any dust, dirt, or grease. This ensures that the adhesive on the LED strips bonds properly to the wall.
- Dry the Surface: After cleaning, thoroughly dry the area with a clean cloth. Any moisture left on the wall can weaken the adhesive’s grip, leading to the premature peeling off of the strips.
- Check for Smoothness: Run your hand over the surface to check for any bumps or irregularities. A smooth surface ensures even application of the LED strips.
Best Practices for Applying LED Strip Lights
Proper application of the LED strips is just as important as surface preparation.
- Measure and Cut: Measure the area where you want to install the lights. Cut the LED strips to the required length at the designated cutting points.
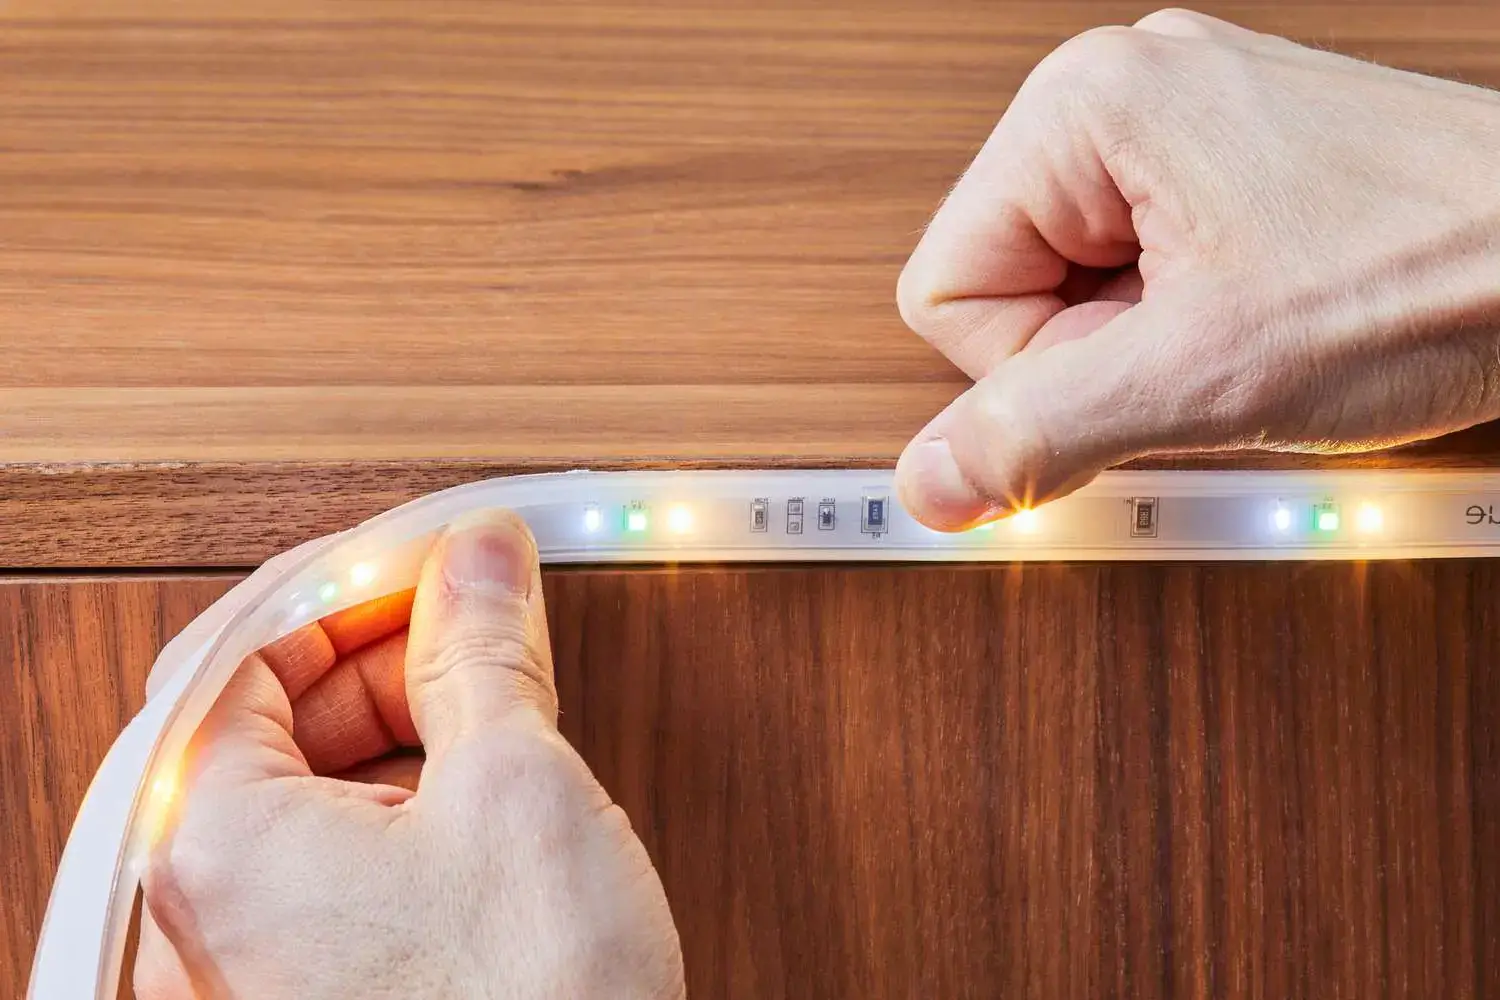
- Peel and Stick: Gently peel back the adhesive backing and press the strip onto the wall. Start from one end and gradually move to the other, applying even pressure to avoid air bubbles.
- Avoid Stretching: Be careful not to stretch the LED strips, as this can weaken the adhesive and result in uneven lighting.
- Test the Lights: Once applied, test the lights to ensure they are working correctly and evenly lit.
Tips for Damage-Free LED Strip Light Removal
If you need to remove or reposition the LED strip lights, do it cautiously to protect your wall paint.
- Apply Heat: Use a hairdryer on a low setting to gently warm the adhesive. This makes the strip easier to peel off without damaging the paint.
- Slow and Steady: Start at one end and slowly peel the strip at an angle. If it resists, apply a bit more heat.
- Clean Residue: If there’s any adhesive residue left on the wall, use a gentle cleaner or adhesive remover. Be careful not to scrub too hard to avoid paint damage.
- Final Check: Once removed, inspect the wall for any signs of damage and clean the area thoroughly.
Innovative Installation Alternatives for LED Strip Lights
Are you worried about damaging your wall paint with LED strip lights? Fear not! There are innovative alternatives to traditional adhesive methods that safeguard your walls while still lighting up your space in style.
Non-Adhesive Mounting Options
Moving away from adhesives opens up a realm of possibilities:
- Mounting Clips: These are a game-changer for those wary of adhesives. Attach the clips to the wall using a small screw or nail, and then snap your LED strips into place. It’s that easy! Plus, they make repositioning or removing the LED strips hassle-free, leaving no residue or paint damage.
- Magnetic Strips: Ideal for metallic surfaces, these strips use magnetic attraction to secure LED lights. They’re perfect for temporary setups or for those who love to switch up their lighting arrangement regularly—no sticky residues, no paint damage – just pure, illuminating magic.
Creative Placement Ideas Without Direct Wall Contact
Let’s get creative with placement ideas that keep your walls untouched:
- Behind Furniture: Placing LED strips behind furniture like headboards or sofas creates a mesmerizing backlight effect. It adds depth and warmth to the room without a single mark on your walls.
- Under-Cabinet Lighting: Transform your kitchen or workspace with under-cabinet LED lighting. It’s a sleek, modern way to brighten up areas while highlighting architectural details or decorative items, all without direct contact with your walls.
- Unconventional Spaces: Think outside the box! Use LED strips along mirror edges for a glamorous vanity setup, under your bed frame for a floating bed illusion, or around window frames for a dramatic effect. These unconventional placements are not only aesthetically pleasing but also ensure your walls stay pristine.
Remedying Paint Damage from LED Strip Lights
The charm of LED strip lights can occasionally come with the unintended consequence of paint damage. But don’t let this dampen your enthusiasm for these versatile lights. Addressing paint damage ensures your space continues to shine bright.
DIY Techniques for Minor Paint Touch-Ups
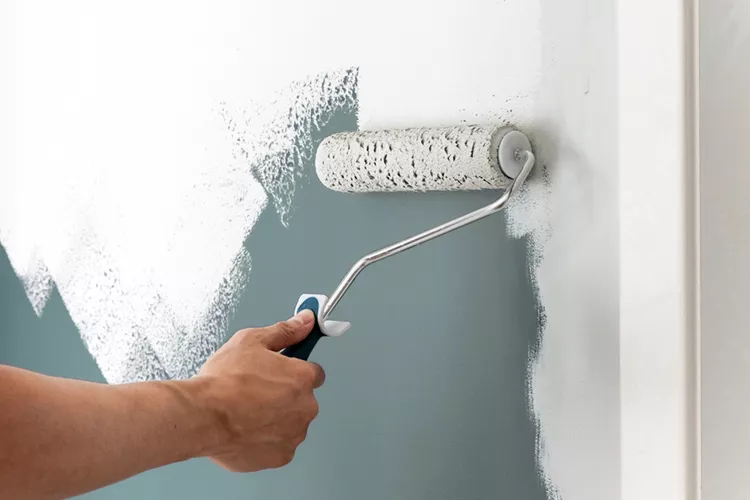
Let’s start with DIY solutions for minor paint touch-ups. Here’s a step-by-step guide:
- Color Matching: Take a chip of your wall paint to your local hardware store. Most stores offer color-matching services to find the perfect match for your paint.
- Surface Preparation: Clean the area gently to remove any adhesive residue. A smooth surface is vital for a flawless paint application.
- Application: Use a small brush for precision. Apply the paint in thin layers, allowing each to dry before adding the next. This technique prevents uneven textures and ensures a smooth, blended finish.
- Blending: The art of combining the new paint with the old is crucial. It’s all about making the touched-up area indistinguishable from the rest of the wall.
- Patience: Take your time with each step to achieve the best results. Rushing can lead to visible brush strokes or uneven textures.
When to Seek Professional Help for Paint Repair
Sometimes, the extent of the damage or the complexity of the paint job necessitates professional intervention:
- Extensive Damage: If the paint damage is significant, it’s best to trust a professional painter. They have the right tools and expertise to repair the damage seamlessly.
- Specialty Paints: High-end or textured paints can be tricky. Professionals can match and apply these paints correctly, ensuring a consistent look across your wall.
- Historical or Valuable Surfaces: For damage to historical or valuable wallpaper, a restoration expert should be consulted. They use specialized techniques for repair or replacement.
- Intricate Techniques: If your wall features complicated painting techniques, replicating them might require a professional’s touch.
The Future of LED Lighting and Paint Compatibility
As the world of home decoration evolves, so does the technology that accompanies it. One of the critical concerns for many homeowners and renters alike is the potential damage to wall paint caused by LED strip lights. The good news is that the future looks promising with significant advances in both LED lighting and paint technologies, focusing on preserving the aesthetics of our living spaces.
Advances in Adhesive Technologies
The LED lighting industry is currently on the cusp of a revolution, with new adhesive technologies that are specifically designed to be paint-friendly. Here’s a closer look at these advancements:
- Residue-Free Adhesives: The latest adhesives are formulated to attach LED strips securely while ensuring easy and clean removal. This means no more sticky residue or paint chips left behind when you decide to take down or reposition your lights.
- Temperature Adaptive Adhesives: With the introduction of adhesives that can adapt to different temperatures, there’s less risk of them becoming overly rigid or excessively tacky. This adaptability is crucial for maintaining the integrity of paint, especially in environments with fluctuating temperatures.
- Eco-Friendly Options: The push towards sustainability has also led to the development of more eco-friendly adhesive options, reducing the ecological footprint of LED lighting solutions.
Paint Formulations for Enhanced Resilience
On the other side, paint manufacturers are not standing still. They’re innovating to ensure that wall paints are more resistant to the stress caused by adhesives. Here are some noteworthy developments:
- Durability-Enhanced Paints: New paint formulations are being created with enhanced durability and elasticity, making them more resistant to peeling or chipping when LED strips are removed.
- Heat and Light Resistant Paints: Considering the heat and light exposure from LED lights, these new paints are tested for their resistance to these factors, ensuring the longevity of both the paint and the aesthetic appeal of the lighting.
- Aesthetic and Functional Harmony: The goal is to achieve a harmonious blend of aesthetics and functionality, where the beauty of LED lights can be enjoyed without the worry of wall damage.
- Tailored Solutions: For those who love to personalize their space frequently, these advancements mean more freedom and creativity in interior design without the constraints of damaging their wall surfaces.
Ofte stillede spørgsmål
Q: Can I reapply LED strip lights after removing them?
A: Yes, you can reapply LED strip lights, but the effectiveness depends on the condition of the adhesive after the first use. If the adhesive has weakened, consider using additional support like double-sided tape or mounting clips for a secure reattachment.
Q: Are there any LED strip lights that won’t damage paint at all?
A: While no LED strip light can guarantee zero paint damage, those with gentler adhesives are less likely to cause issues. Look for LED strips labeled as ‘wall-safe’ or those that use advanced adhesive technologies designed to minimize paint damage.
Q: What’s the safest way to remove LED strip lights from painted walls?
A: The safest method is to heat the adhesive gently with a hairdryer, then slowly peel off the strip from the wall. This method reduces the risk of peeling off the paint along with the strip.
Q: How long can I leave LED strip lights on my wall without damaging the paint?
A: The duration of time LED strip lights can stay on your wall depends on the wall’s paint quality and the adhesive used. Generally, shorter durations are safer, but using high-quality paint and glue can extend this period significantly.
Q: What precautions should I take when installing LED strip lights?
A: Ensure the wall surface is clean and dry before installation; apply the strips gently and avoid stretching them. Using additional supports like clips can also help in protecting the paint.
Q: Is it better to use professional help to install LED strip lights?
A: If you’re unsure about the process or dealing with delicate surfaces, professional installation can ensure that your LED strip lights are safely and correctly installed, reducing the risk of damaging your walls.
Q: What alternatives exist to traditional adhesive for hanging LED strip lights?
A: Alternatives like Velcro strips, magnetic strips, or mounting clips can be effective for hanging LED strip lights without the permanent commitment of adhesive.
Q: Can LED strip lights be used on textured walls without damaging the paint?
A: Using LED strip lights on textured walls can be more challenging. It’s advisable to use LED strips with gentler adhesives or non-adhesive mounting options to minimize the risk of paint damage.
Q: How do I choose the right LED strip lights to prevent paint damage?
A: Look for LED strip lights from reputable brands that use quality adhesives. Consider the type of surface and environmental factors like humidity and temperature in your choice.
Q: Do different paint types affect the likelihood of damage from LED strip lights?
A: Absolutely, the type of paint on your walls can impact how well it withstands adhesive. High-quality, durable paints are less likely to peel off with LED strip lights compared to older or lower-quality paints.
Final Recommendations for Safe and Effective Use
In conclusion, the use of LED strip lights can be a safe and effective way to enhance your home’s ambiance, provided that certain best practices are followed. Firstly, selecting the correct type of LED strip lights is crucial. Consider the color, brightness, and, importantly, the kind of adhesive used. Lights with gentler adhesives are preferable for painted walls to prevent damage upon removal.
In wrapping up our comprehensive guide on the safe use of LED strip lights and their compatibility with wall paint, we’d like to introduce you to Unitop – one of China’s premier manufacturers in the realm of LED lighting solutions. At Unitop, we specialize in crafting top-quality LED lysbånd og LED neon flex, tailored to meet the evolving needs of modern home décor. Our products stand at the forefront of innovation, blending durability, aesthetic appeal, and user-friendliness.
Whether you’re grappling with further questions about LED lighting or have specific requirements for your home or business, Unitop’s expertise in the LED industry is unmatched. We encourage you to Kontakt os immediately to explore how our solutions can illuminate your spaces with elegance and efficiency. With Unitop, light up your world with confidence and style!
Relaterede indlæg

Tom er nu salgschef for Unitop (Kina) Co, Limited. Han har været i LED-belysning industrien lige siden 2005. Han er ekspert i salg og marketing samt fabriksledelse. Han kan lide bodybuilding, og han er også en vild Apple-fan! Han er en hårdtarbejdende fyr og elsker at lære og prøve nye ting.
E-mail: tom@unitopledstrip.com WhatsApp: +86-18680307140


Skriv en kommentar
Vil du deltage i diskussionen?Du er velkommen til at bidrage!