Discovering your LED strip in a state of unexpected darkness can unsettle the carefully curated ambiance of your space, replacing it with an unwelcome silence. Such moments can indeed feel disheartening. Yet, there’s no need to dwell in the shadows of concern. This guide stands as a testament to our expertise and deep-rooted understanding of LED technology, positioned to navigate you through this unforeseen obscurity. We’re not just here to answer your questions; we’re here to brighten your world again, ensuring your LED strips illuminate with renewed vigor and brilliance. Let’s confidently step forward, for the solution to reigniting your space’s vibrancy is well within our reach.
LED strip failures often stem from power supply malfunctions, disconnected or damaged wiring, excessive heat exposure, or physical damage to the strip itself. Promptly diagnosing and rectifying these issues can restore the strip’s functionality.
Dive into the depths of LED strip diagnostics with us. Our guide is brimming with practical advice and expert insights designed to illuminate the causes behind your LED strip’s unexpected dimming. Whether it’s tackling power supply puzzles, perfecting your installation technique, or mastering maintenance, we’ve compiled a treasure trove of strategies to rekindle your lights and brighten your space once again.
Uncovering the Culprits: Why Your LED Strip Fails
Embarking on the quest to illuminate why your LED strip plunged into darkness unexpectedly invites us into a realm where technical intricacies meet everyday use. The phenomenon, as abrupt as it is perplexing, often has its roots in a few common yet overlooked issues.
At the forefront of these is the challenge of power supply malfunctions. The essence of any LED strip’s luminosity, the power supply’s stability is paramount. Variations or inconsistencies in power output can lead to intermittent lighting or complete failure. It’s akin to trying to water a plant with a hose that sporadically turns on and off – the results are predictably unsatisfactory.
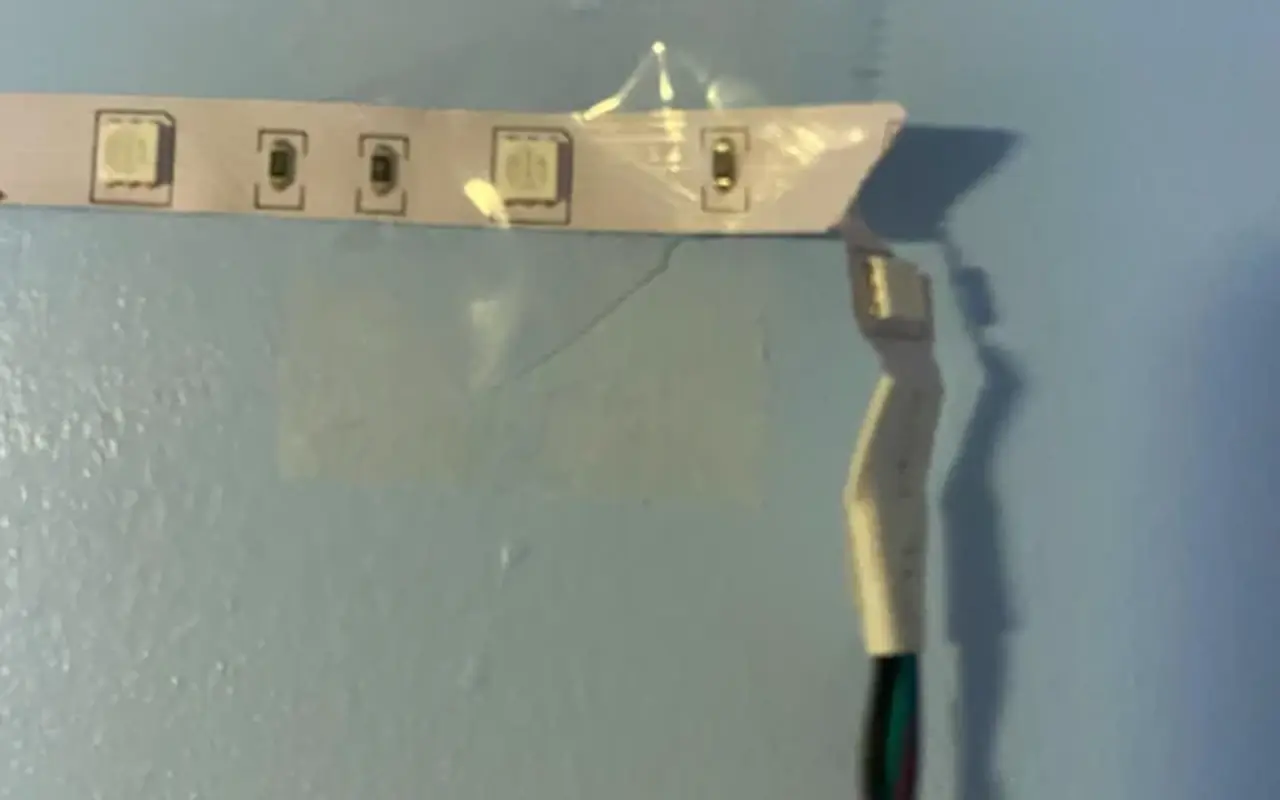
Following closely are the issues arising from connection mishaps. The connectivity in an LED strip setup is its lifeline; any disruption here can cause segments of the strip to behave erratically or not at all. Imagine setting up a series of dominos only to find a gap halfway through – the chain reaction stops dead in its tracks.
The temperature at which LED strips operate also plays a pivotal role in their longevity and performance. Despite their energy-efficient design meant to reduce heat output, inadequate ventilation or placement near heat sources can raise temperatures to detrimental levels. It’s a subtle antagonist in the lifespan of LED strips, often overlooked until the damage is done.
Lastly, the physical integrity of the strip is paramount. LED strips, though flexible and versatile, harbor a vulnerability to physical damage that can sever connections or break circuits. This can be likened to a kink in a garden hose; water flow is impeded, and so too is the electrical flow in a damaged LED strip.
Diagnosing Power Problems: Your First Step
Navigating the landscape of power problems with your LED strip doesn’t have to be a journey taken in the dark. The very first step, akin to finding the root of a mysterious ailment, begins with a thorough examination of your power source. Just as you wouldn’t overlook checking if an appliance is plugged in when it fails to start, similarly, ensuring your LED strip’s power source is active and properly functioning is fundamental. This might seem elementary, yet it’s astonishing how often this initial checkpoint can lead us to the culprit behind the darkness.
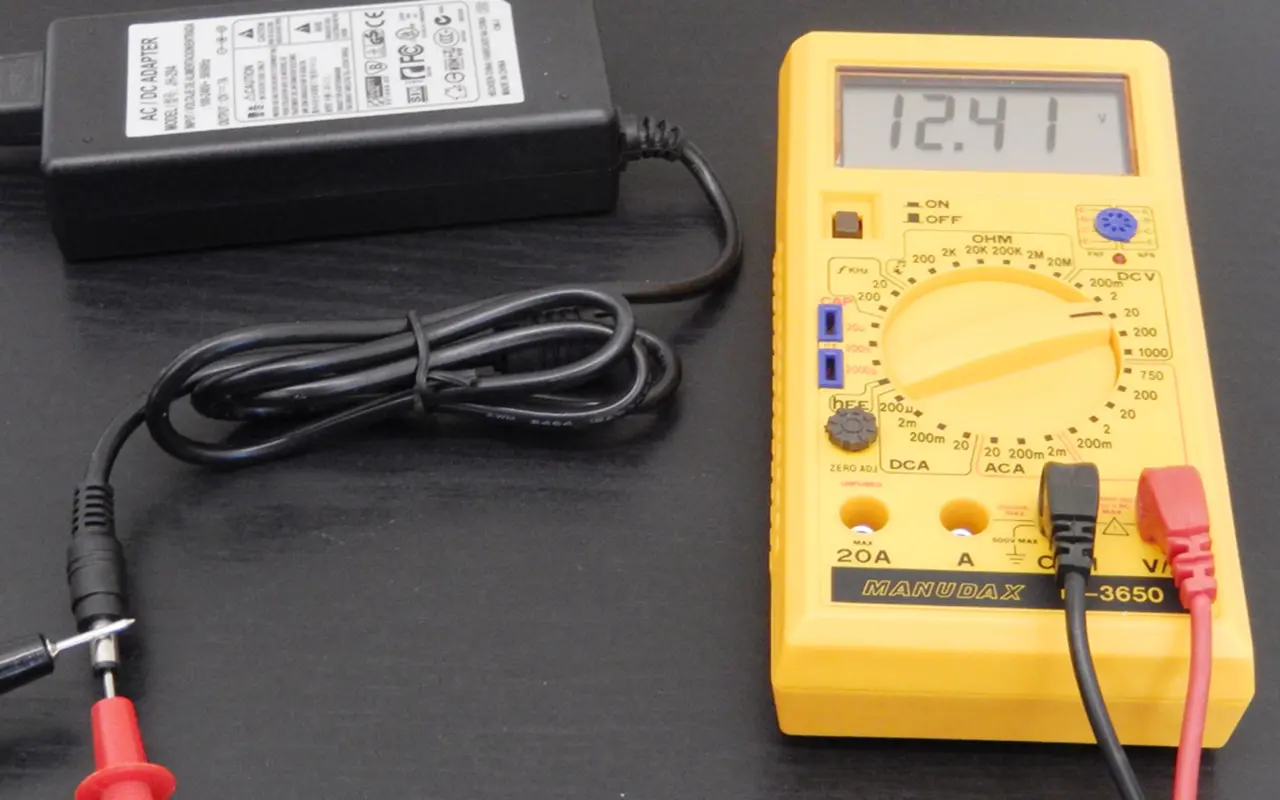
Next on the diagnostic path is verifying voltage compatibility—a critical determinant of your LED strip’s health and functionality. The analogy of a plant being watered too much or too little comes to mind here. Just as either extreme can be detrimental to the plant, the same applies to your LED strip when it comes to power supply. This is where a multimeter shines as an invaluable tool, cutting through the uncertainty by measuring the exact voltage being supplied to your strip. This step not only aids in pinpointing the issue but also demystifies the often complex world of electrical diagnostics.
But the journey doesn’t end with identification; it seamlessly transitions into rectification. Understanding the nuances of power supply to your LED strip doesn’t just breathe life back into your ambient lighting; it enlightens you on the intricacies of electrical systems. This knowledge not only empowers you to tackle similar issues with confidence in the future but also enhances your overall troubleshooting skills.
Connection Check: Securing Your LED Lifeline
Venturing further into the intricacies of LED strip functionality, the pivotal role of secure and intact connections becomes increasingly apparent. These connections serve as the conduits through which the lifeblood of your LED strip—electricity—flows. Akin to the essential veins and arteries within a living organism, these electrical pathways must remain unobstructed and well-maintained to ensure the vibrant luminance we all cherish. Yet, it’s within these vital links that issues often arise, casting shadows where there should be light.
Embarking on a thorough inspection of these connections is much like embarking on a detailed exploration. It requires a keen eye and a patient hand to sift through each segment of your LED strip, from the power source all the way to the last LED. This meticulous process is crucial, for even the smallest disconnect or wear can disrupt the entire system. Think of it as detective work, where every clue matters and the smallest details can lead to a breakthrough.
It’s important to approach this task with the understanding that sometimes, the most effective solution is to start anew. When connections are beyond simple fixes, replacing them entirely ensures not just a temporary patch but a lasting resolution. This commitment to maintaining the integrity of your LED strip’s connections underscores the importance of quality components from the outset.
Moreover, the act of checking and securing these connections does more than just troubleshoot current issues; it preemptively wards off potential future disruptions. By adopting a proactive stance towards maintenance, you’re not just fixing a problem—you’re investing in the enduring brilliance of your LED setup.
Beat the Heat: Preventing LED Overheating
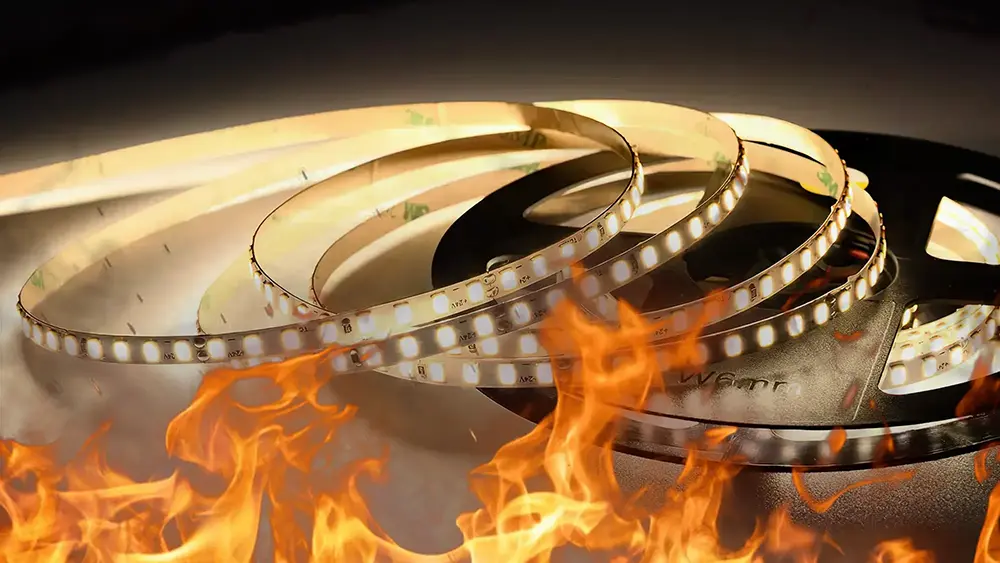
The hidden adversary of LED strip longevity isn’t always visible to the naked eye, yet its impact can be profound. Overheating, a subtle yet formidable foe, can stealthily compromise the vibrant life force of your LED strips. This thermal challenge often arises not from the LEDs themselves, which are designed to be efficient and cool, but from the conditions in which they are placed. An installation that lacks breathing room or is situated near heat sources can unwittingly become a hotbed for issues, dimming the lights on what should be a reliable source of illumination.
Addressing the risk of overheating begins with an understanding of your LED strip’s environment. Just as you wouldn’t leave a plant in direct sunlight without adequate water, your LED strips require a habitat that caters to their needs. Ensuring ample ventilation around your installation allows heat to dissipate naturally, much like a gentle breeze helps cool a sun-drenched patio. In areas where natural airflow is limited, the strategic placement of heat sinks acts as a cooling oasis, drawing excess warmth away from your LED strips and preventing the temperature from reaching critical levels.
But why go to these lengths? The answer lies in the very essence of what your LED strips bring to a space. Beyond mere functionality, they offer an ambiance, a mood, and an aesthetic appeal that can transform environments. Maintaining optimal operating temperatures not only guards against immediate technical failures but also protects the color integrity and luminosity of your LEDs, ensuring that they continue to cast their intended glow far into the future.
Shielding Your Strips: Preventing Physical Damage
In the dynamic realm of interior and exterior design, LED strips have emerged as a versatile and captivating lighting solution. Their ability to bend and contour to fit the unique shapes of spaces allows for creativity to shine in every installation. Yet, it’s this very adaptability that demands a gentle touch and mindful handling. Just as a sculptor molds clay with both vision and care, so too must we approach the installation of our LED strips. The difference between a seamless glow and a disjointed light display often lies in the precision and patience exercised during this process.
When it comes to bending your LED strips, think of it as guiding rather than forcing. Sharp bends can not only disrupt the aesthetic flow but also jeopardize the strip’s functionality by damaging the internal wiring. These delicate components are designed for flexibility, but they have their limits. It’s like coaxing a garden hose around a corner; too sharp a turn, and the water flow is compromised. Similarly, when trimming your LED strips, precision is key. The strips typically come with designated cutting points for a reason – to ensure that you can tailor their length without sacrificing their integrity.
Mounting your LED strips securely is another pillar of protecting them from physical damage. Whether it’s through the use of mounting clips or high-quality adhesives, the goal is to provide a foundation that holds the strip firmly in place while avoiding any undue stress on its structure. This is particularly important in areas of high activity or in outdoor settings where elements such as wind can come into play. A securely mounted LED strip not only serves its functional purpose more reliably but also stands as a testament to the thoughtfulness put into its installation.
Quick Fixes: Troubleshooting Common LED Strip Issues
Finding yourself in a tangle with LED strip lighting issues can feel like a daunting hiccup in your quest for perfect illumination. Yet, with a dash of troubleshooting savvy, these obstacles can quickly transform into minor speed bumps on your lighting journey. Let’s unravel some of these common conundrums and shine a light on straightforward solutions that don’t require you to be an electrical wizard.
Flickering lights, the bane of any ambiance-seeking enthusiast, can often be traced back to an overburdened or mismatched power supply. It’s akin to trying to fill a bathtub with a fire hose – too much power and things get messy, too little and you’re left wanting. Checking that your power supply is correctly spec’d for your LED strip’s voltage and current requirements is akin to finding the Goldilocks zone – just right. This adjustment can transform a flickering annoyance into a stable, serene glow.
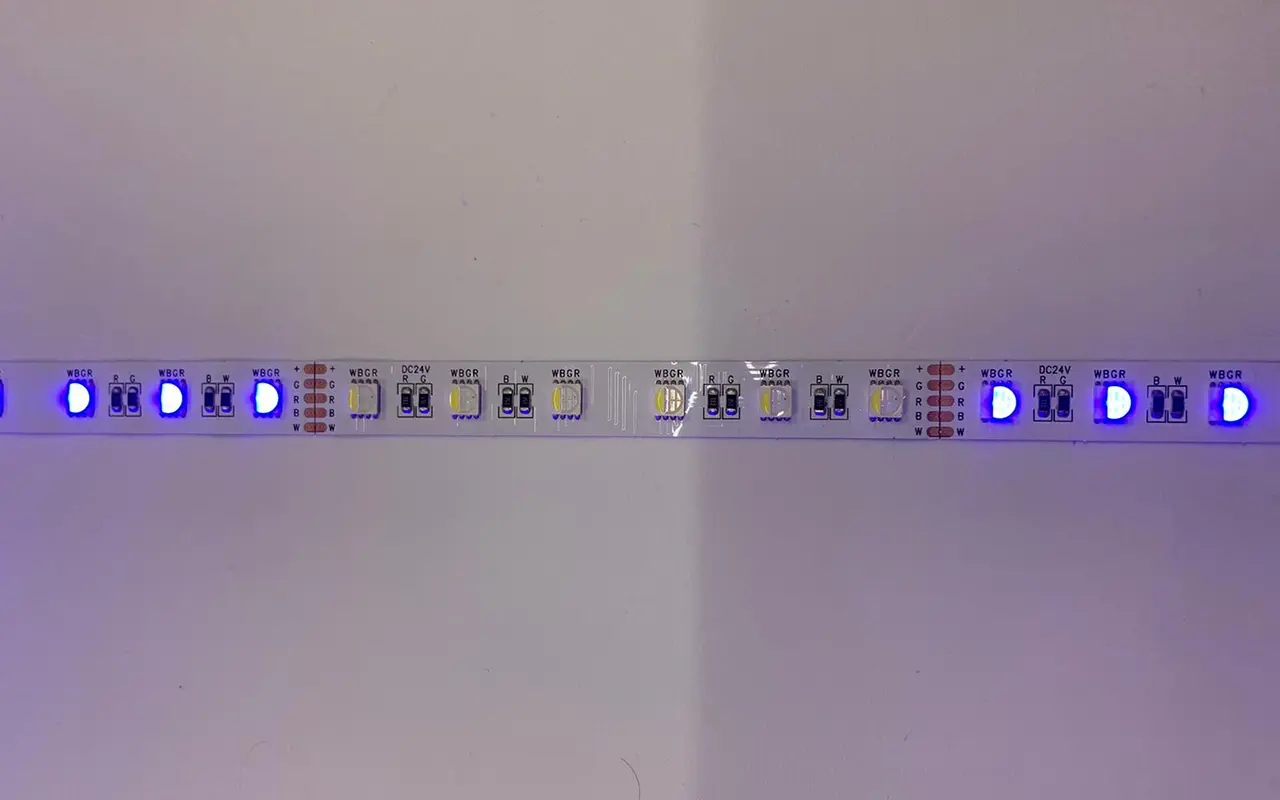
On the spectrum of issues, color inconsistencies can be particularly jarring, breaking the visual flow with unexpected hues. Often, this chromatic chaos is not a sign of your strip’s rebellion, but a nudge to realign or secure your connections. Imagine each connector as a crucial link in a chain; a misalignment can send ripples through the entire setup. A careful review and adjustment can often set things straight, restoring harmony to your color palette.
And for those dark sections casting shadows of doubt on your strip’s efficacy, the solution often lies in revisiting the basics – power supply and connections. It’s a reminder that sometimes the answer isn’t hidden in complex electrical theory but in the foundational elements of your setup.
Step-by-Step Guide: Reviving Your LED Strip
Reviving your LED strip doesn’t have to be a venture into the unknown. With a step-by-step guide, the glow you’ve come to love can illuminate once again, transforming a once dimmed space back to its radiant best. Let’s walk through the essentials to breathe life back into your LED strips, ensuring that the process is as enlightening as the outcome.
Your journey begins with a critical look at the power source, the lifeline of your LED strip. Like ensuring a plant has the right soil conditions to thrive, verifying that your power source is delivering the appropriate voltage is foundational. A mismatch here could be the root cause of your lighting woes, rendering your LED strip lifeless. This examination is fundamental, often overlooked in the haste for a quick fix, yet it holds the key to revival.
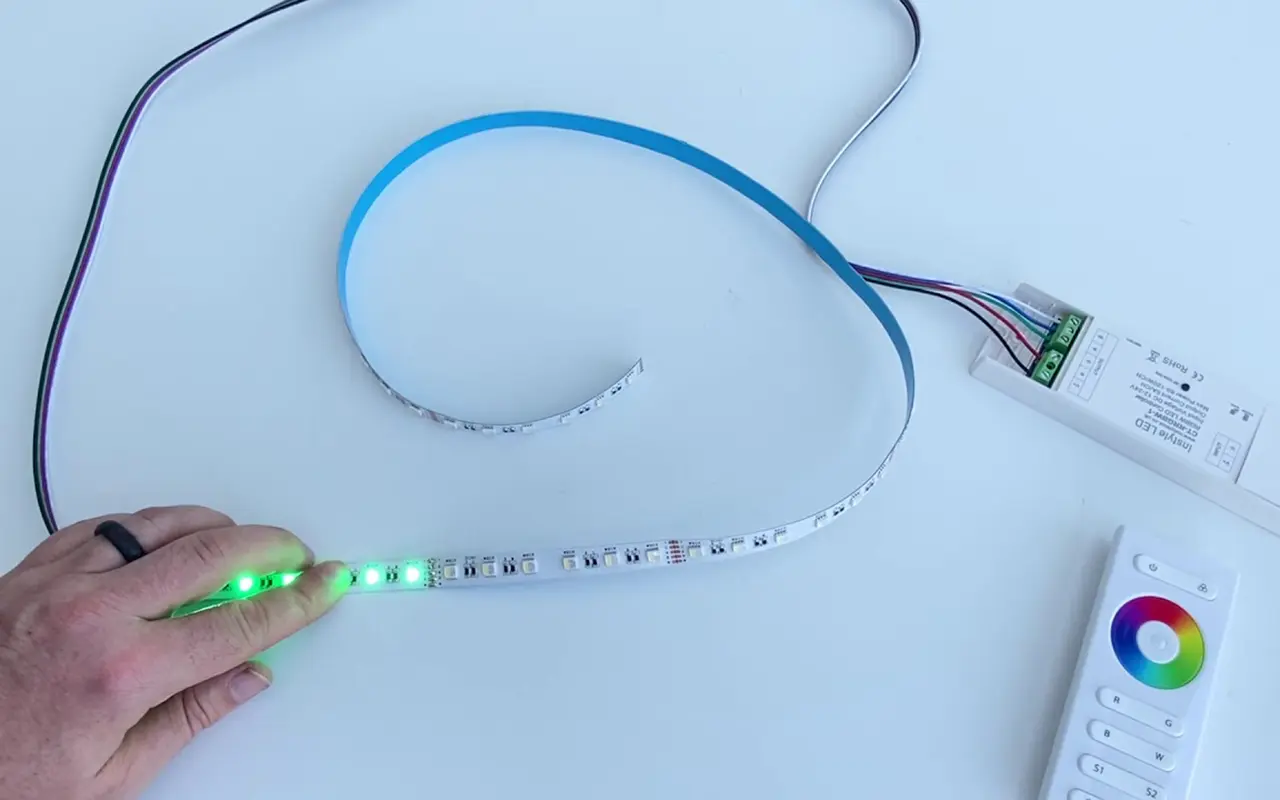
Progressing to the connections, consider this the circulatory system of your LED setup. Just as a kink in a garden hose can stop water flow, loose or damaged wires can stifle the electrical flow, leading to dim or flickering lights. A detailed inspection, akin to untangling a knotted necklace, requires patience but is often rewarded with the simplest of solutions – reconnecting or replacing the faulty link.
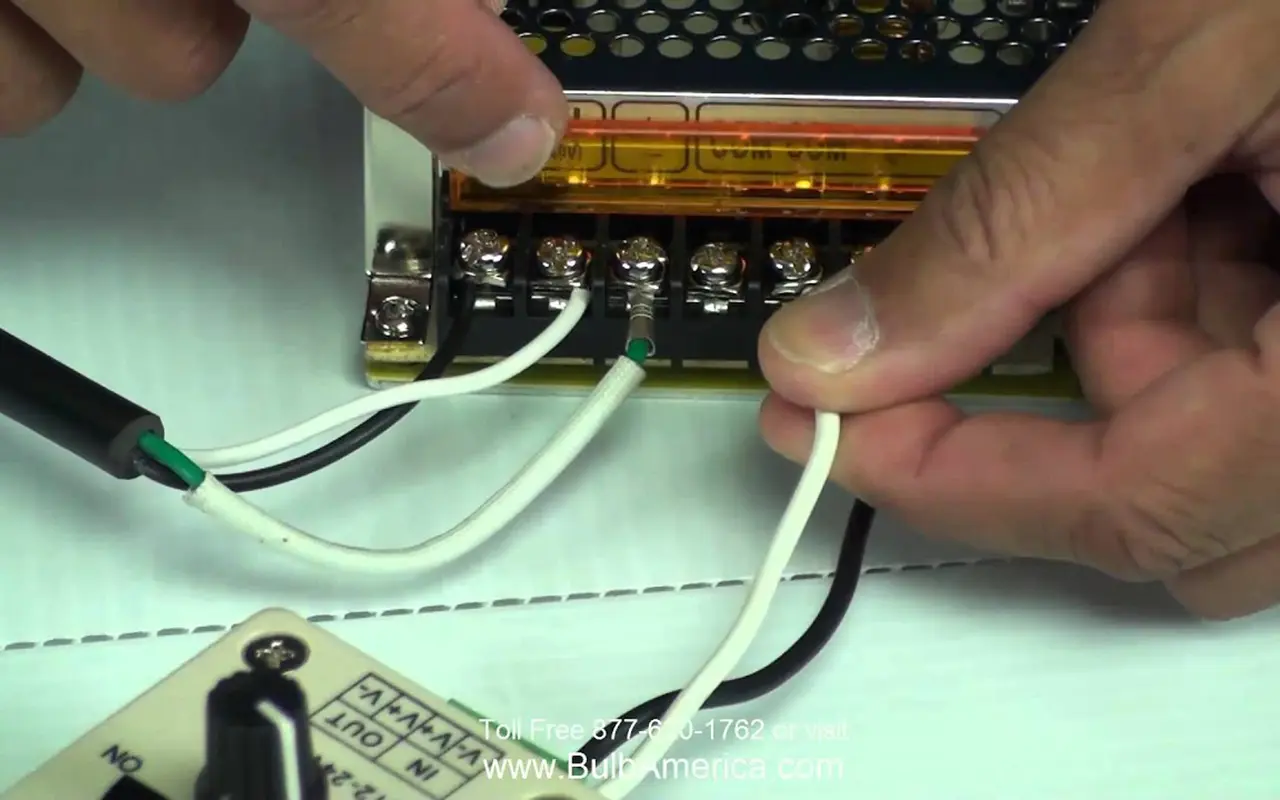
Now, let’s talk about the heart of the operation – the power supply. It’s crucial that it not only functions but matches the LED strip’s requirements precisely. An overpowering supply can be just as detrimental as an underpowered one. Employing a multimeter here allows for a precise diagnosis, shining a light on any discrepancies that may be keeping your LEDs in the dark.
Encountering a power surge is akin to a storm hitting a tranquil garden – unexpected and potentially devastating. Post-surge, it’s imperative to assess the aftermath, looking for any damaged components that need care. Similarly, the integration of dimmers adds sophistication to your setup, yet requires a delicate balance. Ensuring compatibility between your dimmers and LEDs is crucial to avoid the common pitfall of flickering lights.
Finally, address the LEDs themselves. Each diode is a star in the constellation of your strip, and a single failing star can dim the entire sky. Identifying and replacing any defunct LEDs is often the final step in restoring the celestial glow of your setup.
LED Longevity: Maintenance and Care Tips
In the vibrant tapestry of LED lighting, the longevity and performance of your LED strips hinge significantly on the pillars of maintenance and care. Like nurturing a garden to bloom, a methodical approach to looking after your LED strips can ensure they continue to light up your world with their full potential. Let’s delve into some key practices that can help maintain the brilliance of your LED strips and extend their lifespan, making your spaces glow with warmth and vibrancy for longer periods.
First and foremost, aligning with the manufacturer’s installation guidelines is not merely a suggestion—it’s a roadmap to maximizing the efficiency and lifespan of your LED strips. These guidelines provide crucial insights into the optimal setup, helping you avoid common pitfalls that could compromise the performance of your LED strips. It’s similar to following a recipe to the letter; the outcome is usually as delightful as anticipated.
Another critical aspect of LED strip care involves selecting the appropriate power supply. This choice is akin to finding the perfect soil mix for a specific plant type; just as the right soil mix fosters healthy growth, the right power supply ensures your LED strips flourish, free from the risks of underpowering or overpowering. Regular checks and maintenance, much like pruning and watering a plant, keep your LED setup thriving. These checks help identify and rectify potential issues such as loose connections or wear and tear before they lead to bigger problems, ensuring your LED strips continue to perform optimally.
Moreover, being mindful of the environmental conditions surrounding your LED strips plays a significant role in their longevity. Ensuring that they’re not exposed to excessive heat or moisture can prevent premature aging, much like protecting a delicate plant from harsh external elements.
Часто задаваемые вопросы
Can weather conditions affect my outdoor LED strip lights?
Absolutely, weather conditions like heavy rain can lead to water ingress, potentially harming the circuitry of outdoor LED strips. It’s essential to ensure your outdoor LEDs are adequately protected and rated for outdoor use to withstand such elements.
Why are parts of my LED strip not lighting up?
This issue is commonly due to loose or damaged connections within the strip. Check all connection points and wiring for any signs of damage or looseness. In some cases, a section of the LED strip may need replacement if it’s been physically damaged.
Do LED strips use a lot of electricity, causing overheating?
LED strips are energy-efficient and generally don’t consume a lot of power, which means they shouldn’t overheat due to power usage. However, improper installation or lack of ventilation can cause them to get warmer than usual. Ensure they’re installed in well-ventilated areas and consider using heat sinks for additional cooling if necessary.
How can I prevent my LED strips from flickering?
Flickering LED strips are often a sign of an overloaded or incompatible power supply. Check that your power supply matches the voltage and current requirements of your LED strip. Additionally, ensuring all connections are secure can help prevent flickering.
Is it normal for LED strips to change color over time?
LED strips should maintain their color consistency throughout their lifespan. If you notice color changes, it might be due to voltage fluctuations or damaged LEDs. Ensure your power supply is stable and check the strip for any damaged sections that may need replacing.
Can using the wrong dimmer affect my LED strip’s performance?
Yes, using a non-compatible dimmer switch with your LED strip can lead to issues like flickering or incomplete dimming. Always use a dimmer that’s specifically designed for LED lighting to avoid such problems.
What should I do if my LED strip gets physically damaged?
If your LED strip is physically damaged, assess the extent of the damage. Minor damages might be fixable by replacing specific sections or using connector clips. For severe damage, replacing the entire strip may be the safest option.
How can I test if my LED strip’s power supply is faulty?
A multimeter is a handy tool for testing the functionality of your power supply. Check the output voltage of the power supply with the multimeter to ensure it matches the specifications required by your LED strip.
Why does my LED strip overheat even in a well-ventilated area?
Overheating can occur if the LED strip’s power supply delivers more voltage than needed, or if there’s a short circuit within the strip. Inspect the power supply compatibility and check the strip for any signs of short circuits.
How often should I perform maintenance checks on my LED strip setup?
Regular checks every few months can help ensure your LED strip’s longevity and performance. Pay attention to the power supply, connections, and the physical condition of the strip. Also, keep an eye on environmental factors that may affect its operation.
Conclusion: Brightening Your World Once Again
Navigating the challenges of a suddenly non-functional LED strip doesn’t have to leave you in the dark. With a little troubleshooting, maintenance, and care, you can illuminate your space once again. Remember, understanding the common causes of failure and knowing how to address them empowers you to keep your LED strips shining brightly. If you’re still stumped, don’t hesitate to seek professional advice or reach out to the manufacturer. Your vibrant, luminous space is well within reach, ready to be rekindled with a bit of effort and knowledge.
As we draw this enlightening journey to a close, it’s clear that navigating the intricacies of LED strip lights requires not just knowledge, but also the support of industry leaders. Enter Unitop, China’s premier manufacturer of Светодиодные ленты и Светодиодный неоновый флекс. With an unwavering commitment to quality and innovation, Unitop stands at the forefront of lighting solutions, illuminating spaces across the globe with unmatched brilliance and durability. If you’re grappling with further questions or have specific requirements, don’t hesitate to протягивать руку помощи. By choosing Unitop, you’re not just selecting a product; you’re embracing expertise and excellence in the LED industry. Contact us immediately to light up your world with confidence and style.
Похожие статьи

В настоящее время Том является менеджером по продажам в Юнитоп (Китай) Ко, Лимитед. Он был в Светодиодное освещение промышленности с 2005 года. Он является экспертом в области продаж и маркетинга, а также управления производством. Он любит бодибилдинг, а также является безумным фанатом Apple! Он трудолюбивый парень и любит учиться и пробовать новое.
Электронная почта: tom@unitopledstrip.com WhatsApp: +86-18680307140


Ответить
Хотите присоединиться к обсуждению?Не стесняйтесь вносить свой вклад!