Are you tackling the challenge of uncooperative LED strip lights? Rest assured, you’ve found the right place for solutions. With expertise and proven methods, we’ll guide you through the steps to ensure your LED lights adhere seamlessly and enhance your space just as you envisioned.
LED strip lights often fail to stick due to improper surface preparation, low-quality adhesive, or incorrect installation techniques. Ensuring a clean, appropriate surface, using suitable adhesives, and following the correct installation methods are crucial for optimal adhesion.
Dive deeper into our comprehensive guide to discover a wealth of expert tips and practical solutions. From choosing the suitable adhesive to mastering the art of installation, we’ll equip you with all the knowledge you need to fix those LED strips flawlessly. Keep reading to transform your lighting experience!
Diagnosing the Root Causes of LED Lights Not Sticking
When embarking on the journey of installing LED strip lights, it’s essential to recognize and address the root causes of adhesion failure. This failure is not just a minor inconvenience; it can undermine the entire aesthetic and functionality of your lighting project. Let’s delve deeper into the primary factors that contribute to this issue:
Rough or Dirty Surfaces
The foundation of successful LED strip adhesion is the surface condition. Imagine trying to stick a band-aid on a sandy or wet skin; it simply won’t hold. Similarly, LED strips struggle to adhere to surfaces that are rough, uneven, or covered in dust and grime. These conditions create a barrier between the strip’s adhesive and the intended surface, leading to weak bonding. Before installation, it’s crucial to ensure that your chosen surface is as smooth and clean as possible. A simple wipe with a damp cloth or an alcohol-based cleaner can make a world of difference.
Low-Quality Adhesive
Not all LED strips are created equal, especially in terms of the adhesive they come with. Many users are tempted by the affordability of cheaper LED strip options, only to find that the included adhesive could be better. This inferior adhesive might seem adequate at first but often fails to provide long-term hold, particularly in challenging conditions. Investing in LED strips with high-quality adhesive or preparing to supplement with a stronger adhesive can save time and frustration in the long run.
Facteurs environnementaux
The environment where the LED strips are installed plays a pivotal role in their adhesion longevity. Humidity, temperature fluctuations, and direct sunlight exposure can all weaken the adhesive bond over time. For instance, a bathroom with high moisture levels or a sunlit window frame can prove to be challenging locations for LED strips. In such cases, considering the environmental conditions and selecting adhesives that are designed to withstand these factors is crucial.
Essential Surface Preparation for LED Strips
Successfully sticking LED strips begins long before the adhesive backing is peeled off. The secret to a firm and lasting bond lies in the crucial steps of surface preparation. Here’s a detailed look at how to create the perfect canvas for your LED strips:
- Start with a Spotless Surface: The foremost task is to clean the intended surface meticulously. Use a mild detergent or isopropyl alcohol to remove any traces of dirt, oil, or grease. This is particularly important in kitchens or areas prone to dust. A residue-free surface ensures that the adhesive on the LED strips can bond effectively without interference.
- Ensure Complete Dryness: After cleaning, patience is key. Let the surface dry thoroughly to eliminate any moisture. Moisture can act as a barrier between the adhesive and the surface, weakening the bond and causing the LED strips to peel off eventually. This step is crucial, especially in humid environments.
- Address the Texture: Different surfaces require different approaches. For glossy or smooth surfaces, creating a slightly rough texture can enhance adhesion. Gently sanding the area can provide the necessary grip for the LED strip’s adhesive. However, be careful not to overdo it and damage the surface.
Consider a Primer or Sealant: In some cases, especially where moisture is a concern, applying a primer or sealant can be beneficial. This not only helps in creating an adhesive-friendly surface but also protects the material underneath. It’s a step often overlooked but can significantly improve the longevity of your LED strip installation.
Selecting the Right Adhesive for Your LED Strips
When it comes to ensuring your LED strips stick reliably, choosing the appropriate adhesive is as vital as the initial surface preparation. The adhesive plays a pivotal role in the longevity and effectiveness of your LED lighting setup. Let’s break down the adhesive options to help you make an informed decision:
- Understanding Standard Adhesives: Most LED strips come with a pre-applied adhesive, typically designed for general indoor use. While convenient, it’s important to recognize that the efficacy of this adhesive can vary based on the brand and quality of the LED strips. In ideal conditions – clean, dry, and smooth surfaces – these standard adhesives perform well. However, they might falter in more demanding environments or on surfaces that are less than ideal.
- The Need for Specialty Adhesives: In environments subjected to humidity fluctuations, such as bathrooms or outdoor settings, standard adhesives may not suffice. Specialty adhesives are formulated to withstand these challenging conditions. They offer enhanced bonding strength and resilience, ensuring your LED strips remain securely in place despite the environmental stresses. When selecting a specialty adhesive, consider factors like moisture resistance and temperature tolerance.
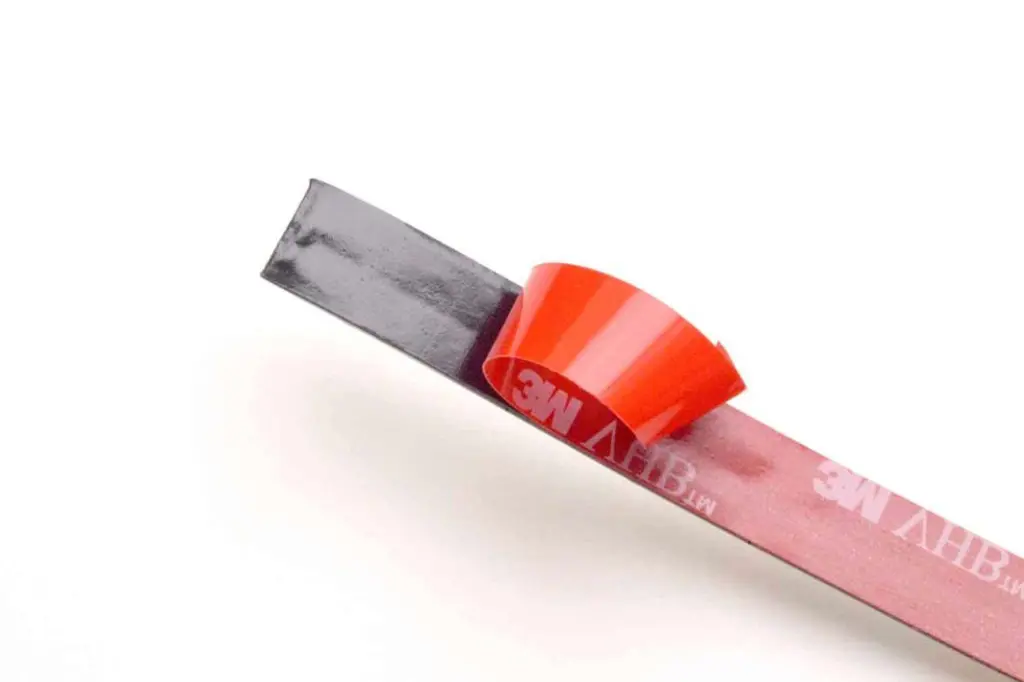
- Exploring Alternative Solutions: There are scenarios where neither standard nor specialty adhesives are adequate. This is particularly true for surfaces that are porous, excessively rough, or exposed to extreme conditions. In such cases, alternatives like 3M VHB tapes can be a game-changer. These tapes are known for their superior strength and durability. Similarly, silicone-based adhesives provide a robust solution, especially in areas exposed to significant temperature variations.
Installation Best Practices for Secure Adhesion
Mastering the installation of LED strip lights is essential to ensure they stick effectively and enhance the aesthetic appeal of your space. Here are some best practices to secure your LED strips successfully:
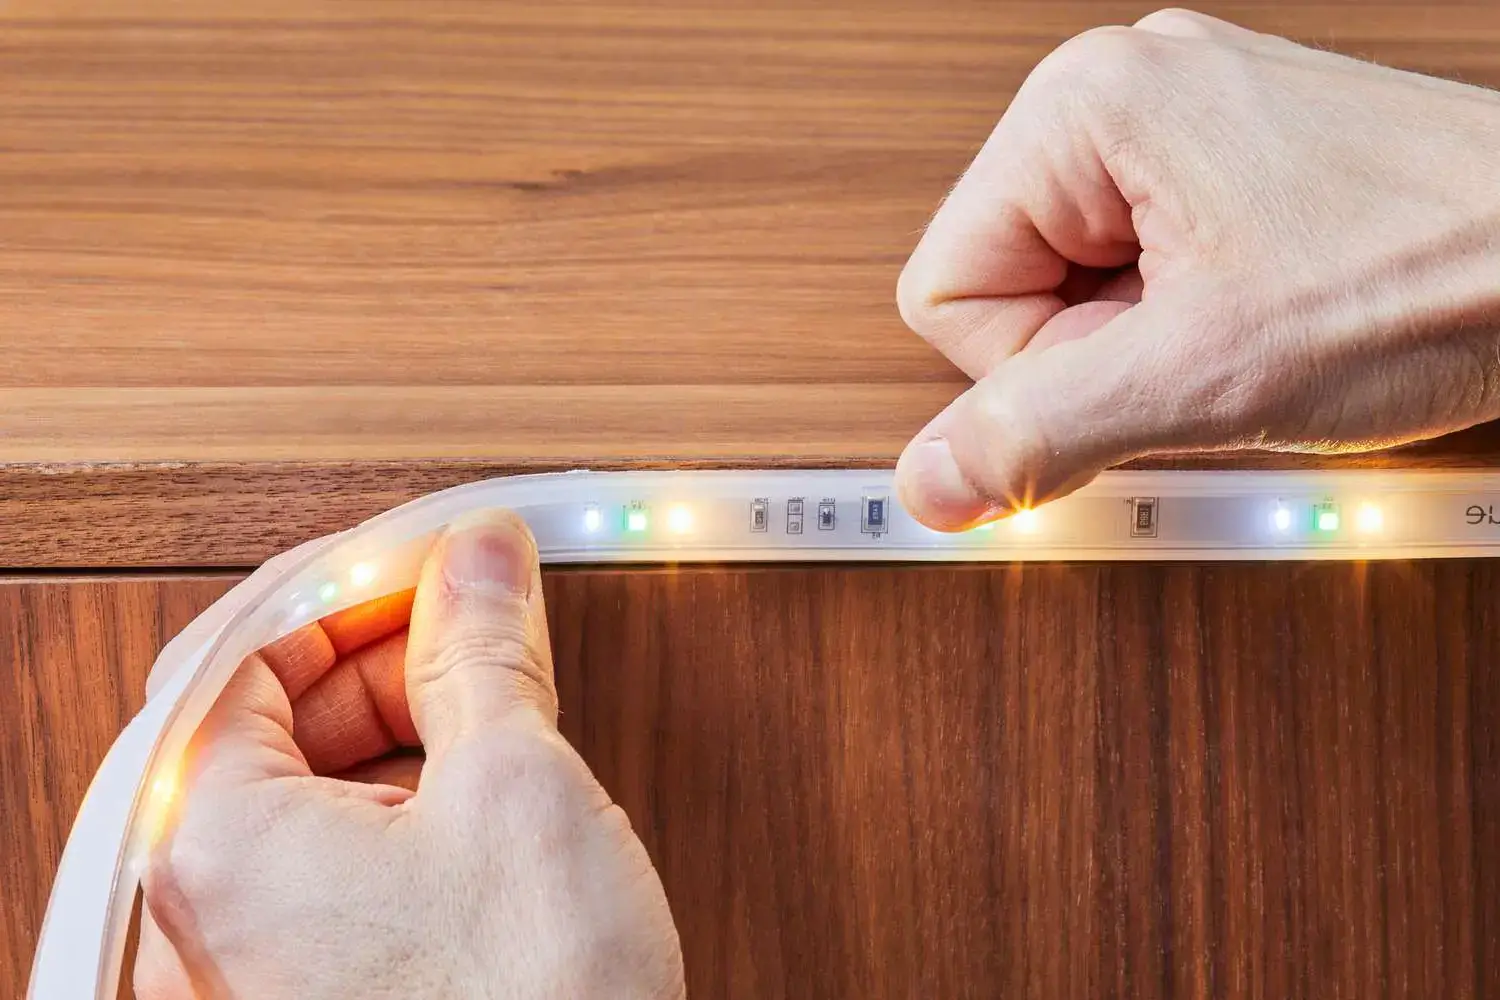
Applying the right pressure is crucial for the effectiveness of the adhesive. Once you’ve positioned the LED strip, apply uniform and firm pressure along its entire length. You can do this using a small roller or a soft cloth. The aim is to eliminate any air pockets and ensure full contact between the adhesive and the surface, which is key to a strong and lasting bond.
Proper alignment is also vital. Before you peel off the adhesive backing, plan the exact placement of your LED strips. Misaligned strips can detract from the overall look and create weak spots in adhesion. Use a ruler or measuring tape to ensure that the strips are straight and align with your desired design layout.
Avoiding common errors is important. One frequent mistake during LED strip installation is rushing the process. Take your time to ensure proper alignment and application, as hastiness can lead to errors that are challenging to correct without damaging the strips or the surface. Another common error is over-stretching the LED strips during installation, which can cause tension on the adhesive and weaken its grip over time. Gently unroll the LED strip as you apply it to the surface to avoid this issue.
Consider the environmental factors where you are installing the LED strips. In high-humidity areas, make sure the surface is dry and consider using a moisture-resistant adhesive. For areas with temperature fluctuations, choose adhesives known for their thermal stability.
Finally, testing a small section of the LED strip before fully applying it is a good practice. This step allows you to check the strength of the adhesive and the suitability of the surface without committing to the entire length of the strip.
Overcoming Adhesion Issues with Alternative Mounting Techniques
Sometimes, the typical adhesive backing on LED strip lights just doesn’t cut it, especially in challenging environments or on certain surfaces. That’s where alternative mounting techniques come into play, offering not just a solution to sticking issues but also enhancing the overall installation. Here’s a closer look at some effective alternatives:
Mounting Clips – A Secure Hold for Tricky Areas
Mounting clips are an excellent solution for securing LED strips on complex surfaces, such as areas with corners, curves, or uneven textures. These clips provide a firm grip, ensuring that the strips remain firmly in place.
When installing these clips, it’s important to choose the right size that fits your LED strips. For optimal support, space the clips evenly along the length of the strip. Using a sufficient number of clips will ensure that the strip is held securely against the surface.
One of the great advantages of mounting clips is their versatility; they can be effectively used on various surfaces, including wood, drywall, and certain tile types, making them a highly adaptable option for LED strip installation.
3M Tape – A Strong Alternative for Harsh Conditions
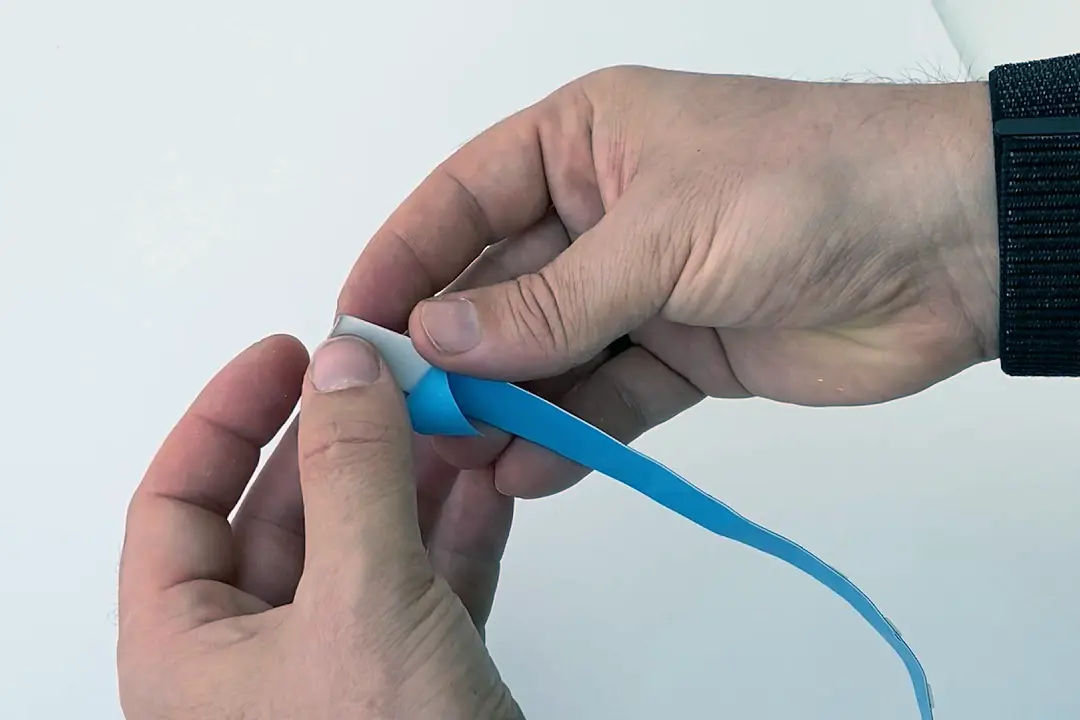
3M tape stands out for its robust adhesion, making it an ideal choice in environments where temperatures fluctuate or humidity levels are high. When applying 3M tape, it’s best to cover the entire length of the LED strip for maximum effectiveness. Press down firmly along the strip to ensure that the tape makes full contact with the surface.
Selecting the right type of 3M tape is crucial; you’ll want to consider both the surface you’re adhering to and the specific environmental conditions to ensure optimal adhesion and longevity of your LED strip installation.
Mounting Channels – Enhancing Aesthetics and Functionality
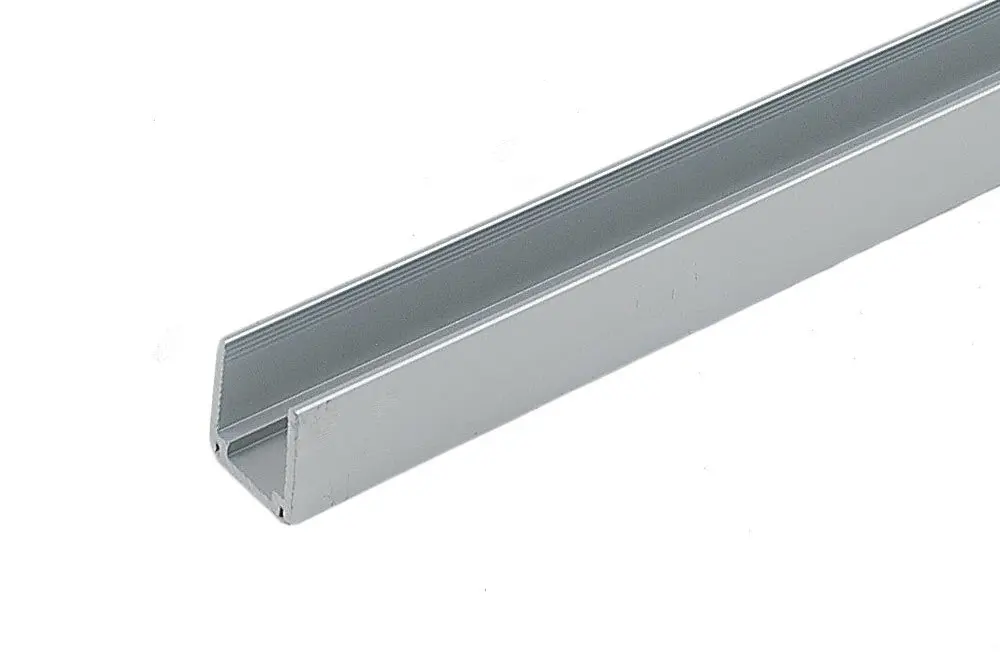
Mounting channels offer more than just a secure way to affix your LED strips; they significantly enhance the aesthetic appeal of your installation. Their sleek, professional design is ideal for areas where a clean and streamlined appearance is desired. Beyond aesthetics, these channels are beneficial in diffusing light evenly. This feature is crucial for eliminating bright spots and shadows, ensuring a uniform and pleasing lighting effect.
Additionally, mounting channels serve a protective role. They safeguard your LED strips against dust accumulation and physical damage, thereby extending the lifespan and maintaining the quality of your lighting setup.
Troubleshooting and Resolving LED Strip Adhesion Problems
Encountering adhesion issues with LED strip lights, even after careful installation, is not uncommon. Here are some effective strategies for troubleshooting and resolving these problems:
Addressing Peeling Strips
Initial Step: If your LED strips start to peel off, begin by cleaning the surface once more. Dirt and grease can build up over time, weakening the adhesive’s grip.
Stronger Adhesive: Reapply the strips using a stronger adhesive, such as a high-bond 3M tape or a silicone-based adhesive, especially if the environment is humid or the temperature varies significantly.
Using Mounting Clips or Channels: If the issue persists, mounting clips or channels can provide additional security. They not only secure the strips but also add a level of professionalism to your installation.
Fixing Lifting Corners
Cause and Solution: Often, corners start lifting due to insufficient pressure during installation or environmental factors like humidity. Reinforce these spots with additional adhesive or small mounting clips, which are specifically designed for such challenging areas.
Regular Inspection: Make it a habit to inspect these trouble spots periodically and address any lifting immediately to prevent further peeling.
Reapplying LED Strips
Retrait en douceur : Si vous devez réappliquer des bandes LED, retirez-les avec précaution pour éviter d'endommager la bande ou la surface. Utilisez une source de chaleur telle qu'un sèche-cheveux pour réchauffer l'adhésif, ce qui permet de l'enlever plus facilement.
Préparation de la surface : Nettoyer soigneusement la bande et la surface avant de la réappliquer. Cela permet d'éliminer tout résidu d'adhésif ou de saleté et de garantir une surface de collage propre.
Choisir le bon adhésif : Appliquez un nouvel adhésif en tenant compte des besoins spécifiques de la zone d'installation. N'oubliez pas que l'adhésif qui fonctionne dans un salon peut ne pas convenir à une salle de bain ou à un environnement extérieur.
Conseils d'entretien pour prolonger la durée de vie de vos bandes LED
Il est essentiel d'entretenir correctement vos bandes LED pour garantir leur longévité et leurs performances optimales. Voici un guide complet sur la manière de maintenir vos bandes LED en parfait état :
Un nettoyage régulier est essentiel. La poussière et la saleté peuvent non seulement assombrir les lumières, mais aussi affaiblir le lien adhésif au fil du temps. Pour que vos bandes LED restent lumineuses et sûres, essuyez-les régulièrement à l'aide d'un chiffon doux et sec. Si vous rencontrez des taches tenaces, un chiffon légèrement humide avec un peu de détergent doux peut être efficace. Toutefois, faites très attention à ce que l'humidité ne s'infiltre pas dans les connexions ou dans la bande elle-même.
Il est également important de procéder à des inspections de routine de vos bandes LED. Recherchez tout signe d'usure, comme des fils effilochés ou des zones où la lumière semble plus faible, ce qui pourrait indiquer des problèmes électriques potentiels. En réglant ces problèmes dès le début, vous éviterez des complications plus graves par la suite.
En ce qui concerne les réparations mineures, si vous remarquez qu'une partie de la bande clignote ou semble moins lumineuse, essayez d'appuyer doucement sur la bande pour rétablir la connexion. Cette simple action permet souvent de résoudre les problèmes de connexion dus à des facteurs environnementaux ou à des vibrations. Toutefois, pour des problèmes plus importants, comme des bandes coupées ou gravement endommagées, il est conseillé de demander l'aide d'un professionnel ou d'envisager des remplacements.
La surchauffe est un problème qu'il ne faut pas négliger. Veillez à ce que vos bandes de LED ne soient pas recouvertes ou enfermées de manière à limiter la circulation de l'air, car cela peut entraîner une surchauffe et endommager à la fois les LED et l'adhésif. Une bonne ventilation prolongera considérablement la durée de vie de vos bandes.
Des contrôles réguliers de l'adhésif font également partie des bonnes pratiques d'entretien. Si vous constatez que l'adhésif commence à se décoller ou à perdre de son efficacité, un nettoyage approfondi et une nouvelle application ou un renforcement de l'adhésif peuvent s'avérer nécessaires.
Enfin, il faut tenir compte de l'installation elle-même. Si votre installation initiale n'était pas idéale, il peut être utile de prendre le temps de réinstaller les bandes correctement. Une installation correcte dès le départ peut réduire considérablement les efforts de maintenance et prolonger la durée de vie de vos bandes LED. En suivant ces conseils d'entretien, vous pourrez profiter d'un espace magnifiquement éclairé grâce à des bandes LED qui fonctionneront de manière optimale pendant des années.
FAQs
Q : La température peut-elle affecter l'adhérence de mes bandes LED ?
R : Absolument ! Les températures extrêmes, qu'elles soient chaudes ou froides, peuvent affaiblir l'adhésif des bandes LED. L'idéal est de les installer à une température modérée. Si l'adhésif est trop dur, il est possible de le chauffer légèrement avec un sèche-cheveux pour améliorer l'adhérence.
Q : Y a-t-il un type de nettoyant particulier que je dois utiliser avant de coller mes bandes LED ?
R : Pour la plupart des surfaces, un simple essuyage avec de l'alcool isopropylique suffit. Il élimine la graisse et fournit une surface propre permettant à l'adhésif d'adhérer efficacement. Évitez les produits chimiques agressifs qui pourraient endommager les bandes ou la surface.
Q : Comment éviter que mes bandes LED ne se décollent dans les coins ?
R : Les angles sont délicats mais peuvent être gérés en appliquant de l'adhésif supplémentaire, comme du ruban adhésif double face, ou en utilisant des clips de montage spécialement conçus pour les bandes LED. Veillez également à ne pas plier trop fortement les bandes dans les angles.
Q : Que dois-je faire si mes bandes LED sont sales ou poussiéreuses ?
R : Nettoyez régulièrement vos bandes LED avec un chiffon doux et sec. Si elles sont sales, un chiffon légèrement humide peut être utilisé. Veillez à éteindre et à débrancher les bandes avant de les nettoyer et évitez d'utiliser trop d'eau.
Q : Puis-je utiliser de la super glue pour recoller mes bandes LED ?
R : Il n'est pas recommandé d'utiliser de la super colle, car elle risque d'endommager la surface de la bande et de laisser un résidu difficile à enlever. Optez plutôt pour des adhésifs spécifiquement conçus pour les bandes de LED, comme le ruban adhésif double face ou les adhésifs à base de silicone.
Q : Mes bandes LED perdent de leur adhérence après avoir été déplacées. Que dois-je faire ?
R : Lorsque l'on déplace des bandes de LED, il est souvent nécessaire d'appliquer un nouvel adhésif. Le ruban adhésif double face ou les clips adhésifs sont d'excellentes options pour refixer les bandes sur une nouvelle surface.
Q : Existe-t-il des adhésifs pour bandes LED qui résistent à l'humidité ?
R : Oui, il existe des adhésifs résistants à l'humidité. Recherchez des adhésifs à base de silicone ou des rubans double-face imperméables, qui conviennent parfaitement aux zones à forte humidité ou à l'utilisation en extérieur.
Q : À quelle fréquence dois-je contrôler et entretenir mes bandes LED ?
R : Il est conseillé d'inspecter vos bandes LED tous les deux mois. Recherchez les signes d'usure, vérifiez l'adhérence et nettoyez la surface pour vous assurer qu'elles continuent à fonctionner correctement et qu'elles sont du plus bel effet.
Q : Les bandes LED peuvent-elles être installées sur des murs texturés ?
R : Oui, mais il faut un adhésif plus puissant. Envisagez d'utiliser des clips de montage ou du ruban adhésif double face résistant conçu pour les surfaces texturées.
Q : Quelle est la meilleure façon de cacher les fils de mes bandes LED pour un aspect plus net ?
R : Vous pouvez utiliser des outils de gestion des câbles tels que des pinces à câbles ou des chemins de câbles. Une autre option consiste à installer les bandes dans des profilés en aluminium, ce qui permet de dissimuler soigneusement les bandes et leur câblage.
Conclusion
En résumé, la clé d'une installation réussie d'éclairage LED collé réside dans une attention méticuleuse aux détails tout au long du processus, de la préparation initiale à l'entretien continu. En comprenant les facteurs qui influencent l'adhérence, en choisissant l'adhésif approprié et en appliquant les bandes avec soin et précision, vous pouvez améliorer de manière significative la fiabilité et la durée de vie de votre éclairage LED.
En conclusion de notre guide complet intitulé "Pourquoi mes bandes LED n'adhèrent-elles pas ? Solutions ultimes", nous avons tout abordé, de la préparation de la surface aux solutions adhésives innovantes, afin que votre expérience de l'éclairage LED se déroule sans problème et soit visuellement époustouflante.
Toutefois, pour ceux qui recherchent une touche encore plus professionnelle et la plus haute qualité Bandes lumineuses LED et Flexible à néon LEDne cherchez pas plus loin que l'Unitop.Unitop est l'un des principaux fabricants chinois de l'industrie des diodes électroluminescentes, réputé pour son engagement en faveur de l'excellence et de l'innovation. Nos produits témoignent d'une technologie de pointe associée à une conception conviviale. Si vous avez d'autres questions ou des besoins spécifiques, nous vous encourageons à nous contacter sans hésiter. L'équipe d'Unitop est toujours prête à vous aider, à vous fournir des conseils d'experts et des solutions adaptées à vos besoins uniques en matière d'éclairage LED. Nous contacter aujourd'hui pour éclairer votre espace avec les meilleurs produits LED et expérimenter la différence Unitop en termes de qualité et de service.
Articles connexes

Tom est maintenant le directeur des ventes de Unitop (China) Co., Limited. Il a été dans le Éclairage LED l'industrie depuis 2005. Il est expert en ventes et marketing, et en gestion d'usine. Il aime le bodybuilding, et il est aussi un fan fou d'Apple ! C'est un travailleur acharné qui aime apprendre et essayer de nouvelles choses.
Email : tom@unitopledstrip.com WhatsApp : +86-18680307140


Laisser un commentaire
Rejoindre la discussion?N’hésitez pas à contribuer !