
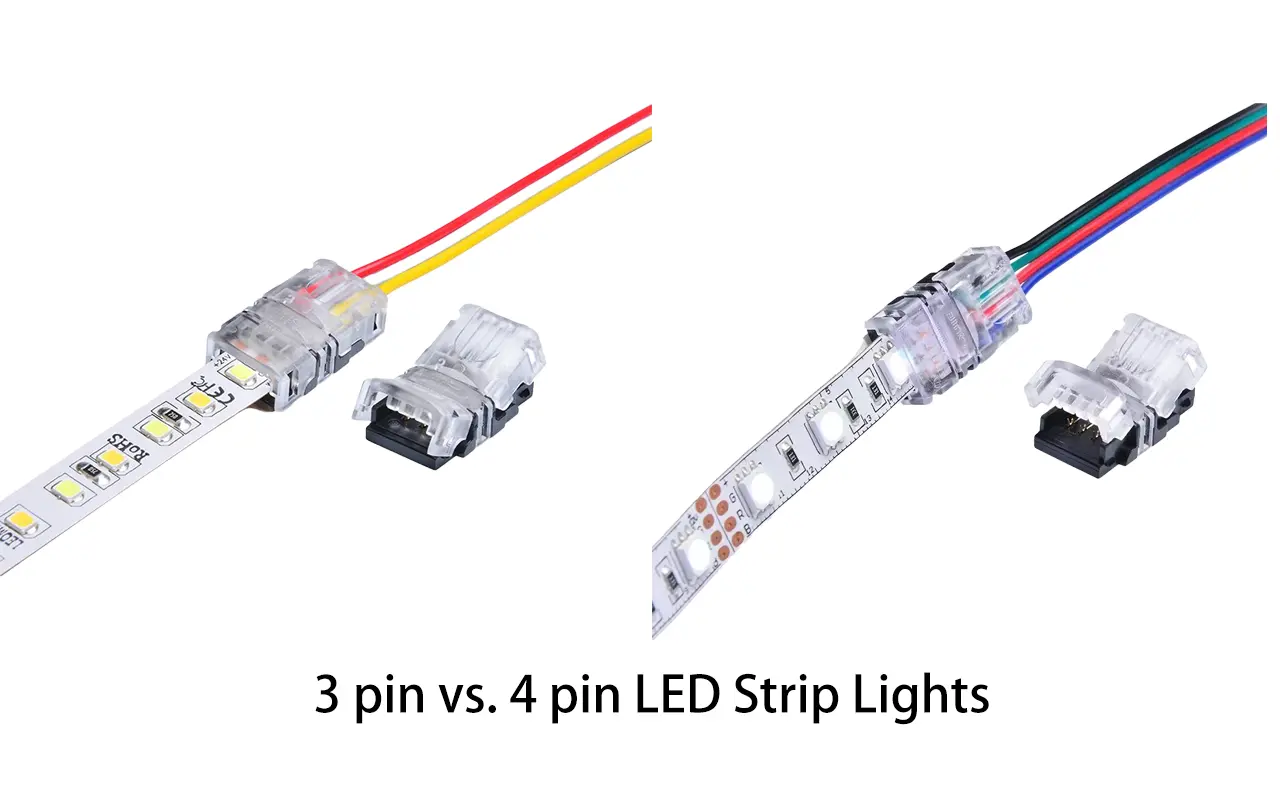
In the vibrant world of LED lighting, have you ever wondered what truly unlocks the potential of your space to glow with not just adequacy but with an aura of splendor? The secret doesn’t lie solely in the LED strips themselves but significantly in the art of making the right connection. The journey from selecting a mere LED strip to achieving a spectacularly vibrant display hinges on one critical decision: choosing the correct connector. This choice can dramatically transform a basic setup into a mesmerizing light show, elevating spaces from ordinary to extraordinary.
My name is Tom, and I’ve been at the forefront of the LED technology revolution since 2005. With a blend of extensive experience and a relentless drive for innovation, I’ve guided numerous projects to light up environments ranging from intimate home settings to grand commercial venues. My journey has been about more than just illumination; it’s been about maximizing efficiency, advocating sustainability, and creating visual masterpieces.
This comprehensive guide delves into the intricacies of 3 Pin vs 4 Pin LED strip lights, shedding light on essential considerations that meld technical precision with artistic flair. We’ll navigate through the fundamentals of LED strip technology and the critical nuances in connector selection, equipping you with the knowledge to elevate your lighting projects. Whether you’re embarking on your first DIY venture or you’re a seasoned lighting professional, this guide promises insights and tips to enrich your creative endeavors.
Are you prepared to embark on a journey that transforms your lighting concepts into dazzling realities? Let’s get started right away, delving into the depths of LED strip connections and unveiling the bright possibilities that lie ahead!
Les bases des bandes LED
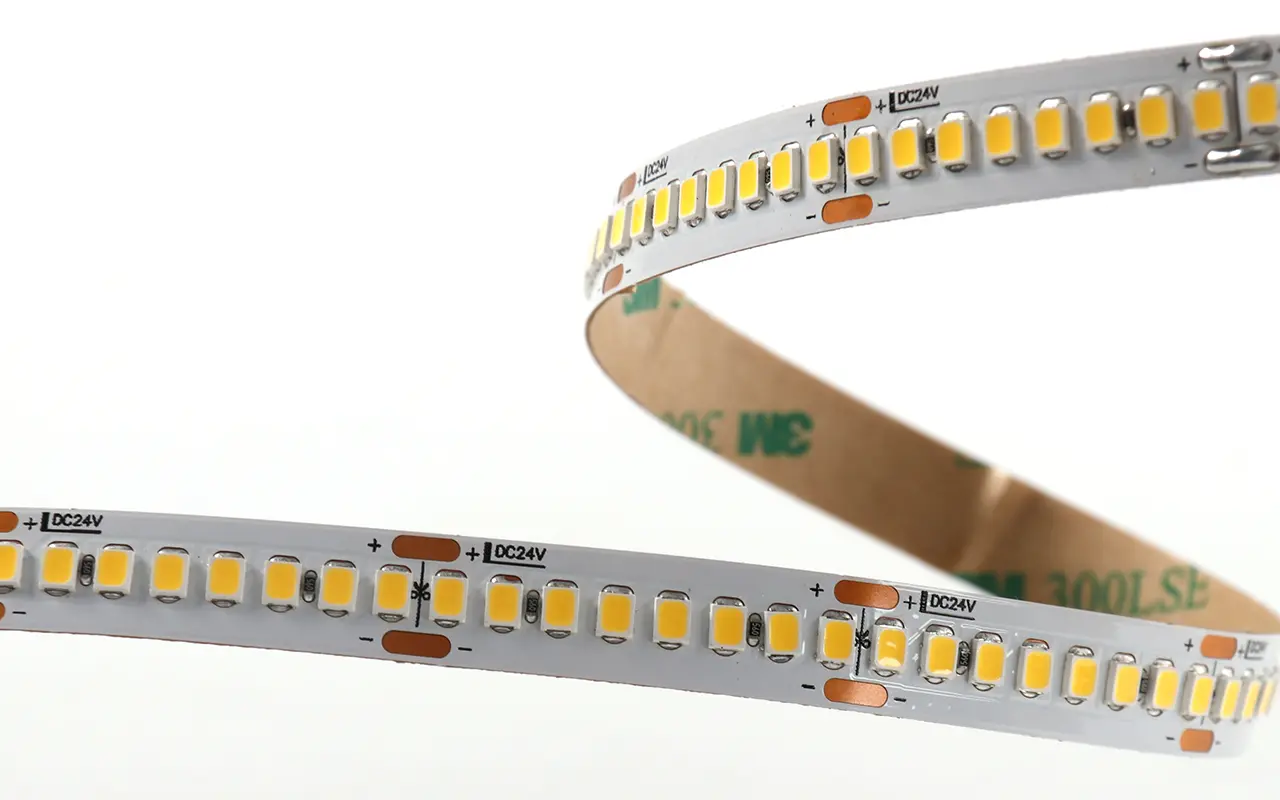
In the ever-evolving landscape of lighting solutions, LED strip lights emerge as a cornerstone of modern illumination, versatile enough to enhance both home atmospheres and commercial spaces with vibrant displays. At the core of their versatility lies a fundamental understanding of the types of LED strips available and the crucial role of pin numbers in their functionality.
LED strips are designed to cater to a wide range of lighting needs, from monochrome strips emitting a single hue, perfect for creating ambient lighting or accentuating architectural features, to RGB and RGBW strips that unlock a kaleidoscope of colors for dynamic and customizable environments. The adaptability of LED strips to various applications underscores their value in today’s lighting design.
The concept of pin numbers in LED strips is akin to the keys of a piano, each essential to the overall harmony of the lighting output. A 2-pin LED strip, simple in its operation, powers single-color lights and offers straightforward connectivity for uniform lighting projects. In contrast, the introduction of 3-pin and 4-pin LED strips brings complexity and versatility, with 3-pin variants catering to addressable LEDs for individual control and dynamic effects and 4-pin versions facilitating color mixing through RGB channels.
Advancements in LED technology have also seen the introduction of RGBW strips, incorporating an additional white LED to the standard RGB setup. This innovation expands the color palette and enhances the ability to achieve softer, more natural tones. The evolution of pin configurations in LED strips opens up new avenues for creativity and functionality in lighting design, laying the groundwork for informed decisions on the most suitable LED strips for any given project.
Deep Dive into 3 Pin LED Strips
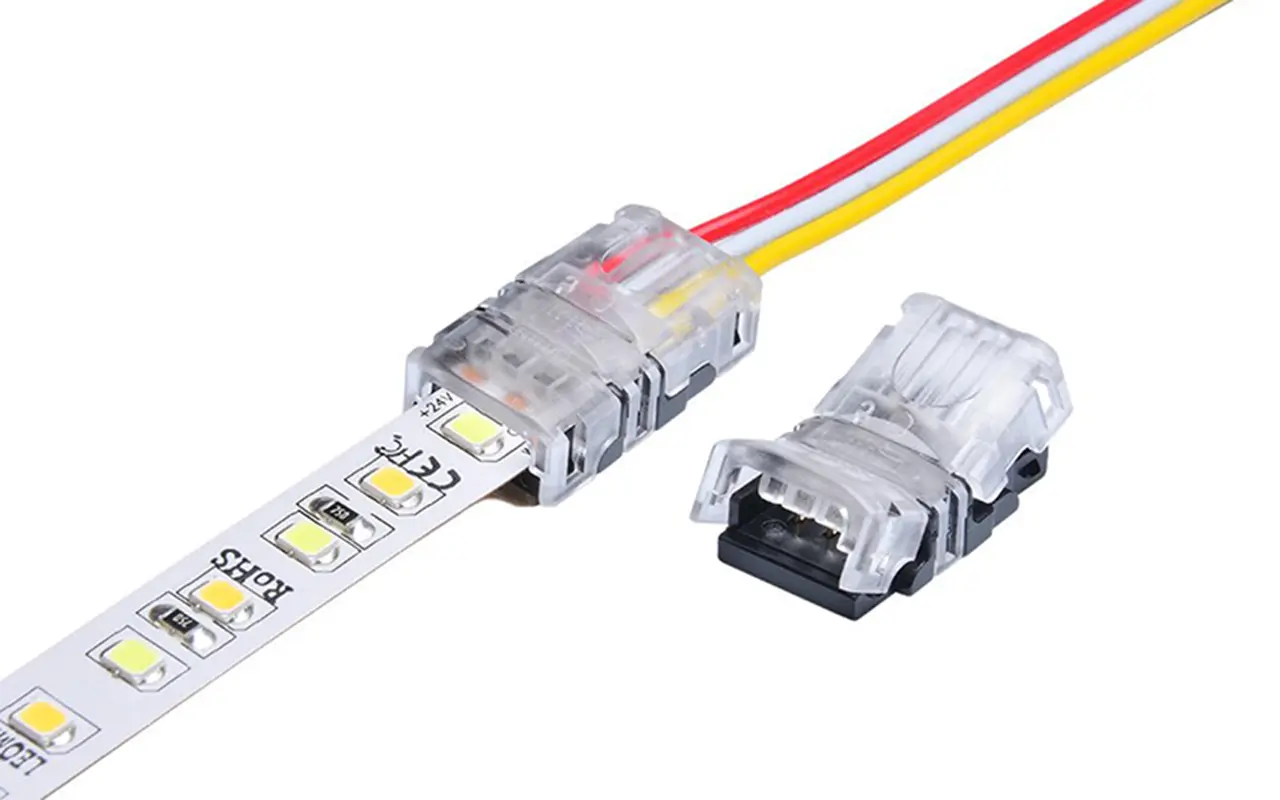
Among the array of LED lighting solutions, 3-pin LED strips stand out for their revolutionary approach to space illumination. These strips transcend traditional lighting, offering individual addressability for each LED and, thus, a higher level of control and personalization in lighting design.
Anatomy and Mechanism
The essence of 3 Pin LED strips lies in their unique structure, allowing for the independent control of each LED. This is achieved through an additional data pin, which works alongside the conventional power and ground pins to send specific signals regarding color and brightness to each diode. Integrated circuits (ICs) embedded along the strip interpret these signals, enabling precise and responsive lighting effects.
Benefits of Using 3 Pin LED Strips
Addressable LED technology marks a significant evolution in lighting design, with 3 Pin LED strips at the forefront. These strips offer unparalleled precision in control, enabling the creation of vibrant displays and intricate lighting scenes. The ability to individually adjust LEDs not only fosters creativity but also contributes to energy efficiency and extends the lifespan of the strip.
Application Spectrum
The potential applications of 3 Pin LED strips are boundless, from adding dynamic elements to home theaters for an immersive viewing experience to transforming commercial and artistic spaces with eye-catching displays and dramatic lighting effects. These strips empower both hobbyists and professionals to realize their creative visions, making them a top choice for innovative lighting projects.
Exploring 4 Pin LED Strips
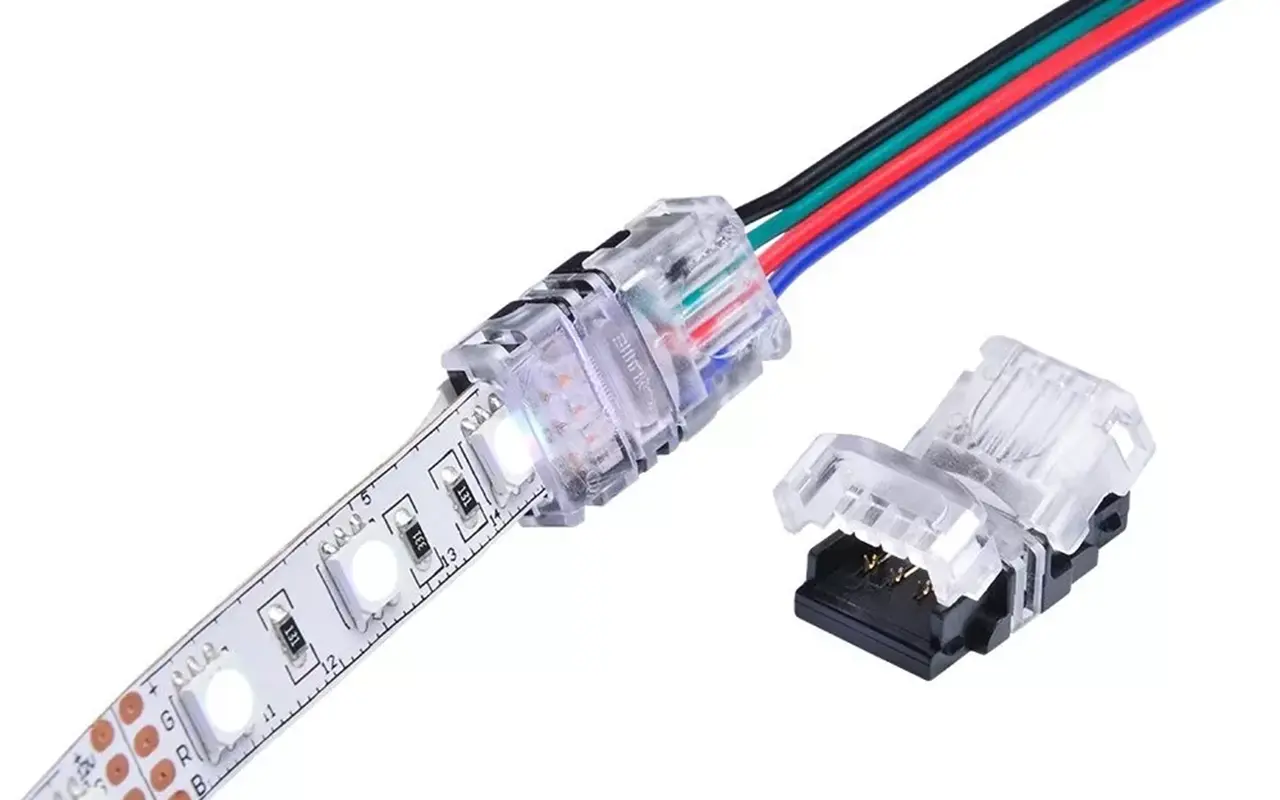
The introduction of 4 Pin LED strips represents a significant leap forward in the lighting industry, offering enhanced interactivity and the ability to transform any space with vibrant, dynamic light. These strips, with their capability for color mixing and creating atmospheric effects, are invaluable tools for both designers and DIY enthusiasts.
Structure and Operation
Central to the operation of 4 Pin LED strips is their configuration, consisting of red, green, and blue LEDs and a common ground. This setup facilitates the blending of primary colors to produce a broad spectrum of hues, controlled through LED controllers via pulse-width modulation (PWM) for precise color output.
Advantages of 4 Pin LED Strips
4 Pin LED strips are celebrated for their ability to enhance the aesthetic and mood of any space, offering customization at a macro level for broad color palettes and atmospheric lighting effects. Their ease of installation, combined with energy efficiency and a long lifespan, makes them a sustainable and cost-effective lighting solution.
Use Cases
From residential to commercial settings, 4 Pin LED strips serve a wide array of applications, enabling the creation of personalized and vibrant environments. Their flexibility and broad color range make them suitable for various projects, solidifying their status as transformative elements in lighting design.
Contrasting 3 Pin and 4 Pin LED Strips
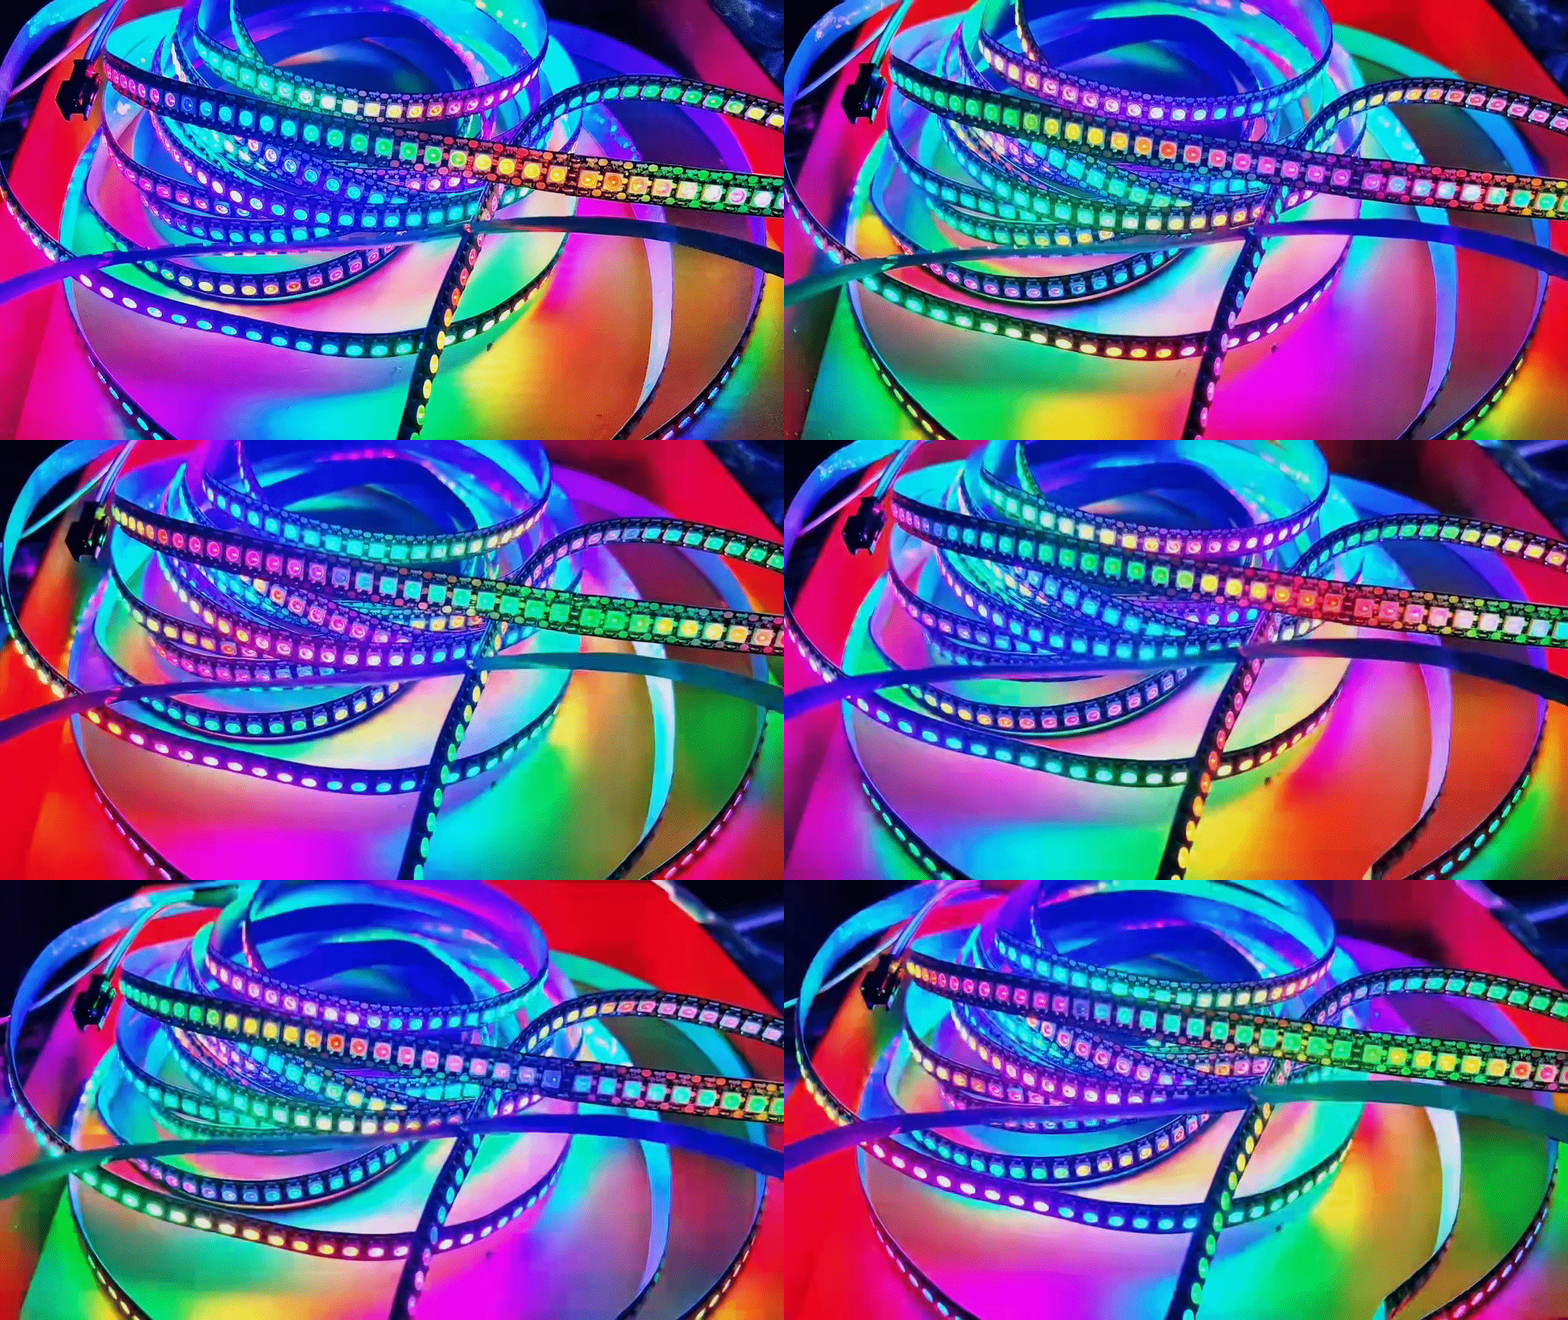
In the dynamic realm of LED lighting, the distinction between 3 Pin and 4 Pin LED strips represents a fundamental choice for designers and enthusiasts alike. Each variant brings to the table its unique set of capabilities, suitable for a spectrum of applications from nuanced indoor lighting schemes to vibrant outdoor displays. Delving into their differences sheds light on their optimal uses, guiding you to make an informed decision that aligns with your project’s requirements.
Power Needs
One of the most striking distinctions lies in the power needs of these two types of LED strips. 3 Pin LED strips are synonymous with precision and customization, operating typically at 5V. This voltage level is conducive to powering addressable LEDs, where the magic of individual control creates intricate light shows without a significant draw on power.
4 Pin LED strips, known for their RGB color blending capabilities, demand higher voltages of 12V or 24V. This requirement stems from the need to maintain color consistency and brightness over extended lengths, ensuring that every segment of the strip vibrantly contributes to the overall effect. Despite the higher voltage, advancements in LED efficiency mean that these strips still represent a cost-effective lighting solution, especially when their durability and long operational lifespan are considered.
Control Mechanisms
The control mechanisms of 3 Pin vs 4 Pin LED strips highlight their intended use and functional versatility. 3 Pin strips excel in dynamic environments where individual LED control can bring digital art to life and create mood lighting that responds to music or signal notifications in smart home setups. This single data line control facilitates unique patterns and animations, perfect for projects that demand a high level of interaction and personalization.
In contrast, 4 Pin strips offer a simpler yet equally impactful method of control through separate channels for red, green, and blue LEDs. This structure supports broad-scale color mixing, making these strips ideal for creating ambient effects, general illumination, and thematic environments where uniform color changes are desired. While they lack the individual addressability of 3 Pin strips, their ease of use and wide color range make them a popular choice for both residential and commercial settings.
Customization Capabilities
When it comes to customization, the two types of LED strips cater to different creative visions. 3 Pin LED strips provide micro-level customization, allowing designers to manipulate each diode’s color and brightness. This capability is a boon for projects that require detailed lighting scenarios or interactive elements, offering an unparalleled canvas for creativity.
4 Pin LED strips, on the other hand, shine in scenarios requiring macro-level customization. The absence of individual LED control is more than compensated for by the ability to blend colors across the entire strip. This feature suits applications where the goal is to set a mood or theme using light, such as in hospitality settings, retail spaces, or general home ambiance.
Detailed Comparison, Advantages and Disadvantages Analysis, Usage Scenario or Application Field
Understanding the distinctions between 3 Pin and 4 Pin LED strips, from power requirements and control mechanisms to customization capabilities, is crucial in choosing the right option for your lighting project. While 3 Pin strips offer unmatched precision and the ability to create complex lighting designs, they may require more technical know-how to exploit their potential fully. Conversely, 4 Pin strips provide a user-friendly solution for broad applications, albeit with less granularity in control.
Ultimately, the choice between 3 Pin and 4 Pin LED strips depends on the specific needs of your project. Whether you’re aiming to create an interactive art installation, enhance a commercial space with dynamic lighting, or add a touch of elegance to your home, selecting the appropriate LED strip will ensure that your vision comes to light as effectively and efficiently as possible.
Installation Guide for Both 3 and 4 Pin LED Strips
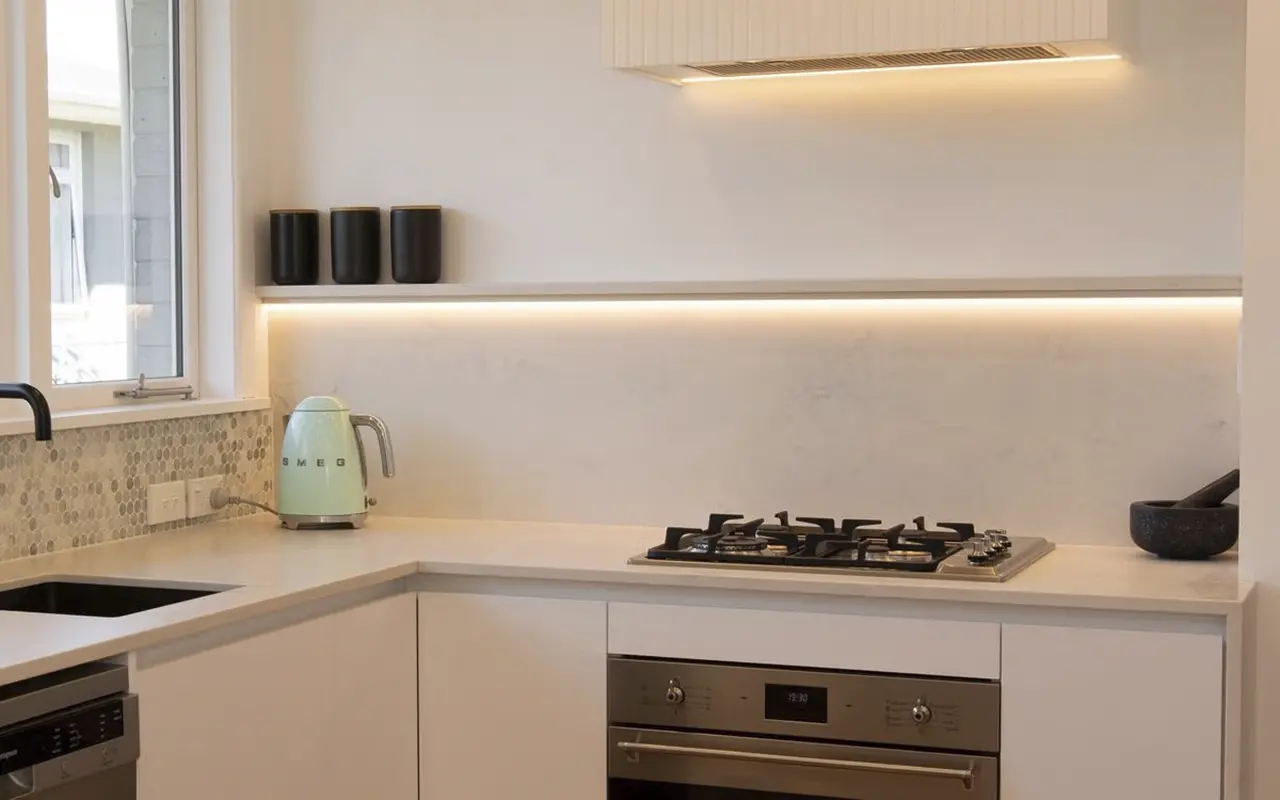
Embarking on an LED strip lighting project promises the transformation of any space into a visually stunning environment. Whether you’re weaving smart, addressable 3 Pin LED strips through your gaming setup or casting a glow beneath your kitchen cabinets with vibrant 4 Pin RGB strips, understanding the installation process is crucial to bringing your vision to life. This guide will navigate through the smooth installation of both 3 and 4 Pin LED strips, addressing common installation challenges along the way.
Pre-installation Preparations
A little preparation can significantly smooth the installation process:
Assess Your Space: Begin by measuring the intended installation area to ensure you purchase the correct length of LED strips. This step could be illustrated with a graph showing the average lengths of LED strips needed for various room sizes or applications, emphasizing the importance of this initial assessment.
Plan the Layout: Mapping out where your LED strips will go and how they’ll connect back to the power source not only aids in visualizing the project’s result but also in identifying potential challenges. A flowchart could effectively demonstrate various layout possibilities, from simple setups to more complex arrangements involving corners and multiple strips.
Gather Your Tools: The right tools, including scissors, adhesive tape, mounting clips, and possibly a soldering iron for custom connections, are essential. A checklist graphic could serve as a handy reference for ensuring all necessary tools are at hand before starting the project.
Check for Compatibility: Ensuring that all components, such as power supplies, controllers, and connectors, are compatible with your LED strips is crucial, especially when mixing 3 Pin and 4 Pin strips. An infographic highlighting key compatibility considerations could be a valuable resource.
Step-by-Step Installation
Surface Preparation: The importance of a clean, smooth surface for adhesive-backed strips cannot be overstated. Visual data showing the bond strength on different surface types could underscore this point.
Test the LED Strip: Always test your LED strips before final installation to catch any potential defects. A simple flowchart could guide readers through this testing process, highlighting what to look for and how to troubleshoot common issues.
Measuring and Cutting: This critical step requires precision to avoid damaging the strips. A diagram showing where to cut, along with tips for measuring accurately, would be beneficial here.
Peeling the Adhesive Backing and Power Connection: Detailed steps with accompanying visual cues can guide you through these processes, from peeling the backing to making the correct power connections, ensuring a secure installation and proper operation.
Final Testing and Addressing Corners: Comprehensive testing after installation ensures your setup works as expected. Diagrams or photos showing how to use connectors for navigating corners or obstacles can demystify this part of the process for novices.
Overcoming Common Hurdles
Dimming or Flickering Strips: A bar graph could visually represent how inadequate power supply affects strip brightness across different lengths, illustrating the necessity of choosing the right power supply.
Uneven Lighting: To address voltage drop issues in longer runs, a line graph showing brightness levels at various points along the strip length could highlight the importance of using higher voltage strips or installing separate power feeds.
Adhesive Failure: Addressing this common issue, a comparative analysis of different adhesion methods’ effectiveness over time could provide a clear guide on ensuring your LED strips stay in place.
Incorporating these data-driven insights and visual aids into the blog post can not only enhance its persuasiveness but also provide readers with a clearer, more comprehensive understanding of the installation process. By carefully planning, precisely executing, and creatively overcoming challenges, your LED strip lighting project is sure to succeed, illuminating your space exactly as you envisioned.
LED Strip Light Connectors: Types and Uses
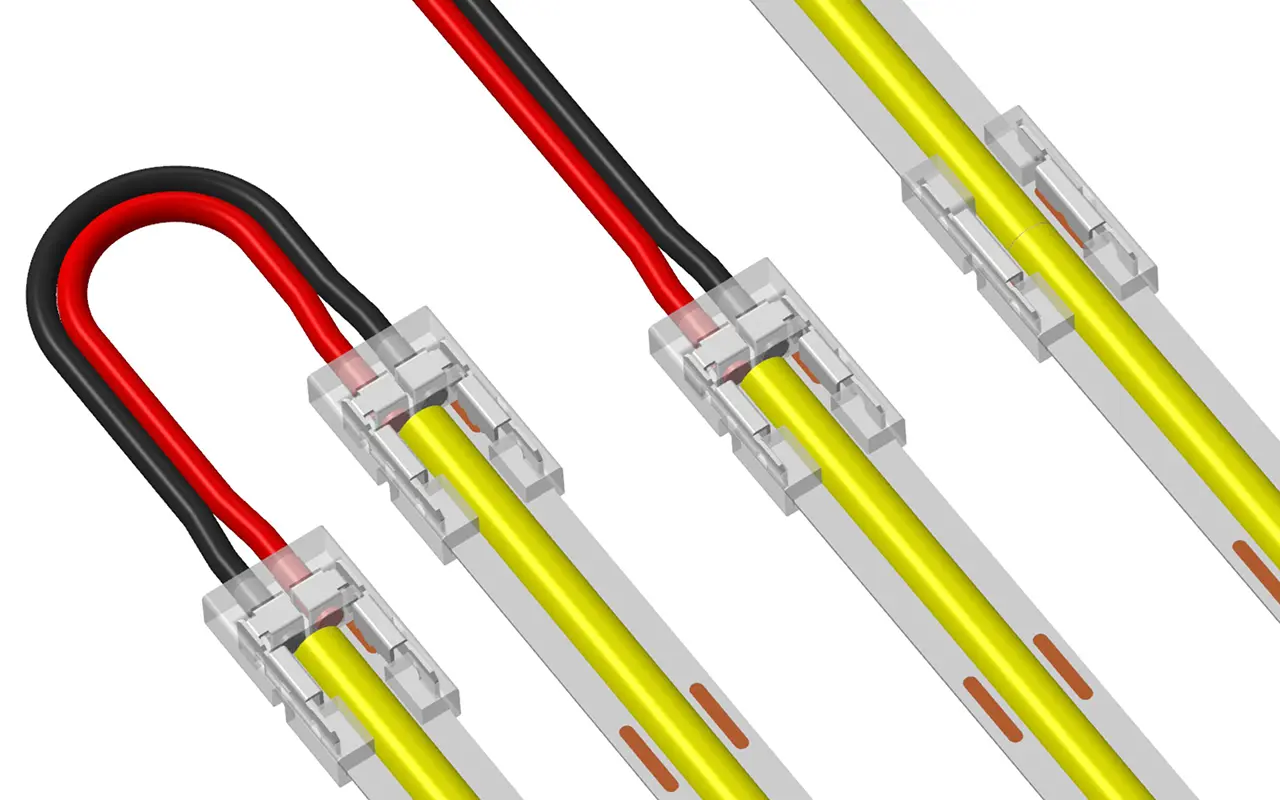
LED strip light connectors play a crucial role in the world of lighting, seamlessly merging the realms of imagination and tangible design. Their importance in ensuring efficient, error-free installations cannot be overstated, acting as the critical link that integrates LED strips into diverse environments flawlessly. This deep dive into LED strip light connectors will explore the myriad types available and their specific applications, empowering you with the knowledge to make informed decisions for your lighting endeavors.
User Evaluations/Case Studies
In the vast arena of LED lighting projects, real-world applications and user feedback shed light on the practicalities and efficiencies of various connector types. Let’s explore some case studies that highlight the impact of choosing the right connectors for specific projects.
Case Study 1: Outdoor Garden Lighting with Waterproof Connectors
A landscape designer faced challenges in illuminating a large garden due to exposure to elements and the need for flexibility in lighting design. By employing waterproof 4 Pin connectors for RGB LED strips, the designer was able to create a dynamic, color-changing lighting system that was both resilient to weather conditions and capable of setting various moods for garden parties and serene nights. The connectors’ IP-rated seals provided the necessary protection against moisture, ensuring the longevity of the installation.
Case Study 2: Retail Display Lighting with 3 Pin Connectors
A retail store looking to enhance product displays with eye-catching, dynamic lighting opted for addressable LED strips connected with 3 Pin connectors. The ability to control each LED individually allowed for the creation of moving patterns and color sequences that drew attention to featured products. Feedback from the store manager highlighted the increased customer engagement and the ease of modifying lighting effects to suit different promotional themes, thanks to the versatility of 3 Pin connectors.
Case Study 3: Art Installation with Flexible and Rigid Connectors
An artist working on a large-scale light installation experimented with both flexible and rigid connectors to bring their vision to life. The use of flexible connectors enabled the creation of fluid, organic shapes, while rigid connectors were employed for straight, defined sections of the piece. The combination of connector types facilitated a complex, intricate design that would have been difficult to achieve with a single connector style, demonstrating the importance of connector choice in creative applications.
Case Study 4: Home Theater Setup with 5 Pin Connectors
A homeowner aiming to create an immersive home theater experience used RGBW LED strips with 5 Pin connectors to introduce ambient lighting that could change according to the content on the screen. The inclusion of a white light channel, in addition to the RGB setup, allowed for more natural lighting effects, enhancing the viewing experience. Post-installation feedback emphasized the added depth and realism to movies and games, illustrating the benefits of 5 Pin connectors in residential entertainment spaces.
These case studies underscore the significance of selecting suitable connectors based on the specific requirements of a project. From enhancing the durability of outdoor installations with waterproof connectors to unlocking creative potential with flexible and rigid options, the right connector choice is instrumental in realizing the full potential of LED lighting projects. Whether for commercial, artistic, or residential applications, understanding the nuances of each connector type ensures your lighting project not only meets but exceeds expectations, illuminating spaces with precision, efficiency, and flair.
Troubleshooting and FAQs
Can I mix 3 pin and 4 pin LED strips in the same lighting project?
Yes, you can mix 3 pin and 4 pin LED strips in a single project, but you’ll need a controller capable of managing both types simultaneously. These strips operate differently, with 3 pin strips being individually addressable and 4 pin strips designed for uniform color changes. The key is to ensure proper connectivity and control for each strip type to achieve cohesive lighting effects.
How do I know if my LED strip is addressable or not?
The main indicator is the number of pins it has. Addressable LED strips typically come with 3 pins (including a data line for individual LED control) or 4 pins for RGBW strips with a dedicated white channel. Non-addressable strips usually have 2 pins for single-color strips or 4 pins for non-addressable RGB strips, where all LEDs change color simultaneously without individual control.
Are all 4 pin LED strips capable of producing white light?
Not all 4 pin LED strips can produce pure white light, as it depends on the type of strip. RGB strips can mix red, green, and blue to create a composite white, but it may not be as pure or bright as the white from an RGBW strip, which includes a dedicated white LED alongside the color ones for a cleaner, brighter white.
Do I need a special power supply for 3 pin LED strips?
While 3 pin LED strips themselves don’t necessarily require a special power supply, it’s crucial to match the power supply’s voltage and amperage with the strip’s specifications. Addressable strips often run on 5V, but always check the manufacturer’s recommendations to ensure compatibility and prevent damage.
Can I cut LED strips, and how does it affect the wiring?
Yes, you can cut both 3 pin and 4 pin LED strips at designated points, usually marked with a scissor icon or line. Cutting the strip allows for custom lengths but requires additional connectors or soldering to maintain functionality. Ensure you cut only at these marked points to avoid damaging the strip.
How do waterproof connectors work with LED strips?
Waterproof connectors are designed with seals and protective features to prevent water ingress, making them ideal for outdoor or moist environments. These connectors encase the strip’s ends and connection points, ensuring the circuit remains dry and functional regardless of weather conditions.
Is it difficult to program patterns on addressable LED strips?
Programming patterns on addressable LED strips requires some basic knowledge of controllers and possibly coding, depending on the system you’re using. Many controllers come with pre-set patterns and user-friendly interfaces, making it easier for beginners, while more advanced users can create custom patterns using software or coding platforms.
Quelle est la durée de vie des bandes LED ?
The lifespan of LED strip lights varies depending on the quality and how they’re used, but on average, they can last anywhere from 25,000 to 50,000 hours. Factors such as operating voltage, ambient temperature, and the quality of the installation can affect their longevity.
Can I use 3 pin LED strips for outdoor lighting?
Yes, you can use 3 pin LED strips for outdoor lighting, but make sure they are rated for outdoor use (look for waterproof ratings like IP65 or higher) and use waterproof connectors. Additionally, consider environmental factors and ensure they’re installed in a way that protects them from direct exposure to harsh conditions.
How do I ensure uniform brightness across long LED strip runs?
For long runs, the voltage drop can cause the far end of the strip to appear dimmer. To prevent this, you can use a higher voltage strip, install amplifiers at intervals, or set up parallel circuits with multiple power inputs along the strip’s length to maintain consistent brightness from start to finish.
Conclusion
As we conclude this enlightening exploration into the world of LED strip lighting, particularly focusing on the nuanced comparison of 3 Pin vs 4 Pin connectors, we’ve delved deep into the essentials of choosing the appropriate LED strips, the criticality of connectors, and the nuances of their installation and customization. This guide doesn’t merely serve to educate; it’s crafted to ignite your creative spirit, equipping you with the insight needed to demystify the complexities of LED lighting. It’s an invitation to reimagine your spaces, to cast them in the most flattering and imaginative lights, reflecting your unique creativity and vision.
Unitop emerges as a pioneering force in this realm, marking its excellence as one of China’s leading manufacturers in the Bande lumineuse LED et Flexible à néon LED sectors. With a legacy fortified by years of research, development, and an unwavering commitment to innovation, Unitop has redefined quality and reliability in the LED industry. Our dedication transcends mere manufacturing; it’s about setting new benchmarks of excellence, ensuring each product not only aligns with but surpasses the diverse expectations of our clientele, ranging from seasoned professional designers to passionate DIY aficionados embarking on their lighting journey.
For those who stand at the threshold of initiating their LED lighting project or seeking deeper insights or high-quality LED solutions, Unitop extends an open invitation for collaboration. We’re here not just to provide products but to foster enduring partnerships, to share our wealth of expertise, and to assist in bringing your visionary lighting projects to fruition. Contactez nous, and let’s embark on this luminous journey together. Collectively, we’ll craft spaces that resonate with vibrant possibilities and illuminate the future.
Articles connexes

Tom est maintenant le directeur des ventes de Unitop (China) Co., Limited. Il a été dans le Éclairage LED l'industrie depuis 2005. Il est expert en ventes et marketing, et en gestion d'usine. Il aime le bodybuilding, et il est aussi un fan fou d'Apple ! C'est un travailleur acharné qui aime apprendre et essayer de nouvelles choses.
Email : tom@unitopledstrip.com WhatsApp : +86-18680307140



Laisser un commentaire
Rejoindre la discussion?N’hésitez pas à contribuer !